


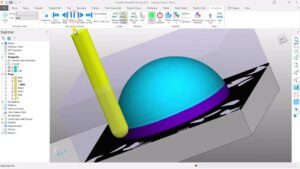
PowerMill Ultimate: The Art of Chip Removal – A Comprehensive Guide to Optimizing Cutting Strategies
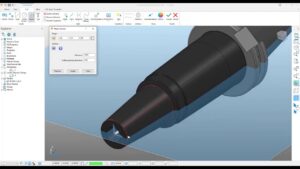
PowerMill Ultimate empowers you not only to generate toolpaths but to craft masterful cutting strategies. These strategies define how the...
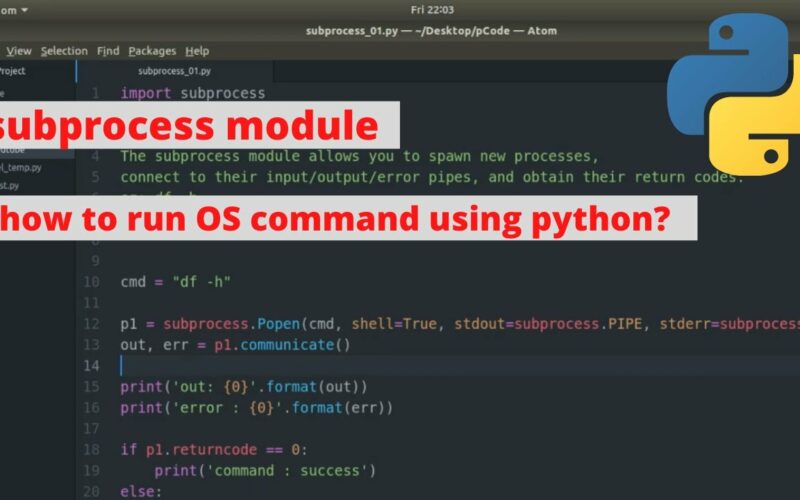
 Mastering the Python subprocess Module: A Comprehensive Guide
 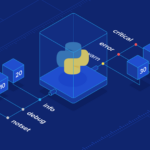 Mastering the Python Logging Module: A Comprehensive Guide
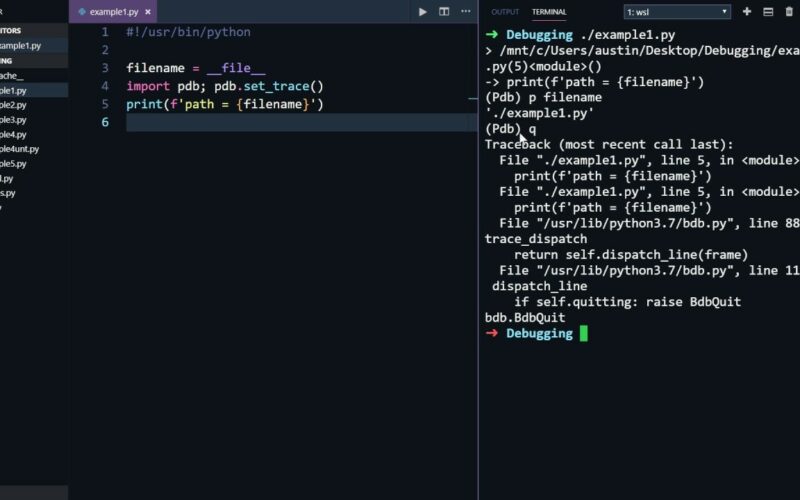
 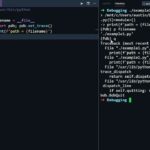 Mastering the Python Debugger (pdb): A Comprehensive Guide
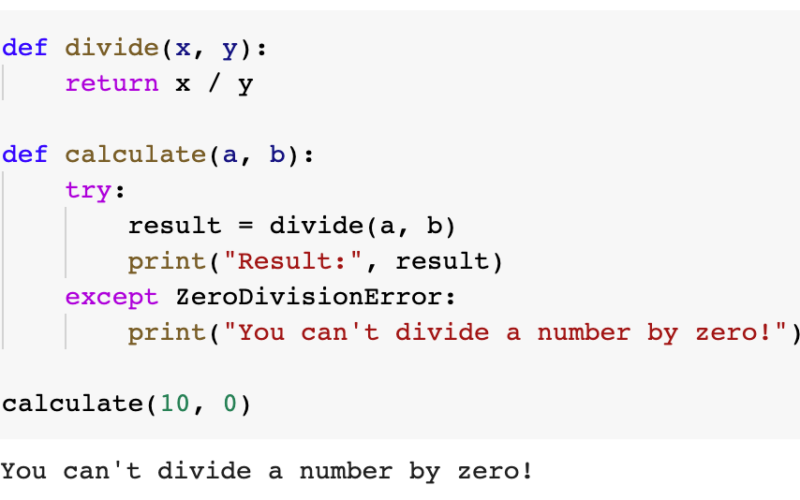
 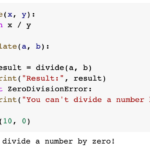 Mastering Exception Handling in Python: A Comprehensive Guide
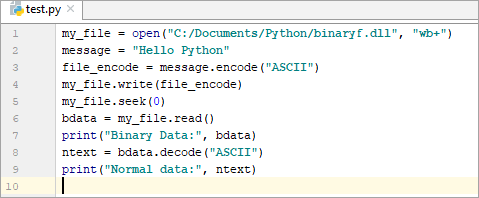
 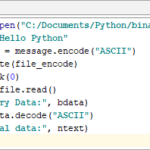 How to Read and Write Files in Python: A Comprehensive Guide
 PowerMill Ultimate empowers you not only to generate toolpaths but to craft masterful cutting strategies. These strategies define how the...

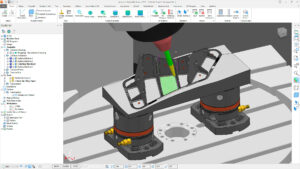
PowerMill Ultimate empowers you to not only generate sophisticated toolpaths but also to meticulously edit and refine them. This meticulous...
PowerMill Ultimate empowers you to not only leverage a vast library of pre-defined cutting tools but also to create and...
PowerMill Ultimate empowers you to leverage a vast array of cutting tools to tackle diverse machining applications. This comprehensive guide...

In the dynamic world of CNC machining, ensuring the safety of operators, machines, and tools is paramount. Automatic Collision Avoidance...
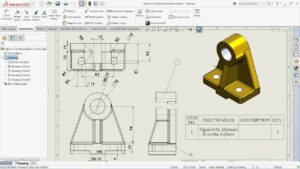
Introduction: SolidWorks, a leading computer-aided design (CAD) software, empowers engineers and designers to transform 3D models into detailed and precise...

Introduction: SolidWorks, a leading computer-aided design (CAD) software, empowers engineers and designers to create complex models with flexibility and efficiency....