
Mastering Tables: A Comprehensive Guide to Merging Cells in Microsoft Word
In the vast landscape of document formatting, tables serve as essential tools for organizing and presenting data in a structured...
In the vast landscape of document formatting, tables serve as essential tools for organizing and presenting data in a structured...
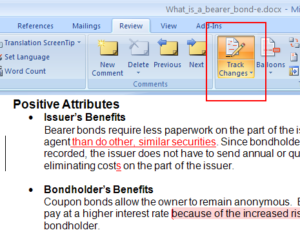
In the expansive realm of collaborative writing and editing, tracking changes serves as an indispensable feature for capturing, reviewing, and...
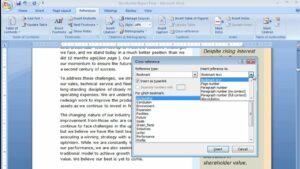
In the vast landscape of document creation and organization, cross-references serve as invaluable tools for connecting and navigating related content,...
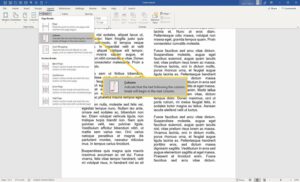
In the vast landscape of document formatting, column breaks serve as essential tools for controlling layout, flow, and readability. Whether...
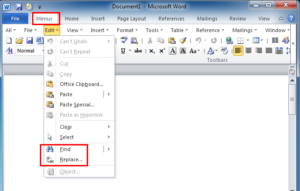
In the expansive landscape of document editing, the find and replace feature stands as a beacon, illuminating the path to...
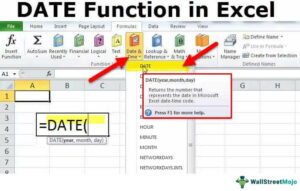
Excel is a powerful tool for managing and analyzing data, and the DATE function is essential for working with dates...
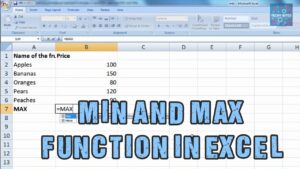
Excel is a versatile tool for data analysis, and the MAX and MIN functions are indispensable for finding the highest...


