Navigating the Digital Maze: A Comprehensive Guide to File Explorer Tips in Windows 10
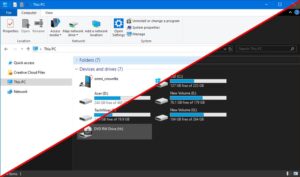
File Explorer serves as the digital gateway to your files, folders, and drives on Windows 10, offering a multitude of...
File Explorer serves as the digital gateway to your files, folders, and drives on Windows 10, offering a multitude of...
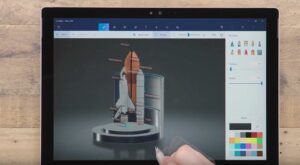
Paint 3D is a versatile and powerful application that comes pre-installed with Windows 10, offering users a wide range of...
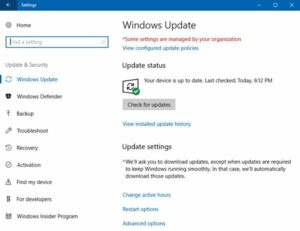
Windows 10 offers a plethora of customization options and settings that allow users to tailor their computing experience to their...
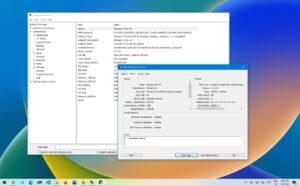
In the realm of computing, knowing the specifics of your GPU (Graphics Processing Unit) is essential for various purposes, including...

In the fast-paced world of computing, every click counts. Windows 10 offers a plethora of keyboard shortcuts designed to streamline...

In today's digital landscape, quick and convenient access to websites and online resources is essential for productivity, communication, and entertainment....

In today's interconnected world, the ability to manage time across different time zones is essential for global communication, collaboration, and...


