Drawing a Simple Plate with AutoCAD
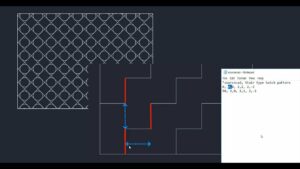
AutoCAD is a productive 3D CAD tool which can be used for creating imposing engineering and architectural designs. It is a must have tool for the engineers and architectures. With this tool the productivity has been enhanced to a great degree. In this tutorial you will learn how to draw a simple plate in AutoCAD. We are going to create a simple L shaped plate.You can also learn about AutoCAD Coordinates System. In order to draw L shaped plate you need to follow these simple steps.
- 1st of all you need to open a new drawing by clicking on New.
- You need to make sure that the ORTHO mode is ON. (It will be ON when it glow in blue.) Click the icon to turn it ON or OFF or press F8 to toggle.
- Now type z [space bar]. With this your drawing area will be zoomed.
- Now activate the line command by click LINE.
- Now specify the 1st point of the line at 0,0. Type 0,0 and then press [Enter].
- Now move your cursor towards the right side and then type 8 [Enter].
- Now move your cursor up side and then type 4 [Enter].
- Now move your cursor towards the left side and then type 4 [Enter].
- Now move your cursor up side and then type 4 [Enter].
- Now move your cursor towards the left side and then type 4 [Enter].
- For closing the sketch loop you need to type c [Space bar].
- With this step you will complete creating a simple L-shaped plate in AutoCAD.


