Unleashing Creativity: A Comprehensive Exploration of Using a Photo to Mask Itself with Photoshop
James January 23, 2024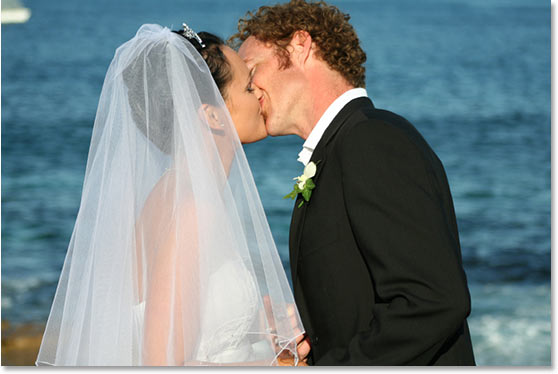
Introduction:
Photoshop, the powerhouse of digital image manipulation, offers a multitude of advanced techniques that empower artists and photographers to push the boundaries of creativity. One such intriguing method is using a photo to mask itself, a process that opens up a realm of possibilities for blending, compositing, and enhancing visual storytelling. In this extensive guide, we’ll embark on a journey through the intricate steps of utilizing a photo to mask itself in Photoshop, unveiling a world of innovative design and artistic expression.
Section 1: Understanding the Basics of Masking
Before delving into the advanced concept of using a photo to mask itself, it’s essential to grasp the fundamentals of masking in Photoshop. A mask is essentially a grayscale image that controls the transparency of another layer. White areas reveal the layer, while black conceals it, and shades of gray provide varying levels of transparency. This knowledge forms the foundation for the more intricate technique we are about to explore.
Section 2: Selecting an Appropriate Image
Begin the process by selecting a photo that exhibits distinct elements suitable for masking. The success of this technique relies on the presence of defined shapes, contours, or focal points in the image. Consider images with strong contrasts, well-defined subjects, or intriguing compositions, as these characteristics will enhance the effectiveness of the self-masking technique.
Section 3: Opening the Image in Photoshop and Duplicating Layers
After choosing the appropriate image, open it in Adobe Photoshop. The next step involves creating duplicate layers of the image. This redundancy ensures that the original image remains intact, providing a reference point throughout the masking process. Use the keyboard shortcut (Ctrl + J for Windows or Command + J for Mac) to duplicate the selected layer.
Section 4: Applying Layer Masks
Now comes the pivotal moment of applying layer masks to both the original and duplicate layers. With the duplicated layer selected, add a layer mask by clicking the mask icon at the bottom of the Layers panel. This creates a blank mask linked to the duplicated layer. To visualize the mask, hold down the Alt (Option for Mac) key and click on the mask thumbnail.
Section 5: Applying the Gradient Tool
Here comes the ingenious twist in using a photo to mask itself. With the mask of the duplicated layer still selected, navigate to the Gradient Tool (G) in the toolbar. Choose a black-to-white gradient and apply it to the mask. The result will start to reveal the duplicated layer, creating a fascinating blend of the original and duplicate images.
Section 6: Experimenting with Blending Modes
To further refine the self-masking effect, experiment with different blending modes for the duplicated layer. Overlay, Soft Light, or Screen are popular choices that often yield visually compelling results. Each blending mode interacts uniquely with the underlying layer, offering a spectrum of creative possibilities for the final composition.
Section 7: Fine-Tuning with Brushes and Opacity
Achieving precision in the self-masking technique requires attention to detail. Use a soft brush with varying opacities to refine the mask, adjusting the transparency of specific areas. This step allows for seamless integration of the original and duplicated layers, creating a harmonious and visually engaging composition.
Section 8: Adding Adjustment Layers for Cohesion
To enhance the overall cohesion of the self-masked image, incorporate adjustment layers. Experiment with tools such as Curves, Levels, or Hue/Saturation to fine-tune the color balance, contrast, and tonality. These adjustments contribute to the seamless integration of the masked layers, ensuring a polished and professional outcome.
Section 9: Exploring Additional Creative Elements
The self-masking technique opens the door to a myriad of creative possibilities. Experiment with adding text, graphics, or other elements to further enhance the visual narrative. Consider incorporating additional images, textures, or overlays to elevate the complexity and depth of your composition.
Section 10: Finalizing and Saving the Masterpiece
Before concluding your creative journey, meticulously review the entire composition. Ensure that the self-masking effect achieves the desired level of visual impact and storytelling. Once satisfied, save your masterpiece in the preferred format, ready to be shared with the world or incorporated into your portfolio.
Conclusion:
Using a photo to mask itself in Photoshop is a captivating technique that empowers artists and photographers to transcend traditional boundaries of image manipulation. By blending the intricacies of masking with creative experimentation, this method opens up a realm of possibilities for visual storytelling and artistic expression. Embrace the steps outlined in this comprehensive guide, and let your creativity flourish as you unlock the full potential of using a photo to mask itself in Photoshop.


