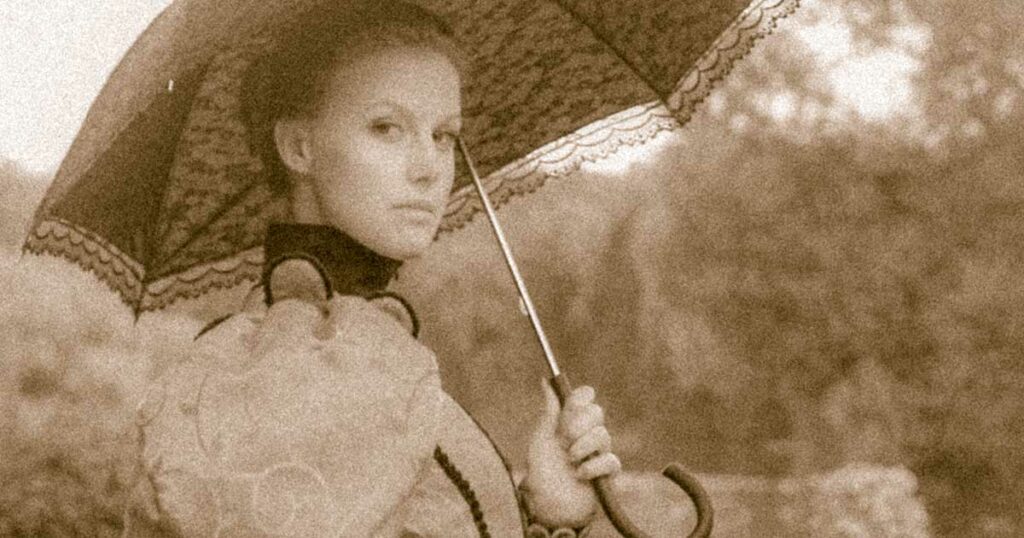
Timeless Nostalgia: A Comprehensive Guide to Creating an Old Photo Effect in Photoshop

Introduction:
In the ever-evolving landscape of digital photography and design, the allure of nostalgia often beckons, prompting artists to recreate the timeless charm of old photographs. Adobe Photoshop, a versatile tool in the hands of creatives, offers a gateway to the past by enabling the transformation of modern images into vintage masterpieces. In this extensive guide, we will embark on a journey through the steps of creating an old photo effect in Photoshop, capturing the essence of bygone eras and infusing contemporary images with a touch of history. From toning and grain to vignettes and scratches, this guide unveils the secrets to transporting your digital canvases back in time.
I. Choosing the Right Image:
1.1 Image Selection:
- Begin by selecting a suitable image that aligns with the era you wish to evoke.
- Consider factors such as composition, subject matter, and color palette when choosing the base image.
1.2 High-Resolution Importance:
- Opt for high-resolution images to maintain clarity and detail during the transformation.
- Higher resolution provides a solid foundation for achieving a polished and authentic old photo effect.
II. Adjusting Image Tones:
2.1 Desaturation for Authenticity:
- Begin the process by desaturating the image to remove modern color tones.
- Use the “Desaturate” adjustment (Shift+Ctrl+U) to convert the image to grayscale, setting the stage for the vintage transformation.
2.2 Sepia Toning for Warmth:
- Apply a sepia tone to infuse warmth and a classic tint reminiscent of aged photographs.
- Utilize the “Photo Filter” adjustment layer, selecting the Sepia filter and adjusting intensity to achieve the desired effect.
III. Introducing Film Grain:
3.1 Grain for Vintage Texture:
- Add film grain to replicate the texture of old photographs and evoke the feel of analog film.
- Create a new layer and fill it with 50% gray, then apply the “Add Noise” filter, adjusting settings for subtle graininess.
3.2 Blending Grain with Overlay:
- Change the blending mode of the grain layer to “Overlay” or “Soft Light” to integrate it seamlessly with the image.
- Adjust the layer opacity to fine-tune the intensity of the added grain.
IV. Simulating Vignettes:
4.1 Creating a Vignette:
- Mimic the natural vignetting effect often seen in vintage photos to draw attention to the central subject.
- Use the “Elliptical Marquee Tool” to create a circular selection, then apply a “Feather” to soften the edges.
4.2 Darkening the Edges:
- Apply a Levels adjustment to the selected area, darkening the edges for a subtle vignette effect.
- Adjust the intensity to achieve a balanced and visually pleasing vignette.
V. Scratches and Wear:
5.1 Introducing Scratches:
- Replicate the wear and tear of old photos by adding scratches and imperfections.
- Create a new layer and use a custom scratch brush or apply a scratch texture using blending modes like “Overlay” or “Multiply.”
5.2 Masking for Realism:
- Refine the placement and visibility of scratches by using layer masks.
- Mask areas selectively to ensure scratches appear natural and align with the contours of the image.
VI. Aging with Faded Hues:
6.1 Faded Color Hues:
- Create a subtle aged effect by introducing faded color hues to the image.
- Apply a “Color Balance” adjustment layer, tweaking the sliders to shift tones towards muted and vintage hues.
6.2 Experimenting with Duotones:
- Explore duotone effects by applying gradient maps or duotone adjustment layers.
- Experiment with different color combinations to achieve a vintage color palette that complements the overall aesthetic.
VII. Simulating Light Leaks:
7.1 Creating Light Leaks:
- Emulate the effect of light leaks commonly found in old cameras by adding bursts of light across the image.
- Use custom brushes or apply gradient overlays with blending modes like “Screen” to create realistic light leak effects.
7.2 Adjusting Opacity and Blend:
- Fine-tune the visibility of light leaks by adjusting layer opacities and experimenting with blending modes.
- This step ensures that light leaks integrate seamlessly with the image without overpowering it.
VIII. Adding Date Stamps and Borders:
8.1 Vintage Date Stamps:
- Enhance the authenticity of the old photo effect by adding a vintage date stamp.
- Create a text layer and apply a distressed or typewriter-style font to simulate a stamped or handwritten date.
8.2 Bordering the Image:
- Complete the vintage look by adding borders or framing elements to the image.
- Use the “Rectangle Tool” to create a border around the image, experimenting with varying widths and styles.
IX. Final Touches and Review:
9.1 Global Adjustments:
- Review the entire composition and make global adjustments as needed.
- Fine-tune color balance, contrast, and overall tonality to achieve a cohesive and authentic old photo effect.
9.2 Saving Iterative Versions:
- Save iterative versions of your project to preserve different stages of the creative process.
- This practice allows for experimentation and easy backtracking if desired.
X. Exporting the Old Photo Effect:
10.1 Saving in Appropriate Formats: – Save the final old photo effect composition in the desired format, resolution, and color space. – Consider the intended use, whether for digital display, print, or further digital manipulation.
10.2 Sharing and Showcasing: – Share your vintage creation on social media platforms or within digital art communities. – Engage with fellow artists, gather feedback, and celebrate the timeless charm of your old photo effect.
XI. Conclusion:
Creating an old photo effect in Adobe Photoshop is a journey into the realm of nostalgia, where digital canvases transform into timeless snapshots of the past. By skillfully applying tonal adjustments, textures, and subtle imperfections, artists can breathe life into contemporary images, evoking the charm and character of vintage photography. As you embark on your journey of nostalgia, let your creativity guide you, experiment with different elements, and witness the magic of transforming digital images into captivating echoes of bygone eras.


