Illuminating the Canvas: A Comprehensive Guide to Creating a Starry Night Sky in Photoshop
Introduction:
The night sky, adorned with countless stars, has captivated humanity for centuries, inspiring art, poetry, and a sense of wonder. Adobe Photoshop provides a digital canvas where artists can recreate the celestial beauty of a starry night sky. In this comprehensive guide, we will embark on a journey through the steps of creating a mesmerizing starry night sky in Photoshop. From selecting the right base image to adding celestial elements, this guide unveils the secrets to transforming a plain canvas into a celestial masterpiece.
I. Setting the Celestial Stage:
1.1 Image Selection:
- Begin by selecting a suitable base image that serves as the backdrop for your starry night sky.
- Consider images with clear skies, horizons, or landscapes that align with your creative vision.
1.2 High-Resolution Importance:
- Opt for high-resolution images to ensure clarity and detail in the final composition.
- Higher resolution allows for intricate detailing when adding stars and celestial elements.
II. Creating a Nighttime Atmosphere:
2.1 Adjusting Image Tones:
- Use adjustment layers such as “Levels” or “Curves” to transform the base image into a nighttime scene.
- Darken the image, adjusting tones to evoke the ambiance of a moonlit or starry night.
2.2 Applying Color Gradients:
- Infuse subtle color gradients into the image to mimic the shifting hues of the night sky.
- Experiment with deep blues, purples, or indigos to create a visually compelling nighttime atmosphere.
III. Adding Stars and Constellations:
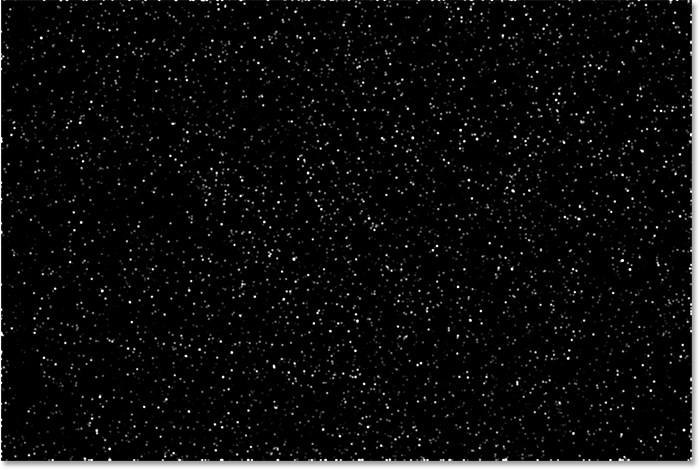
3.1 Star Brush Application:
- Select a star brush or create a custom one for adding stars to the night sky.
- Vary the brush sizes, opacity, and spacing to emulate the natural distribution of stars.
3.2 Constellation Placement:
- Research and identify constellations that align with your desired celestial scene.
- Use a soft brush to delicately connect stars, outlining familiar constellations for added authenticity.
IV. Incorporating the Milky Way:
4.1 Milky Way Brush or Overlay:
- Introduce the luminous beauty of the Milky Way using a dedicated brush or overlay.
- Apply the Milky Way element strategically across the sky, adjusting opacity for a seamless integration.
4.2 Creating a Custom Milky Way:
- For more control, manually paint the Milky Way using brushes with varying opacities.
- Experiment with colors and layer blending modes to achieve a realistic and ethereal effect.
V. Moonlit Enhancements:
5.1 Moon Brush Application:
- Add a celestial touch by incorporating a moon using a dedicated moon brush.
- Adjust the size and position of the moon to enhance the nocturnal atmosphere.
5.2 Moonlight Shadows:
- Emulate the soft glow of moonlight by creating shadows and highlights on landscape elements.
- Use brushes or adjustment layers to enhance the moonlit effect.
VI. Nebulas and Galactic Elements:
6.1 Nebula Brushes or Overlays:
- Elevate the celestial drama by introducing colorful nebulae using dedicated brushes or overlays.
- Position nebula elements strategically, considering the overall composition.
6.2 Custom Nebula Painting:
- For a personalized touch, paint custom nebulae using brushes with vibrant colors.
- Experiment with layer blending modes to achieve a seamless blend with the night sky.
VII. Adding Shooting Stars or Meteors:
7.1 Shooting Star Brushes:
- Enhance the dynamism of the scene by adding shooting stars or meteors.
- Use brushes to create streaks of light, varying lengths and opacities for a realistic effect.
7.2 Motion Blur for Realism:
- Apply motion blur to shooting star elements to simulate their rapid movement across the night sky.
- Adjust the angle and intensity of the blur for a natural appearance.
VIII. Adjusting Atmospheric Haze:
8.1 Haze for Depth:
- Introduce a subtle atmospheric haze to enhance depth within the night sky.
- Apply a soft brush with low opacity to add haze along the horizon or between distant celestial elements.
8.2 Layer Opacity for Control:
- Fine-tune the overall visibility of celestial elements by adjusting layer opacities.
- This step allows for precise control over the balance between stars, constellations, and other elements.
IX. Final Color Adjustments:
9.1 Color Grading for Harmony:
- Harmonize the colors within the starry night sky by using adjustment layers such as “Color Balance” or “Hue/Saturation.”
- Ensure that the color palette aligns with the desired mood and aesthetics.
9.2 Gradient Maps for Tonal Control:
- Apply gradient maps to achieve nuanced tonal control and enhance the overall color harmony.
- Experiment with different gradient maps to find the perfect balance for your celestial composition.
X. Reviewing and Refining:
10.1 Iterative Review: – Step back and review the entire composition, considering the distribution of stars, the placement of celestial elements, and the overall ambiance. – Make iterative adjustments to refine the balance and coherence of the starry night sky.
10.2 Saving Iterative Versions: – Save iterative versions of your project to preserve different stages of the creative process. – This practice allows for experimentation and easy backtracking if desired.
XI. Exporting the Starry Night Sky:
11.1 Saving in Appropriate Formats: – Save the final starry night sky composition in the desired format, resolution, and color space. – Consider the intended use, whether for digital display, print, or further digital manipulation.
11.2 Sharing and Showcasing: – Share your celestial creation on social media platforms or within digital art communities. – Engage with fellow artists, gather feedback, and celebrate the enchanting beauty of your starry night sky.
XII. Conclusion:
Creating a starry night sky in Adobe Photoshop is a celestial journey into the realm of digital artistry, where the canvas becomes a tapestry of cosmic wonders. By combining brushes, overlays, and careful adjustments, artists can transform a mundane image into a breathtaking nocturnal scene. As you embark on your celestial exploration, let your creativity guide you, experiment with different elements, and witness the evolution of your digital canvas into a star-studded masterpiece that echoes the timeless allure of the night sky.


