Spirals of Creativity: A Comprehensive Guide to Creating Twirl Art in Photoshop
Introduction:
In the realm of digital artistry, Adobe Photoshop stands as a boundless canvas where creativity knows no limits. The art of creating twirl art, characterized by mesmerizing spirals and dynamic patterns, is a fascinating technique that allows artists to infuse their designs with a sense of movement and energy. In this comprehensive guide, we will embark on a journey through the vortex of twirl art in Photoshop, unveiling step-by-step instructions and techniques to transform static images into vibrant, spiraling masterpieces. From image selection to mastering the Twirl filter, this guide will unlock the secrets to creating captivating twirl art.
I. Understanding the Essence of Twirl Art:
1.1 The Dynamics of Motion:
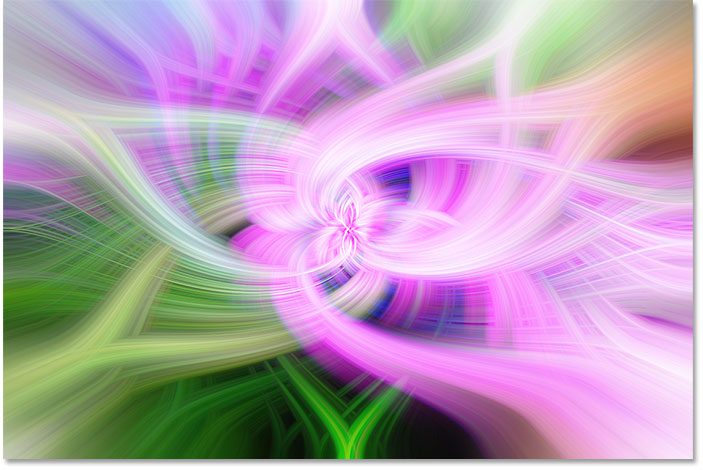
- Twirl art is characterized by swirling and spiraling patterns that convey a sense of dynamic motion.
- This technique adds a touch of whimsy and energy to images, turning them into visually engaging and captivating compositions.
1.2 Digital Expression of Creativity:
- In the digital era, twirl art transcends traditional artistic boundaries, allowing artists to explore and experiment with the dynamic interplay of colors and shapes.
- Photoshop serves as the ideal playground for transforming ordinary images into vibrant and dynamic twirl art pieces.
II. Choosing the Right Image:
2.1 Ideal Subjects for Twirl Art:
- Begin with images that have distinct and well-defined elements, such as portraits, landscapes, or objects with clear contours.
- Images with a variety of colors and textures can enhance the visual impact of the twirl effect.
2.2 Image Resolution Considerations:
- Opt for high-resolution images to retain detail and clarity in the twirl art transformation.
- Higher resolution ensures that the twirl effect captures nuances and intricacies present in the original image.
III. Opening and Importing the Image into Photoshop:
3.1 Launching Adobe Photoshop:
- Open Adobe Photoshop and create a new document or open an existing one where you plan to apply the twirl effect.
- Ensure that the document resolution aligns with the quality of your design project.
3.2 Importing the Image:
- Import the chosen image into Photoshop as a layer.
- If working with a portrait or subject, consider duplicating the layer to preserve the original for reference and comparison.
IV. Preparing the Image for Twirl:
4.1 Image Adjustment Layers:
- Apply necessary adjustments to the image using adjustment layers, such as Levels, Curves, or Vibrance.
- This step ensures that the image’s color and tonal qualities align with the desired aesthetic for the twirl effect.
4.2 Smart Objects for Flexibility:
- Convert the image layer into a Smart Object to maintain flexibility during the twirl process.
- Smart Objects allow non-destructive editing, enabling adjustments without compromising the original image.
V. Applying the Twirl Filter:
5.1 Accessing the Twirl Filter:
- Navigate to Filter > Distort > Twirl to access the Twirl filter in Photoshop.
- The Twirl dialog box will appear, providing controls for adjusting the intensity and direction of the twirl effect.
5.2 Adjusting the Twirl Effect:
- Experiment with the Angle slider to control the direction of the twirl effect.
- Use the Radius slider to adjust the intensity of the twirl, creating tighter or more expansive spiral patterns.
VI. Exploring Multiple Twirls:
6.1 Iterative Application:
- Consider applying the twirl effect multiple times to achieve complex and layered spiral patterns.
- Each application of the Twirl filter contributes to the overall dynamic and intricate nature of the twirl art.
6.2 Duplicate Layers for Variation:
- Duplicate the Smart Object layer before applying the twirl effect to create variations and experiment with different twirl intensities.
- This practice allows for the exploration of diverse twirl patterns within the same composition.
VII. Blending Modes for Depth:
7.1 Experimenting with Blending Modes:
- Apply different blending modes to the twirl layers to create depth and unique interactions between spirals.
- Overlay, Screen, or Multiply blending modes can produce captivating results, enhancing the visual complexity of the twirl art.
7.2 Adjusting Layer Opacity:
- Fine-tune the opacity of individual twirl layers to control their prominence within the composition.
- This step allows for the creation of subtle and nuanced variations in the twirl patterns.
VIII. Color Harmony in Twirl Art:
8.1 Color Theory Considerations:
- Embrace color theory principles to enhance the visual impact of the twirl art.
- Experiment with complementary colors, analogous schemes, or monochromatic palettes to evoke specific moods and aesthetics.
8.2 Hue/Saturation Adjustments:
- Apply Hue/Saturation adjustment layers to fine-tune the color harmony within the twirl art.
- This step allows for real-time color adjustments, empowering artists to refine the twirl effect with precision.
IX. Adding Elements for Interest:
9.1 Incorporating Additional Elements:
- Elevate the complexity of the twirl art by incorporating additional design elements, such as shapes, textures, or gradients.
- Overlaying these elements can create intriguing interactions with the spirals, adding depth and visual interest.
9.2 Brushes and Custom Shapes:
- Experiment with custom brushes or shapes to paint over specific areas of the twirl art.
- This technique allows for the creation of focal points, accents, or intricate details within the swirling patterns.
X. Enhancing Twirl Art with Filters:
10.1 Gaussian Blur for Softness: – Apply a subtle Gaussian Blur to the twirl layers to introduce an element of softness and cohesion. – The blur enhances the overall smoothness of the twirl art, creating a visually pleasing effect.
10.2 Sharpening for Clarity: – Use the Sharpen filter selectively on areas that require additional clarity and definition. – This step ensures that specific details within the twirl art remain sharp and visually impactful.
XI. Reviewing and Adjusting:
11.1 Iterative Review: – Step back and review the twirl art composition, considering the overall balance, harmony, and visual impact. – Make iterative adjustments to refine twirl patterns, color variations, and additional elements for a polished result.
11.2 Saving Iterative Versions: – Save iterative versions of the twirl art project to preserve different stages of the creative process. – This practice allows for experimentation and easy backtracking if desired.
XII. Exporting the Twirl Artwork:
12.1 Saving in Appropriate Formats: – Save the final twirl art in the desired format, resolution, and color space. – Consider the intended use, whether for web display, printing, or further digital manipulation.
12.2 Sharing and Showcasing: – Share the twirl art creation on social media platforms or showcase it in digital art communities. – Engage with fellow artists, gather feedback, and celebrate the unique and captivating nature of the twirl art.
XIII. Conclusion:
Creating twirl art in Adobe Photoshop is a voyage into the mesmerizing world of dynamic spirals and vibrant patterns. By embracing the power of the Twirl filter and exploring diverse techniques, artists can transform static images into visually engaging and captivating compositions. As you embark on your journey of twirl artistry, let your creativity soar, experiment with different intensities, colors, and elements, and witness the evolution of your digital canvases into vibrant, swirling masterpieces that echo the boundless possibilities of the digital realm.


