Framing Elegance: A Comprehensive Guide to Adding Borders to Photos with Photoshop
Introduction:
In the realm of digital photography and graphic design, Adobe Photoshop stands as a powerhouse, offering a myriad of tools for creative expression. One timeless and versatile technique that adds a touch of elegance to photographs is the art of adding borders. Whether you’re preparing images for print, social media, or personal portfolios, a well-chosen border can frame a photo, drawing attention to its visual narrative. In this comprehensive guide, we will delve into the step-by-step process of adding borders to photos in Photoshop. From selecting the right border style to refining the final touches, this guide will unlock the secrets to creating visually appealing and professionally presented images.
I. Understanding the Purpose of Borders:
1.1 Aesthetic Enhancement:
- Borders contribute to the aesthetic appeal of a photograph, providing a visual frame that complements the image’s content.
- The choice of border style can evoke different emotions and enhance the overall impact of the photograph.
1.2 Practical Considerations:
- Borders serve practical purposes, especially in print and online platforms, by creating a clear boundary around the image.
- For online sharing, a well-designed border can help the photo stand out in a crowded feed, while in print, it provides a clean edge for framing.
II. Image Selection and Preparation:
2.1 Choosing the Right Photo:
- Begin by selecting a photo that aligns with the purpose and desired aesthetics of your project.
- Consider the subject, composition, and colors within the image, as these factors will influence the choice of border style.
2.2 High-Resolution Importance:
- Opt for high-resolution images to maintain clarity and detail in the final result.
- High-quality images provide a solid foundation for creating polished and professional-looking borders.
III. Opening the Image in Photoshop:
3.1 Launching Adobe Photoshop:
- Open Adobe Photoshop and create a new document if needed, or open an existing document where you want to add a border.
- Ensure that the document resolution aligns with the quality of your project.
3.2 Importing the Photo:
- Import the selected photo into Photoshop as a new layer.
- Position the photo layer at the bottom of the layer stack, as the border will be added above it.
IV. Choosing a Border Style:
4.1 Solid Color Borders:
- Create a classic look by adding a solid color border around the photo.
- Select the “Rectangle Tool” (U) and draw a rectangle around the photo, extending it to create the desired border width.
4.2 Gradient Borders:
- Infuse dynamic visual interest by incorporating a gradient border.
- Use the “Gradient Tool” (G) to apply a gradient effect to the rectangle, creating a smooth transition of colors.
4.3 Patterned Borders:
- Experiment with patterned borders to add a unique and textured frame.
- Import a pattern file or use Photoshop’s built-in patterns, applying them to the rectangle with the “Pattern Overlay” layer style.
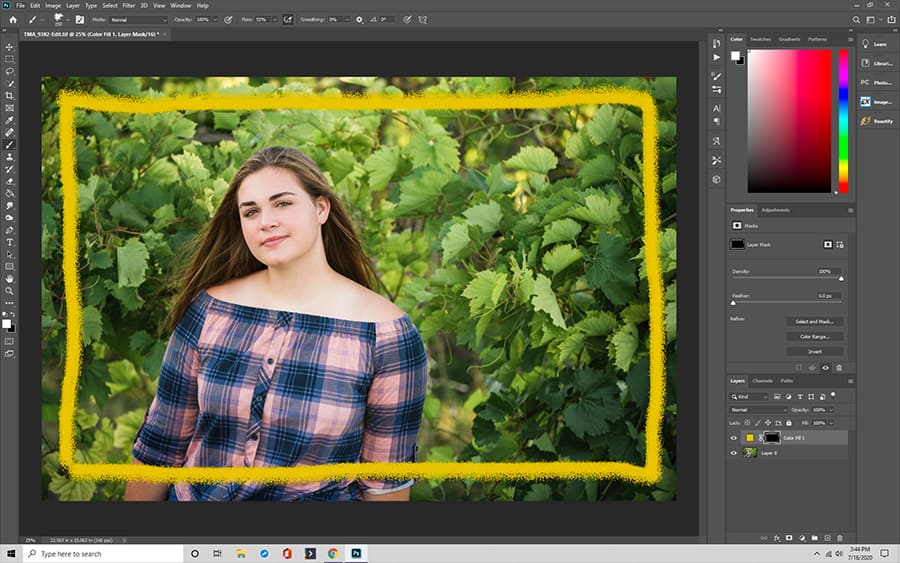
4.4 Custom Brushes for Artistic Borders:
- Explore artistic possibilities by using custom brushes to create hand-drawn or textured borders.
- Select a suitable brush, adjust its size, and apply it along the edges of the photo layer.
V. Adjusting Border Size and Proportions:
5.1 Precision with Guides:
- Ensure accuracy in border size by using Photoshop’s guide feature.
- Drag guides from the rulers to mark the desired border width, helping maintain symmetry and proportion.
5.2 Resizing the Border:
- Adjust the size of the rectangle layer to match the guides and achieve the desired border width.
- Use the “Transform” tool (Ctrl+T) to resize the rectangle, holding the Shift key to maintain proportions.
VI. Refining Border Color and Effects:
6.1 Color Adjustment Layers:
- Fine-tune the color of the border using adjustment layers such as “Hue/Saturation” or “Color Balance.”
- This step allows for precise control over the border’s color to match or contrast with the photo.
6.2 Adding Shadows and Highlights:
- Create depth and dimension by incorporating subtle shadows and highlights to the border.
- Apply a “Drop Shadow” or “Inner Shadow” layer style to introduce a realistic touch to the overall composition.
VII. Decorative Edges and Frames:
7.1 Beveled Edges:
- Achieve a three-dimensional effect by adding beveled edges to the border.
- Apply the “Bevel & Emboss” layer style, adjusting settings to create a subtle bevel that enhances the border’s visual appeal.
7.2 Custom Frames:
- Elevate the sophistication of the border by incorporating custom frames.
- Import or create ornate frame elements, positioning them strategically around the photo layer for a decorative touch.
VIII. Layer Masking for Precision:
8.1 Layer Mask Introduction:
- Use layer masking to refine the border’s edges and create a seamless integration with the photo.
- Apply a layer mask to the border layer, allowing for precise adjustments without altering the underlying photo.
8.2 Painting on Layer Masks:
- Use the Brush Tool (B) with a soft brush to paint on the layer mask, revealing or hiding portions of the border.
- This technique ensures that the border seamlessly blends with the photo, creating a polished and cohesive result.
IX. Saving and Exporting:
9.1 Saving Iterative Versions:
- Save iterative versions of your project to preserve different stages of the creative process.
- This practice allows for experimentation and easy backtracking if desired.
9.2 Exporting for Different Platforms:
- Consider the intended use of your image (print, web, social media) when exporting.
- Save the final image in appropriate formats such as JPEG or PNG, ensuring that color profiles are consistent for optimal viewing.
X. Conclusion:
Adding borders to photos in Adobe Photoshop is a skill that marries functionality with aesthetics, framing visual stories and enhancing the overall presentation. As you embark on your journey of border design, let your creativity guide you, experiment with different styles, and discover the transformative power of a well-chosen border. Whether you opt for simplicity or intricate designs, the art of framing photos opens up a world of possibilities within the vast canvas of Photoshop, where every click and stroke contributes to the visual narrative.


