Mastering Typography: A Comprehensive Guide to Using the Type on a Path Tool in Adobe Illustrator
Introduction: Typography plays a crucial role in graphic design, conveying messages, setting the tone, and enhancing visual appeal. Adobe Illustrator offers a wide range of tools for manipulating and formatting text, including the powerful Type on a Path Tool. This versatile feature allows designers to create text that follows the contours of any path, opening up endless creative possibilities. In this extensive guide, we’ll delve into the intricacies of using the Type on a Path Tool in Adobe Illustrator, exploring its functionalities, techniques, and creative applications.
Part 1: Understanding the Type on a Path Tool
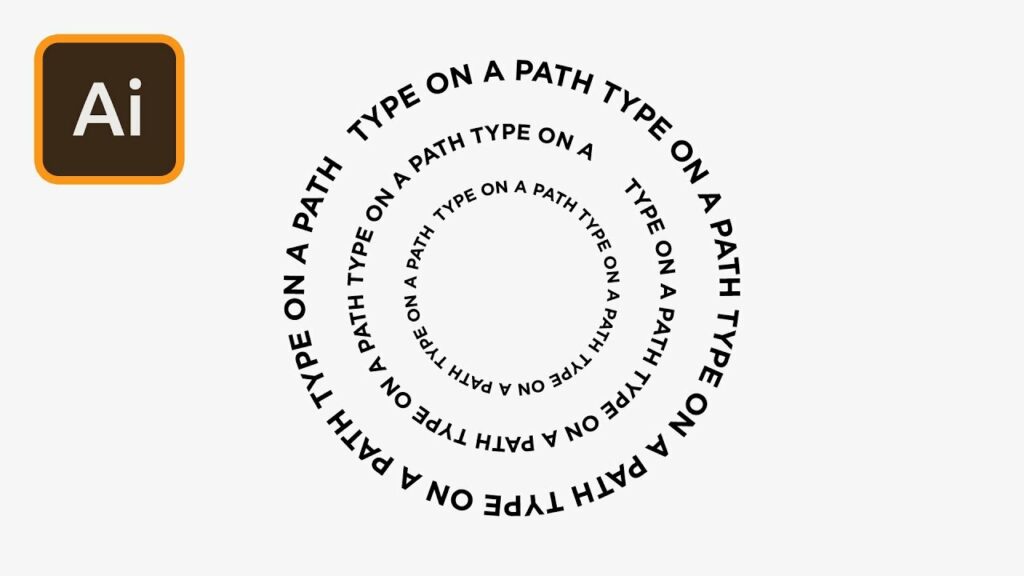
- Introduction to Type on a Path: The Type on a Path Tool in Adobe Illustrator enables users to place text along any path, whether it’s a shape, line, or custom path created with the Pen Tool. This tool allows for dynamic text placement and manipulation, giving designers greater control over typography in their designs.
- Functionality and Applications: The primary function of the Type on a Path Tool is to attach text to a path and flow it along the path’s curvature. This feature is commonly used for creating logos, headlines, banners, and decorative elements in graphic design projects.
- Accessing the Type on a Path Tool: The Type on a Path Tool can be accessed from the Type Tool menu in Adobe Illustrator or by pressing the “Shift + T” keyboard shortcut. Once activated, the cursor changes to an icon indicating that you’re ready to type on a path.
Part 2: Basic Techniques for Using the Type on a Path Tool
- Creating a Path: Start by creating a path using any of the drawing tools in Adobe Illustrator, such as the Pen Tool or Shape Tools. The path can be open or closed, straight or curved, depending on your design requirements.
- Activating the Type on a Path Tool: Select the path you want to type on using the Selection Tool (V) or the Direct Selection Tool (A), then activate the Type on a Path Tool from the Tools panel or by pressing the keyboard shortcut.
- Placing Text on the Path: Click on the path with the Type on a Path Tool active to create a text cursor. Start typing, and your text will automatically follow the curvature of the path. You can adjust the starting point of the text along the path by clicking and dragging the text cursor.
- Adjusting Text Alignment: Use the Align options in the Control panel or the Character panel to adjust the alignment of the text along the path. You can choose between aligning the text to the center, inside, or outside of the path, depending on your design preferences.
Part 3: Advanced Techniques and Tips
- Editing Text on the Path: To edit the text on the path, simply select the Type on a Path Tool and click on the text along the path. You can then make changes to the text content, font, size, color, and other attributes using the Character panel or the Properties panel.
- Transforming Text on the Path: Use the Direct Selection Tool (A) to select and manipulate individual anchor points or segments of the path, which will affect the shape and orientation of the text along the path. Experiment with different path shapes to create dynamic text effects.
- Creating Custom Paths: Explore creative possibilities by creating custom paths with the Pen Tool or other drawing tools. Combine multiple paths, shapes, or lines to create complex text layouts and designs that interact with the typography.
- Applying Effects and Styles: Experiment with applying effects and styles to the text on the path to enhance its visual impact. You can apply fills, strokes, gradients, shadows, and other effects to the text to make it stand out and integrate seamlessly with your design.
Part 4: Creative Applications of the Type on a Path Tool
- Creating Logos and Wordmarks: Use the Type on a Path Tool to create custom logos and wordmarks with dynamic typography that follows the shape of a path. Experiment with different font styles, layouts, and path shapes to design unique and memorable brand identities.
- Designing Decorative Elements: Incorporate text on paths into decorative elements such as banners, ribbons, or circular badges. Experiment with different path shapes and text arrangements to create visually appealing and attention-grabbing design elements.
- Crafting Artistic Text Effects: Explore artistic possibilities by manipulating text on paths to create visually striking text effects. Combine typography with illustrations, patterns, or imagery to create dynamic compositions that push the boundaries of traditional typography.
- Enhancing Visual Hierarchy: Use the Type on a Path Tool to enhance the visual hierarchy of your designs by placing emphasis on key messages or focal points. Experiment with varying text sizes, styles, and placements along paths to guide the viewer’s attention and create a sense of depth and movement.
Conclusion
The Type on a Path Tool in Adobe Illustrator is a versatile and powerful tool that offers endless creative possibilities for manipulating typography in your designs. By mastering the techniques and tips outlined in this guide, you’ll be able to create dynamic and engaging text effects that enhance the visual impact of your projects. Whether you’re designing logos, banners, or decorative elements, the Type on a Path Tool allows you to elevate your typography and create designs that stand out from the crowd. So, dive in, experiment fearlessly, and let your creativity flow with the Type on a Path Tool in Adobe Illustrator!


