Crafting Wheels of Imagination: A Comprehensive Guide to Creating Vector Vehicles in Adobe Illustrator
Introduction:
In the expansive world of digital design, Adobe Illustrator stands as a beacon of creativity, offering a vast array of tools and features to bring artistic visions to life with precision and finesse. Among its many capabilities, the ability to create vector vehicles provides artists and designers with the opportunity to craft dynamic and realistic illustrations that capture the essence of transportation. Whether you’re a seasoned illustrator, a graphic designer, or an aspiring artist, understanding how to effectively utilize the tools in Adobe Illustrator to create vector vehicles is essential for unlocking new dimensions of creativity. In this comprehensive guide, we’ll embark on a journey to explore the techniques and tools needed to craft stunning vector vehicles from scratch.
Chapter 1: Planning Your Vehicle Illustration
Before diving into the creation process, it’s important to plan your vehicle illustration. Consider the type of vehicle you want to create, whether it’s a car, truck, motorcycle, or airplane. Research reference images to understand the anatomy, proportions, and details of the vehicle. Sketch out rough ideas and determine the composition and layout of your illustration. Pay attention to details such as body shape, wheels, windows, and lights to capture the unique characteristics of the vehicle.
Chapter 2: Setting Up Your Illustrator Document
Once you’ve finalized your vehicle illustration concept, it’s time to set up your Illustrator document. Create a new document with dimensions that suit your intended illustration size and resolution. Consider whether you’ll be creating a print or web-based illustration and adjust the document settings accordingly. Organize your workspace by creating layers for different elements of your illustration, such as the vehicle body, details, and background.
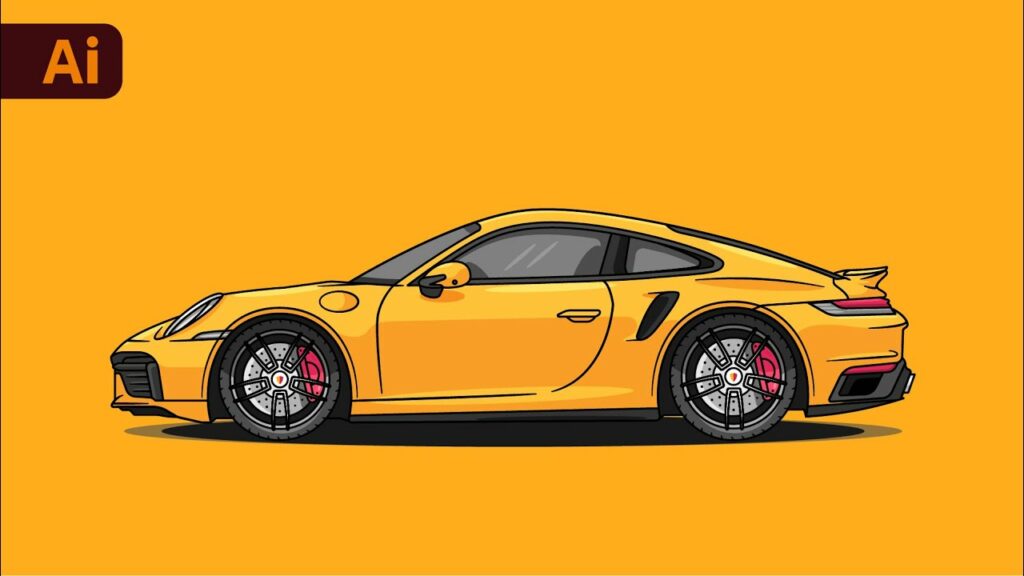
Chapter 3: Creating the Basic Shape of the Vehicle
Start by creating the basic shape of the vehicle using the pen tool or shape tools in Adobe Illustrator. Break down the vehicle into simple geometric shapes, such as rectangles, circles, and polygons, and use them as a framework to build upon. Pay attention to the proportions and anatomy of the vehicle, and use reference images to guide your design. Experiment with different shapes and arrangements to create a solid foundation for your illustration.
Chapter 4: Adding Detail and Refinement
Once you’ve established the basic shape of the vehicle, it’s time to add detail and refinement to bring your illustration to life. Use the pen tool to add curves, contours, and defining features to the vehicle body. Pay attention to details such as headlights, grilles, windows, and doors to capture the unique characteristics of the vehicle. Experiment with different stroke weights and styles to add depth and dimension to your illustration. Use the direct selection tool to adjust individual anchor points and curves until you achieve the desired look and feel.
Chapter 5: Creating Wheels and Tires
No vehicle illustration is complete without wheels and tires. Use the ellipse tool to create circles for the wheels, and then use the pen tool to add details such as spokes, rims, and treads. Experiment with different shapes and sizes to create realistic-looking wheels and tires that complement the overall design of the vehicle. Use gradients and shading to add depth and dimension to the wheels and tires, and experiment with adding highlights and reflections to make them look shiny and metallic.
Chapter 6: Adding Color and Texture
Once you’ve completed the basic structure of the vehicle, it’s time to add color and texture to your illustration. Use the color picker tool to select the base colors for the vehicle body, and then use the gradient tool to add shading and highlights to create a sense of depth and dimension. Experiment with adding textures such as metallic finishes, glossy paint, or matte surfaces to add realism and visual interest to your illustration. Pay attention to details such as reflections and shadows to create a sense of realism and depth.
Chapter 7: Adding Background and Finishing Touches
Once you’ve completed the vehicle illustration, it’s time to add a background and finishing touches to enhance the overall composition. Use the shape tools and gradients to create a background that complements the vehicle and adds context to the illustration. Experiment with different colors, textures, and patterns to create depth and atmosphere. Use the layers panel to arrange the elements of your illustration and make adjustments as needed. Finally, add any additional details or effects to polish your illustration and make it stand out.
Chapter 8: Saving and Exporting Your Illustration
Once you’re satisfied with your vector vehicle illustration, it’s important to save and export your artwork for sharing or further editing. Save your Illustrator document in a compatible file format, such as AI or PDF, to preserve the vector properties of your illustration. If you’re creating artwork for web or screen-based applications, consider exporting your illustration as SVG files for scalability and compatibility with web browsers. For print-based projects, export your artwork as high-resolution raster images in formats such as JPEG or PNG.
Conclusion:
Creating vector vehicles in Adobe Illustrator is a rewarding and fulfilling endeavor that allows artists and designers to unleash their creativity and imagination. By following the techniques and tips outlined in this comprehensive guide, you’ll be able to craft stunning illustrations that capture the beauty and essence of transportation. So grab your stylus, set your sights on the canvas, and let your creativity soar as you create vector vehicles that leave a lasting impression.


