Mastering the Art of Capture: A Comprehensive Guide to 5 Ways to Take Screenshots
Introduction
In the digital age, capturing the contents of your screen has become an indispensable skill for a variety of purposes, from documenting information to sharing visual content. Knowing multiple methods to take screenshots ensures that you can choose the approach that best fits your needs and preferences. This comprehensive guide explores five distinct ways to take screenshots, catering to different devices and operating systems.
Section 1: Snipping Tool on Windows
1.1 Overview
The Snipping Tool is a built-in screenshot utility in Windows that allows users to capture, annotate, and save screenshots in various modes.
1.2 How to Use Snipping Tool
- Open Snipping Tool: Press the
Windows keyand type “Snipping Tool,” then select the application. - Select Snip Type: Choose the type of snip you want (Free-form, Rectangular, Window, or Full-screen).
- Capture the Screenshot: Follow the on-screen instructions to capture the desired portion of the screen.
- Annotate and Save: After capturing, you can annotate the screenshot and save it in your preferred format.
Section 2: Snip & Sketch on Windows 10
2.1 Overview
Snip & Sketch is an evolution of the Snipping Tool and provides a more modern and feature-rich way to capture and annotate screenshots on Windows 10.
2.2 How to Use Snip & Sketch
- Open Snip & Sketch: Press
Windows key + Shift + Sto open the snipping bar or find it in the Start Menu. - Capture the Screenshot: Drag to select the area you want to capture.
- Annotate and Share: After capturing, you can annotate the screenshot and share it directly from the Snip & Sketch interface.
Section 3: Print Screen (PrtScn) on Windows
3.1 Overview
The Print Screen key, often abbreviated as PrtScn, is a straightforward way to capture the entire screen or specific windows on Windows computers.
3.2 How to Use Print Screen
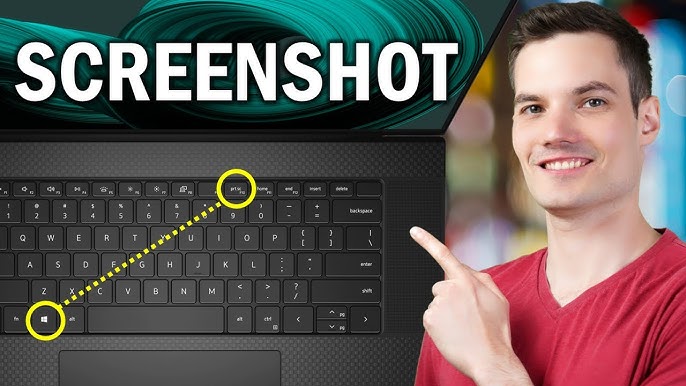
- Capture the Entire Screen: Press
PrtScnto capture the entire screen. The screenshot is copied to the clipboard and can be pasted into an image editor or document. - Capture the Active Window: Press
Alt + PrtScnto capture only the active window. The screenshot is also copied to the clipboard.
3.3 Snipping Snaps with Snip & Sketch
- On Windows 10, you can press
Windows key + Shift + Sto open Snip & Sketch and take a screenshot of a specific area. This method is often more flexible than the traditional Print Screen.
Section 4: Command + Shift + 3 or 4 on Mac
4.1 Overview
Mac users can leverage the built-in screenshot functionality using keyboard shortcuts, capturing either the entire screen or a selected portion.
4.2 How to Use Command + Shift + 3 or 4
- Capture the Entire Screen: Press
Command + Shift + 3to capture the entire screen. The screenshot is saved to the desktop. - Capture a Selected Portion: Press
Command + Shift + 4and drag to select the area you want to capture. The screenshot is saved to the desktop.
Note: Pressing Command + Shift + 4 followed by the Spacebar allows you to capture a specific window.
Section 5: Snipping Tool on Mac
5.1 Overview
Mac users can utilize the built-in Grab application to capture screenshots in various modes, similar to the Snipping Tool on Windows.
5.2 How to Use Grab
- Open Grab: Go to
Applications > Utilities > Grabto open the Grab application. - Select Capture Mode: Choose from Capture Selection, Capture Window, or Capture Screen.
- Capture the Screenshot: Follow the on-screen instructions based on your chosen capture mode.
- Save and Annotate: After capturing, you can save the screenshot and annotate it using external image editing software.
Section 6: Snapping on Linux with GNOME Screenshot
6.1 Overview
GNOME Screenshot is a handy utility for Linux users, providing a simple yet effective way to capture screenshots.
6.2 How to Use GNOME Screenshot
- Open GNOME Screenshot: Press
PrtScnto open GNOME Screenshot. - Select Capture Mode: Choose from various capture modes, including Whole Screen, Current Window, or a selected area.
- Capture the Screenshot: Follow the on-screen instructions based on your chosen capture mode.
- Save and Share: After capturing, you can save the screenshot and easily share it.
Section 7: Conclusion
Capturing screenshots is a fundamental skill in today’s digital landscape, offering a visual means to document information, troubleshoot issues, and communicate effectively. Whether you’re on Windows, Mac, or Linux, there are multiple methods and tools at your disposal. From the native Snipping Tool and Snip & Sketch on Windows to keyboard shortcuts on Mac and specialized utilities like GNOME Screenshot on Linux, this comprehensive guide equips you with the knowledge to capture and share your screen seamlessly. Experiment with these methods, discover the ones that align with your workflow, and elevate your screenshot game to new heights.