Mastering the Art of Audio Sculpting: A Comprehensive Guide to Using the Mix Window in Pro Tools
Introduction:
The Mix Window in Pro Tools stands as a pivotal hub for shaping, sculpting, and refining the sonic landscape of your audio productions. Serving as the central control center for mixing and mastering tasks, the Mix Window provides a wealth of tools and features for adjusting levels, applying effects, and balancing the elements of your mix with precision and finesse. In this exhaustive guide, we’ll embark on a deep dive into the Mix Window, exploring its core functionalities, advanced techniques, and practical tips to help you achieve professional-grade mixes in Pro Tools.
Understanding the Mix Window:
Before delving into the specifics of using the Mix Window, let’s take a moment to understand its fundamental components and layout:
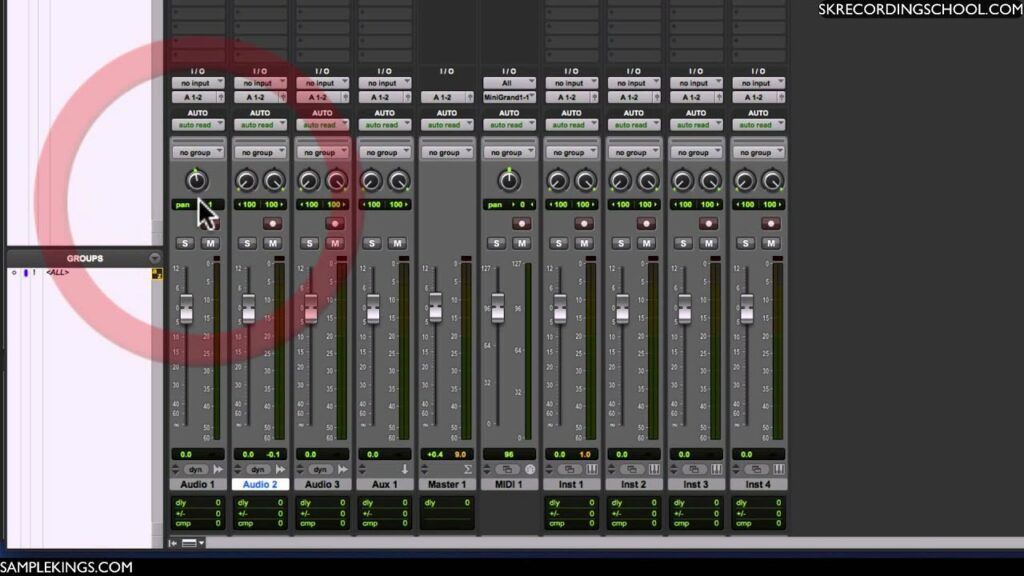
- Tracks and Channels: The Mix Window displays a vertical arrangement of tracks and channels, each representing a different audio or MIDI source in your session. Tracks can be organized into groups, folders, and submixes for easy navigation and management.
- Channel Strips: Each track in the Mix Window features a channel strip containing controls and parameters for adjusting volume, pan, solo, mute, and automation. Channel strips also provide access to inserts, sends, and other routing options for applying effects and processing.
- Metering and Monitoring: The Mix Window includes meters and monitoring options for monitoring input and output levels, as well as sending signals to external hardware and monitoring systems. Meters provide visual feedback on signal levels, allowing you to monitor and adjust levels in real-time.
- Mixing Controls: The Mix Window features a variety of mixing controls and tools for adjusting levels, applying effects, and shaping the overall sound of your mix. These include faders, knobs, buttons, and menus for controlling volume, dynamics, EQ, and spatial effects.
Getting Started with the Mix Window:
Now that we have a basic understanding of the Mix Window, let’s explore how to navigate and use its core features in Pro Tools:
- Navigating Tracks and Channels:
- Use the scroll bars and scroll wheel on your mouse to navigate vertically and horizontally within the Mix Window.
- Click and drag on track headers to rearrange tracks or adjust track heights for better visibility.
- Use keyboard shortcuts such as Command + [arrow keys] (macOS) or Ctrl + [arrow keys] (Windows) to scroll and navigate quickly through your mix.
- Adjusting Levels and Panning:
- Use the faders and pan knobs on each channel strip to adjust the volume and panning of individual tracks in your mix.
- Experiment with different panning positions to create spatial depth and separation between instruments and elements in your mix.
- Applying Inserts and Sends:
- Use inserts to apply audio effects and processing to individual tracks or channels in your mix. Click on the insert slots to access a list of available plugins and select the desired effect.
- Use sends to route audio signals from individual tracks to auxiliary or bus channels for parallel processing, reverb, delay, and other effects.
Advanced Mixing Techniques:
Now that you’re familiar with the basics, let’s explore some advanced mixing techniques to enhance your skills and elevate your mixes in Pro Tools:
- Grouping and Submixing:
- Group related tracks together to apply processing and adjustments to multiple tracks simultaneously. Create track groups for drums, vocals, guitars, and other instrument groups to streamline your mixing workflow.
- Use submix channels to create submixes for different sections of your mix, such as drums, bass, and vocals. Route multiple tracks to a submix channel to apply collective processing and effects to the entire group.
- Automation and Dynamic Mixing:
- Use automation to control and automate parameters such as volume, pan, and plugin settings over time. Draw automation curves directly on the channel strips or use automation modes to record automation in real-time.
- Experiment with automation shapes and curves to create dynamic and expressive changes in your mix, such as fades, swells, and filter sweeps.
- Mix Bus Processing:
- Apply processing and effects to the mix bus or master channel to shape the overall sound and character of your mix. Use mix bus compression, EQ, and saturation to glue the mix together and add warmth and depth.
- Experiment with different mix bus processing chains and settings to achieve the desired balance, clarity, and cohesion in your mix.
Integrating the Mix Window into Your Workflow:
As you become more comfortable with using the Mix Window, consider integrating it into your overall mixing workflow in the following ways:
- Efficient Mixing and Balancing:
- Use precise mixing techniques to balance levels, EQ, dynamics, and spatial effects to achieve clarity, cohesion, and balance in your mix.
- Take advantage of advanced mixing tools and techniques to sculpt and shape the sonic landscape of your mix with precision and finesse.
- Creative Exploration and Experimentation:
- Use the Mix Window as a canvas for creative exploration and experimentation, allowing you to sculpt and shape the sound of your mix with artistic flair.
- Experiment with different mixing techniques, effects chains, and processing options to create unique sounds, textures, and atmospheres in your music.
- Collaboration and Workflow Optimization:
- Collaborate with other musicians, producers, and engineers by sharing mixes and collaborating in real-time using cloud collaboration features in Pro Tools.
- Optimize your mixing workflow by customizing the Mix Window layout, preferences, and shortcuts to suit your preferences and streamline your creative process.
Conclusion:
The Mix Window in Pro Tools serves as a powerful and versatile workspace for shaping, sculpting, and refining the sonic landscape of your audio productions. By mastering its tools, techniques, and workflows, you’ll be well-equipped to achieve professional-grade mixes that stand out in today’s competitive music industry.
Whether you’re balancing levels, applying effects, or sculpting the overall sound of your mix, the Mix Window provides the tools and flexibility you need to achieve your creative vision. So, dive in, explore, and let the boundless possibilities of the Mix Window inspire your mixing journey in Pro Tools.


