Mastering Textual Harmony: A Comprehensive Guide on How to Create Split Color Text in Photoshop
Introduction:
Typography is an art form that transcends mere words; it is a visual language that communicates emotions, tone, and style. One captivating technique within the realm of text design is creating split color text. This dynamic approach involves dividing the text into different color segments, infusing energy and vibrancy into words. In this comprehensive guide, we will explore the step-by-step process of crafting split color text in Adobe Photoshop, empowering you to infuse your designs with eye-catching and expressive typography.
Section 1: Understanding the Impact of Split Color Text
1.1 Defining Split Color Text:
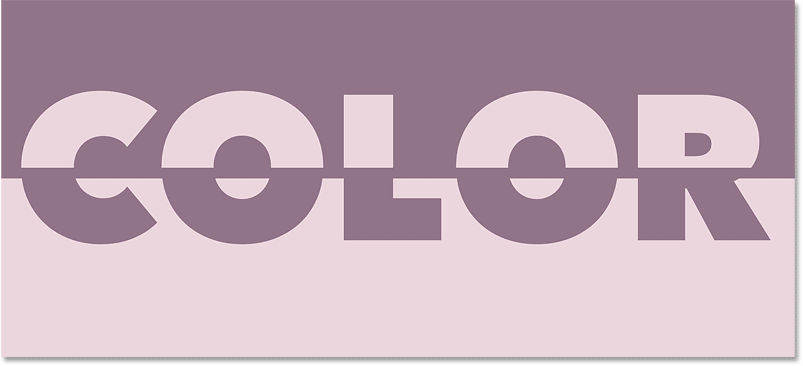
- Split color text involves dividing individual letters or words into segments and assigning different colors to each segment.
- This technique adds visual interest, depth, and a modern aesthetic to textual elements in graphic design.
1.2 Visual Appeal and Contrast:
- Split color text creates visual appeal through the strategic use of contrasting colors.
- The juxtaposition of hues enhances readability and draws attention to the text.
Section 2: Preparing Your Workspace in Photoshop
2.1 Launching Photoshop:
- Open Adobe Photoshop on your computer.
2.2 Creating a New Document:
- Begin by creating a new document where you’ll design your split color text.
- Go to “File” > “New” and set the dimensions and resolution according to your project requirements.
Section 3: Typing and Formatting Text
3.1 Selecting the Text Tool:
- Activate the Text Tool from the toolbar on the left side of the screen.
3.2 Typing Your Text:
- Click on the canvas and type the desired text.
- Adjust the font, size, and spacing to suit your design.
3.3 Duplicating Text Layers:
- Duplicate the text layer by right-clicking on the layer in the Layers panel and choosing “Duplicate Layer.”
- Repeat this step for each segment of your split color text.
Section 4: Applying Different Colors to Text Segments
4.1 Selecting Text Segments:
- Use the Text Tool to highlight the specific segment of text you want to color differently.
- Repeat this process for each segment.
4.2 Choosing Text Color:
- In the Options Bar at the top, choose a color for the selected text segment.
- Experiment with hues that complement or contrast for optimal visual impact.
4.3 Layer Styles for Consistency:
- For a consistent and efficient approach, utilize Layer Styles.
- Right-click on a text layer, choose “Blending Options,” and navigate to the “Color Overlay” option.
4.4 Experimenting with Gradients:
- Explore gradient overlays to add dynamic color transitions to each text segment.
- Adjust the gradient style, angle, and scale to achieve the desired effect.
Section 5: Aligning and Arranging Text Segments
5.1 Activating the Move Tool:
- Select the Move Tool from the toolbar.
5.2 Arranging Layers:
- Arrange the duplicated text layers by dragging and dropping them into the desired order in the Layers panel.
- This establishes the sequence of colors in your split color text.
5.3 Aligning Text Segments:
- Use the alignment tools in Photoshop to ensure precise alignment of text segments.
- Options like “Align Left Edges” or “Align Centers” help maintain a cohesive appearance.
Section 6: Customizing Individual Text Segments
6.1 Adding Effects to Individual Segments:
- Customize each text segment further by applying additional effects.
- Explore options like drop shadows, bevels, or glows for unique visual elements.
6.2 Adjusting Opacity:
- Fine-tune the opacity of individual text segments to control the intensity of colors.
- Lower opacity values can create subtle transitions between colors.
6.3 Experimenting with Text Transformations:
- Experiment with text transformations, such as scaling or skewing, to add dynamic angles to individual segments.
- This enhances the overall visual interest of the split color text.
Section 7: Applying Gradients to Entire Text
7.1 Merging Text Layers:
- Once satisfied with individual text segments, merge them into a single layer.
- Right-click on each text layer and choose “Merge Down.”
7.2 Applying Overall Gradient:
- Add an overall gradient to the merged text layer by selecting “Layer” > “Layer Style” > “Gradient Overlay.”
- Adjust gradient settings to enhance the overall cohesiveness.
Section 8: Fine-Tuning and Refining
8.1 Reviewing Overall Design:
- Step back and review the overall design to ensure balance and visual harmony.
- Make adjustments as needed to achieve a cohesive and polished look.
8.2 Experimenting with Backgrounds:
- Test different backgrounds to see how they interact with the split color text.
- The right background can enhance the overall impact of your design.
8.3 Saving and Preserving Layers:
- Save your work in Photoshop’s native PSD format to preserve layers and facilitate future edits.
- Export a copy of your design in a suitable format (e.g., JPEG or PNG) for sharing or use in other projects.
Section 9: Advanced Techniques and Variations
9.1 Adding Texture to Text:
- Experiment with adding texture overlays to individual text segments.
- Textures can add depth and a tactile quality to your split color text.
9.2 Incorporating 3D Effects:
- Explore 3D effects for a futuristic and dynamic twist.
- Photoshop’s 3D capabilities can elevate the visual impact of your split color text.
9.3 Animation and Motion Graphics:
- For digital and multimedia projects, consider adding animation or motion graphics to your split color text.
- Programs like Adobe After Effects can enhance the dynamic nature of your design.
Section 10: Troubleshooting and Common Issues
10.1 Blurring or Pixelation: – If text appears blurry or pixelated, ensure that your document resolution is sufficient. – Use higher-resolution settings for crisper text.
10.2 Consistency in Font and Size: – Maintain consistency in font and size across text segments for a unified appearance. – Consistent formatting ensures a polished and professional result.
10.3 Color Harmony: – Pay attention to color harmony and ensure that chosen hues complement each other. – Experiment with color palettes to find the most visually appealing combinations.
Conclusion:
Creating split color text in Photoshop is a dynamic and visually impactful way to elevate your design projects. This comprehensive guide has equipped you with the knowledge and techniques to master the art of split color text, from initial setup to advanced customization. Whether you’re designing posters, social media graphics, or striking visual elements, the ability to play with color and typography in this manner opens up a world of creative possibilities. Now, armed with these skills, go forth and transform your textual expressions into captivating works of art. Happy designing!


