Crafting Visual Depth: A Comprehensive Guide on How to Create a Drop Shadow Photo Border in Photoshop
Introduction:
In the realm of digital creativity and image manipulation, adding depth and dimension to photographs is a powerful technique that elevates visual appeal. One such versatile method is creating a drop shadow photo border, a subtle yet effective way to enhance the prominence of your images. In this comprehensive guide, we will walk through the step-by-step process of crafting a drop shadow photo border in Adobe Photoshop, empowering you to infuse your pictures with an extra layer of sophistication and visual intrigue.
Section 1: Understanding the Importance of Drop Shadows
1.1 Defining Drop Shadows:
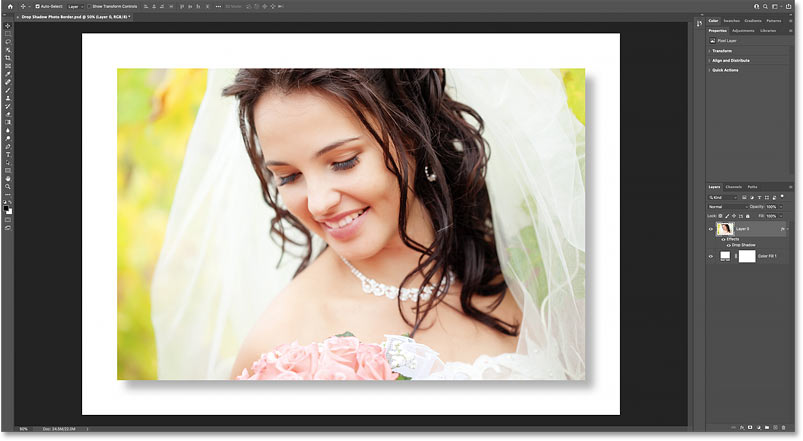
- A drop shadow is a visual effect that creates the illusion of a shadow behind an object, emphasizing its separation from the background.
- In the context of photo borders, drop shadows add depth and make the image appear to lift off the page.
1.2 Enhancing Visual Appeal:
- Drop shadows contribute to a three-dimensional feel, adding a touch of realism to flat images.
- They create a sense of depth and help the subject stand out against backgrounds.
Section 2: Preparing Your Workspace in Photoshop
2.1 Launching Photoshop:
- Open Adobe Photoshop on your computer.
2.2 Importing Your Image:
- Begin by importing the image you want to enhance with a drop shadow photo border.
- Go to “File” > “Open” and select your image.
2.3 Creating a New Layer:
- Before adding the drop shadow, create a new layer to ensure a non-destructive editing process.
- In the Layers panel, click on the “New Layer” icon.
Section 3: Crafting the Photo Border
3.1 Selecting the Image:
- With the new layer selected, use the Rectangular Marquee Tool to create a selection around the entire image.
3.2 Expanding the Selection:
- To accommodate the drop shadow, expand the selection by going to “Select” > “Modify” > “Expand.”
- Choose an expansion value based on the desired width of the drop shadow.
3.3 Filling the Selection:
- Select the Paint Bucket Tool and fill the expanded selection with a color of your choice.
- This will serve as the base for the drop shadow.
Section 4: Adding the Drop Shadow
4.1 Accessing Layer Styles:
- Right-click on the filled layer in the Layers panel and choose “Blending Options.”
4.2 Selecting Drop Shadow:
- In the Layer Style dialog box, activate the “Drop Shadow” option from the left sidebar.
4.3 Adjusting Drop Shadow Settings:
- Fine-tune the drop shadow settings to achieve the desired effect.
- Experiment with parameters such as distance, spread, size, and opacity.
4.4 Previewing in Real-Time:
- Utilize the real-time preview feature in the Layer Style dialog box to see how adjustments impact the drop shadow.
- Ensure the shadow complements the image without overpowering it.
Section 5: Exploring Advanced Drop Shadow Techniques
5.1 Contouring the Shadow:
- Experiment with the contour settings to add variation to the drop shadow.
- Custom contours can create unique shadow shapes, adding sophistication to the border.
5.2 Colorizing the Shadow:
- To introduce a subtle color element, explore the option to colorize the drop shadow.
- Adjust the color and opacity to achieve a harmonious blend with the image.
5.3 Using Global Light:
- Maintain consistency in lighting by utilizing the Global Light feature.
- Adjust the angle and altitude to align the drop shadow with the overall lighting in the image.
Section 6: Applying Layer Styles for Additional Effects
6.1 Adding Stroke:
- Enhance the photo border further by adding a stroke.
- In the Layer Style dialog box, activate the “Stroke” option and customize the stroke settings.
6.2 Embossing for Texture:
- For a textured border, explore the Bevel & Emboss option in Layer Styles.
- Adjust settings such as depth and size to introduce a subtle embossed effect.
6.3 Outer Glow for Radiance:
- Introduce a gentle glow to the border with the Outer Glow option.
- Experiment with color and opacity to achieve a radiant effect.
Section 7: Fine-Tuning and Previewing
7.1 Adjusting Layer Opacity:
- Fine-tune the overall intensity by adjusting the opacity of the filled layer.
- A lower opacity can create a more subtle drop shadow effect.
7.2 Previewing Different Blending Modes:
- Experiment with blending modes for the filled layer to explore alternative looks.
- Modes like Multiply and Overlay can yield different visual outcomes.
7.3 Applying Changes and Saving:
- Once satisfied with the drop shadow photo border, click “OK” in the Layer Style dialog box.
- Save your work to preserve the enhanced image.
Section 8: Exploring Variations and Customization
8.1 Multiple Drop Shadows:
- Push the creative boundaries by adding multiple drop shadows with varying settings.
- Layering shadows can create intricate and dynamic borders.
8.2 Gradient Fills:
- Experiment with gradient fills for the photo border to introduce a smooth transition of colors.
- Gradient-filled borders can add a touch of sophistication.
8.3 Custom Shapes:
- Think beyond rectangles and experiment with custom shapes for the photo border.
- Custom shapes can lend a distinctive and artistic flair.
Section 9: Saving and Exporting Your Enhanced Image
9.1 Saving Your Photoshop File:
- To preserve layers and editing flexibility, save your work in Photoshop’s native PSD format.
9.2 Exporting for Sharing:
- When ready to share or use the image, export it in a suitable format such as JPEG or PNG.
- Choose an export option based on your intended use and platform.
Section 10: Troubleshooting Common Issues
10.1 Blurring or Pixelation: – If the drop shadow appears pixelated or blurry, ensure that the image resolution is sufficient. – Use higher-resolution images for sharper results.
10.2 Adjusting Layer Order: – Experiment with the order of layers in the Layers panel. – Placing the image layer on top may yield different visual effects.
10.3 Transparency and Opacity: – Check transparency settings and layer opacities. – Inconsistent opacity values can affect the overall appearance of the drop shadow.
Conclusion:
Crafting a drop shadow photo border in Photoshop is a skill that adds depth, sophistication, and a touch of artistic flair to your images. This comprehensive guide has walked you through the step-by-step process, from preparing your workspace to exploring advanced techniques. By understanding the nuances of drop shadows, experimenting with layer styles, and customizing the border to suit your creative vision, you have gained the tools to transform your photographs into visually captivating works of art. Whether you’re a photographer, graphic designer, or digital artist, the ability to create drop shadow photo borders opens up new dimensions in your creative journey. Happy crafting!


