Mastering Start Menu Customization: A Comprehensive Guide to Personalizing the Start Menu in Windows 7
In the bustling digital realm of Windows 7, the Start menu serves as the gateway to a plethora of applications, settings, and resources, offering users a centralized hub for accessing and managing their computing environment. However, what sets Windows 7 apart is its flexibility and customizability, allowing users to tailor the Start menu to suit their preferences and workflow. In this extensive guide, we will embark on a journey to demystify Start menu customization, exploring its myriad features and functionalities to empower users with the tools and knowledge needed to personalize their Windows 7 experience to perfection.
Understanding the Start Menu in Windows 7:
Before delving into the intricacies of customization, let’s first grasp the concept and significance of the Start menu in Windows 7:
- Definition: The Start menu is the central hub for launching programs, accessing files, and navigating system settings in Windows 7. It provides a user-friendly interface that organizes applications, documents, and system utilities into convenient categories for easy access.
- Versatility: The Start menu offers versatile navigation options, including a list of frequently used programs, a search box for finding files and applications, and links to commonly accessed system locations such as Control Panel, Documents, and Pictures.
- Customization Options: Windows 7 provides extensive customization options for the Start menu, allowing users to personalize its appearance, organization, and functionality to suit their preferences and workflow.
Customizing the Start Menu:
Now, let’s explore the step-by-step process of customizing the Start menu in Windows 7:
- Accessing Start Menu Properties:
- Right-click on the Start button in the taskbar.
- Select “Properties” from the context menu to open the Taskbar and Start Menu Properties window.
- Customizing Start Menu Appearance:
- In the Start Menu tab of the Taskbar and Start Menu Properties window, click on the “Customize” button.
- Here, you can customize various aspects of the Start menu appearance, such as the number of recent programs to display, the size of icons, and whether to display recently opened items.
- Adding or Removing Items:
- To add or remove items from the Start menu, click on the “Start Menu” tab in the Taskbar and Start Menu Properties window.
- Click on the “Customize” button to access customization options.
- Check or uncheck the checkboxes next to items you want to display or hide in the Start menu.
- Customizing Power Button Action:
- In the Start Menu tab of the Taskbar and Start Menu Properties window, you can customize the action of the power button in the Start menu.
- Choose whether to display the “Shut down” button, the “Log off” button, or both, and customize the default action of the power button.
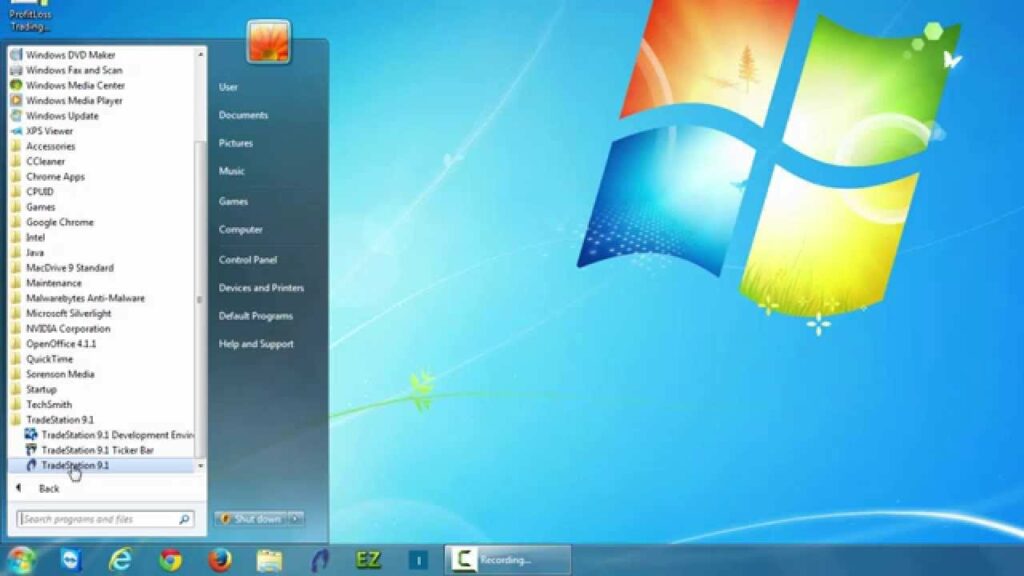
- Organizing Start Menu Items:
- To organize the items displayed in the Start menu, navigate to the Start menu folder by clicking on “All Programs” in the Start menu.
- Here, you can create new folders, rename existing folders, and move shortcuts to different locations within the Start menu hierarchy.
- Using Jump Lists:
- Take advantage of Jump Lists, a feature in Windows 7 that provides quick access to recently opened files, folders, and tasks associated with specific programs.
- Right-click on a program icon in the Start menu or taskbar to access its Jump List and perform various actions, such as opening recent documents or pinning items to the list.
Advanced Features and Tips:
To make the most of Start menu customization and optimize your workflow in Windows 7, consider the following advanced features and tips:
- Pinning Programs and Folders: Pin frequently used programs and folders to the Start menu or taskbar for quick access. Right-click on a program or folder and select “Pin to Start menu” or “Pin to taskbar” from the context menu.
- Customizing Start Menu Icons: Customize the icons displayed in the Start menu by replacing default icons with custom icons. Right-click on a program shortcut, select “Properties,” and click on the “Change Icon” button to choose a new icon from the available options.
- Creating Custom Start Menu Shortcuts: Create custom shortcuts to files, folders, or websites and add them to the Start menu for easy access. Right-click on the desktop or in a folder, select “New” > “Shortcut,” and follow the on-screen prompts to create the shortcut. Then, drag and drop the shortcut into the desired location in the Start menu.
- Exploring Third-Party Start Menu Enhancements: Explore third-party software solutions that offer advanced Start menu customization options and additional features, such as enhanced search functionality, customizable skins, and alternative Start menu layouts.
Conclusion:
The Start menu in Windows 7 is a versatile and powerful tool for launching programs, accessing files, and navigating system settings. By following the comprehensive guide outlined above, users can leverage the customization options available in Windows 7 to tailor the Start menu to their preferences and workflow. Whether it’s organizing items, customizing appearance, or optimizing functionality, the Start menu empowers users with the tools and flexibility needed to enhance their computing experience. So dive into the world of Start menu customization today, unleash your creativity, and transform your Windows 7 desktop into a personalized digital workspace tailored to your needs.


