Mastering Artistry: A Comprehensive Guide to the Painted Edges Photo Border Effect in Photoshop
Introduction:
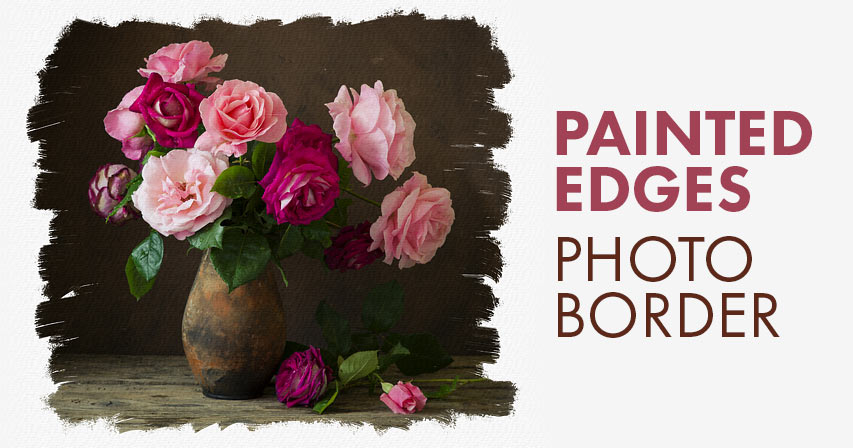
In the realm of digital photography, the quest for creative expression often leads photographers to explore innovative techniques that go beyond traditional post-processing. One such captivating effect that adds an artistic touch to photographs is the Painted Edges Photo Border Effect. This technique mimics the appearance of hand-painted borders, lending a unique and visually appealing frame to your images. In this extensive guide, we will delve into the step-by-step process of creating the Painted Edges Photo Border Effect in Adobe Photoshop, unlocking a world of artistic possibilities.
- Selecting the Right Image: The success of the Painted Edges Photo Border Effect begins with choosing a suitable image. Consider the composition, subject matter, and overall mood of the photograph. Images with distinct subjects and well-defined edges often work exceptionally well for this effect, allowing the painted borders to complement rather than overpower the main elements.
- Opening the Image in Photoshop: Begin by opening your selected image in Adobe Photoshop. Ensure that you are working with a high-resolution file to maintain image quality throughout the editing process. Navigate to File > Open and select the desired image from your files.
- Creating a New Canvas: To implement the Painted Edges Photo Border Effect, it’s beneficial to create a new canvas that will serve as the space for the painted borders. Go to File > New and set the dimensions based on your preferences. A square canvas often works well for this effect, allowing for balanced borders on all sides.
- Copying the Image to the New Canvas: Copy the original image onto the new canvas by selecting the Move tool (V), clicking on the image, and dragging it to the new canvas. Resize the image if necessary to fit within the dimensions of the canvas. This step establishes the foundation for applying the painted borders.
- Creating a Background Layer: Establish a background layer for the new canvas. Choose a color that complements the overall tone of your image. The background layer provides the base on which the painted edges will be applied. Use the Paint Bucket tool (G) to fill the background layer with your chosen color.
- Applying the Painted Edges Effect: The key to achieving the Painted Edges Photo Border Effect lies in applying filters and effects that simulate the appearance of painted strokes. Start by selecting the duplicated image layer and navigate to Filter > Filter Gallery. Experiment with artistic filters such as Brush Strokes, Watercolor, or Dry Brush to create the desired painted effect.
- Fine-Tuning Filter Settings: Within the Filter Gallery, explore the settings of the chosen filter to fine-tune the appearance of the painted edges. Adjust parameters such as stroke length, brush size, or texture intensity to achieve a balance between the painted effect and retaining recognizable details from the original image.
- Duplicating and Overlaying Layers: To enhance the painted borders, duplicate the filtered layer by right-clicking on the layer in the Layers panel and selecting “Duplicate Layer.” Experiment with layer blending modes, such as Overlay or Soft Light, to overlay the duplicated layer on top of the original. This step adds depth and intensifies the painted edges.
- Adding Texture and Detail: Elevate the visual interest of the painted borders by incorporating texture and additional details. Create a new layer and use brushes or texture overlays to add subtle elements, such as splatters or brush strokes. Adjust the opacity and blending modes of these layers to integrate them seamlessly with the painted edges.
- Adjusting Hue/Saturation: Fine-tune the overall color harmony by adjusting the Hue/Saturation of the painted borders. Create an adjustment layer by clicking on the “Create new fill or adjustment layer” icon at the bottom of the Layers panel and selecting Hue/Saturation. Experiment with saturation and color sliders to achieve a cohesive and visually pleasing color palette.
- Adding Shadows and Highlights: Emphasize the three-dimensional illusion of the painted edges by incorporating shadows and highlights. Create new layers and use a soft brush to paint shadows along the edges where light would naturally fall. Similarly, add highlights to areas that would catch light. Adjust the opacity of these layers to maintain subtlety.
- Finalizing and Fine-Tuning: Step back and assess the overall composition. Fine-tune any aspects that require adjustment, ensuring that the painted edges complement the main subject of the image. Consider making global adjustments, such as contrast or brightness, to harmonize the entire composition.
- Saving and Exporting: Once satisfied with the Painted Edges Photo Border Effect, save your work in Photoshop format (.psd) to retain layers and editing capabilities. For sharing or printing, export the final image in a suitable format, such as JPEG or PNG, ensuring that the resolution meets your intended use.
Conclusion:
The Painted Edges Photo Border Effect in Photoshop offers a delightful blend of artistic expression and digital innovation. By simulating the appearance of hand-painted strokes, photographers can elevate their images into works of art that evoke a sense of craftsmanship and creativity. This technique opens up a realm of possibilities for customization and experimentation, allowing photographers to infuse their personal style into their compositions.
As you embark on the journey of applying the Painted Edges Photo Border Effect, embrace the creative freedom that Photoshop provides. Explore different filters, textures, and blending modes to discover unique variations of the effect. The convergence of digital precision and artistic flair within this technique exemplifies the endless potential for photographers to push the boundaries of visual storytelling and create images that resonate with a sense of timeless artistry.


