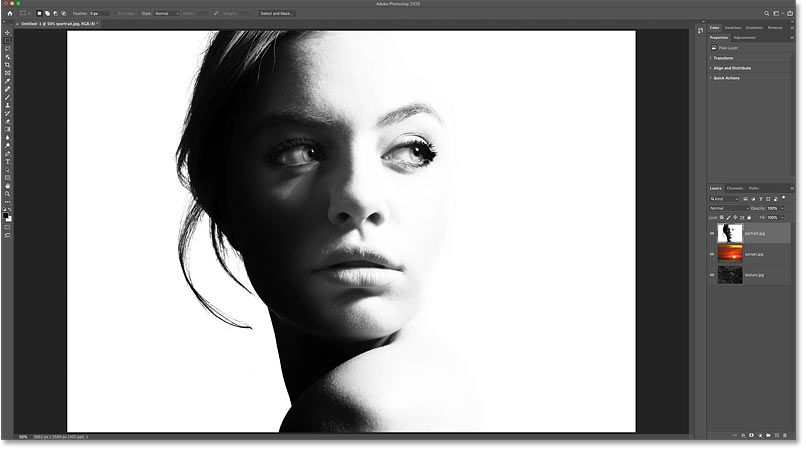
Crafting Photographic Inception: A Comprehensive Guide to Creating a Photo Within a Photo with Photoshop
Introduction:
In the ever-evolving realm of digital photography, the quest for creative expression knows no bounds. One intriguing and visually captivating technique that has gained popularity is the creation of a photo within a photo, often referred to as the “Inception” effect. This innovative approach involves embedding one image seamlessly into another, producing a captivating visual narrative. In this extensive guide, we will explore the step-by-step process of creating a photo within a photo using the powerful tools and features of Adobe Photoshop.
- Choosing the Right Images: The foundation of a compelling photo within a photo composition lies in selecting two images that complement each other thematically or aesthetically. Consider the narrative you want to convey and how the primary image will seamlessly integrate with the secondary photo. Ensure that the resolution and quality of both images are suitable for a cohesive final result.
- Opening Images in Photoshop: Start by opening both the primary and secondary images in Adobe Photoshop. This can be achieved by navigating to File > Open and selecting the desired image files. Photoshop’s versatility allows for working with a wide range of file formats, ensuring compatibility with various types of photography.
- Setting up the Canvas: Create a new canvas that will serve as the composite space for your photo within a photo. To do this, go to File > New and set the dimensions based on your preferences. The canvas size should accommodate both images comfortably, providing ample space for the creative merging of the two photographs.
- Placing the Primary Image: Begin by placing the primary image onto the canvas. This can be done by selecting File > Place Embedded and choosing the desired image file. Resize and position the image according to your vision, ensuring that it forms the foundation for the overarching composition.
- Adding the Secondary Image: Next, place the secondary image onto the canvas using the same process as before. This image will be integrated into the primary photo, creating the illusion of a photo within a photo. Experiment with different placement options to achieve the desired visual impact.
- Creating Clipping Masks: To seamlessly blend the secondary image into the primary one, utilize Photoshop’s clipping mask feature. Position the secondary image above the primary one in the layers panel, right-click on the secondary image layer, and choose “Create Clipping Mask.” This action confines the visibility of the secondary image to the shape of the primary photo, fostering a harmonious integration.
- Adjustment Layers for Cohesion: Use adjustment layers to unify the overall color and tone of both images. Common adjustment layers for this purpose include Curves, Levels, and Hue/Saturation. Experiment with these adjustments to achieve a cohesive look that enhances the visual continuity between the primary and secondary photos.
- Refining Edges and Details: To enhance the realism of the photo within a photo composition, pay attention to details and refine edges where necessary. Utilize Photoshop’s selection tools, such as the Pen Tool or Magic Wand, to create precise selections. Refine edges using feathering, masking, or the Refine Edge tool to seamlessly integrate the two images.
- Adding Shadows and Highlights: Enhance the three-dimensional illusion of the embedded photo by incorporating shadows and highlights. Create a new layer and use the Brush tool to paint shadows and highlights where appropriate. Adjust the opacity and blending modes of these layers to achieve a natural and convincing effect.
- Applying Filters and Textures: Experiment with filters and textures to add an artistic touch to your composition. Photoshop offers a variety of filters that can be applied selectively to specific layers. Additionally, textures can be introduced to create a tactile and visually engaging element within the photo within a photo concept.
- Blending Modes for Artistic Impact: Explore the diverse blending modes available in Photoshop to enhance the visual appeal of your composition. Experiment with modes such as Overlay, Multiply, and Screen to achieve unique and creative results. Blending modes can significantly alter the way layers interact, contributing to the overall mood of the image.
- Final Touches and Global Adjustments: Complete the composition by making final touches and global adjustments. This may include fine-tuning colors, sharpening details, or applying overall tonal adjustments. Take a step back to evaluate the composition as a whole, ensuring that the integration of the photo within a photo is seamless and visually striking.
- Saving and Exporting: Once satisfied with your creation, save the project file in Photoshop format (.psd) to retain layers and editing capabilities. For sharing or printing, export the final image in a suitable format, such as JPEG or PNG, ensuring that the resolution meets your intended use.
Conclusion:
Creating a photo within a photo in Photoshop is a delightful journey into the realm of artistic expression and visual storytelling. The software’s robust features, from layer masking to blending modes, provide photographers with a versatile toolkit to bring their creative visions to life. Whether aiming for surreal juxtapositions, conceptual narratives, or simply exploring the boundaries of visual imagination, the process of embedding one image seamlessly into another opens up a world of possibilities.
As you embark on your journey of crafting photos within photos, remember that experimentation and creativity are the guiding forces. Embrace the endless potential that Photoshop offers, and let your imagination soar as you weave captivating visual stories through the artful integration of images. The photo within a photo technique exemplifies the boundless nature of digital creativity, inviting photographers to transcend conventional boundaries and explore the limitless realms of visual storytelling.


