Expanding Start: A Comprehensive Guide on How to Add Another Column to the Start Menu in Windows 10
Introduction:
The Start Menu in Windows 10 serves as the central hub for launching applications, accessing settings, and navigating through the various features of the operating system. While the default layout is designed for efficiency, users may find the need for additional customization options, such as adding another column to the Start Menu. In this extensive guide, we will delve into the intricacies of expanding the Start Menu by adding another column in Windows 10, providing users with the knowledge and tools to enhance their desktop experience.
Understanding the Start Menu in Windows 10:
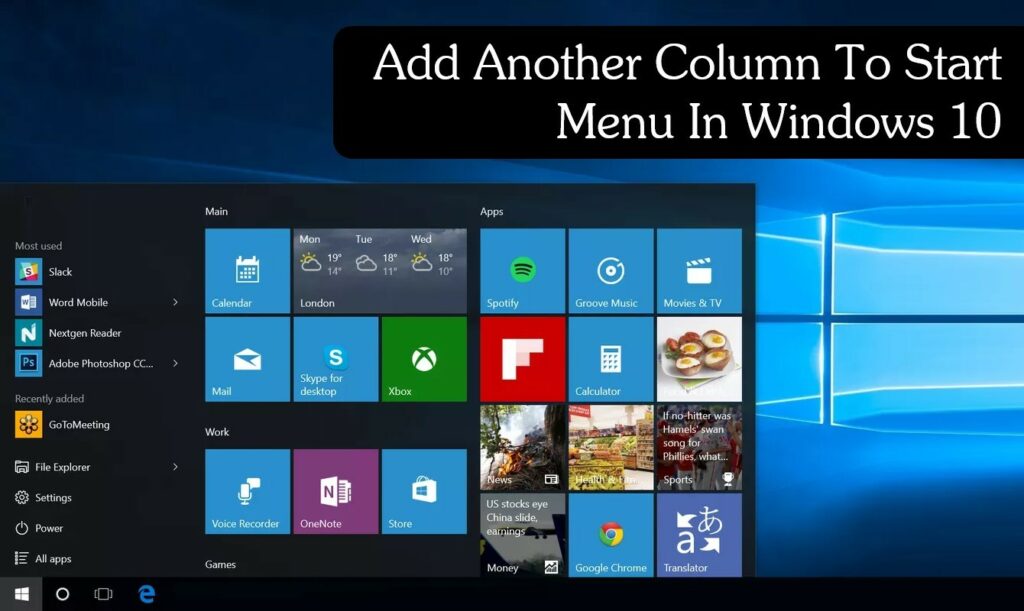
The Start Menu is a cornerstone of the Windows user interface, combining elements of traditional menu systems with modern features. It features a two-column layout by default, with the left column containing user shortcuts, recently added and most-used applications, and system features. The right column displays live tiles that provide real-time updates from applications, offering a dynamic and interactive interface. Adding another column to the Start Menu allows users to organize and access a larger number of applications without compromising on efficiency.
Benefits of Adding Another Column to the Start Menu:
- Enhanced Organization:
- An additional column provides more space for organizing and categorizing applications, making it easier to locate and access specific programs.
- Efficient Navigation:
- With more columns, users can reduce the need for scrolling through the Start Menu, streamlining the navigation process and saving time.
- Expanded Application Access:
- Adding another column enables users to have quick access to a greater number of applications directly from the Start Menu, eliminating the need to search or access them through secondary menus.
- Personalized Layout:
- Customizing the Start Menu with additional columns allows users to create a personalized layout that aligns with their workflow and preferences.
- Improved Visual Aesthetics:
- A well-organized and expanded Start Menu contributes to an improved visual aesthetic, creating a desktop environment that is both functional and visually appealing.
Methods to Add Another Column to the Start Menu in Windows 10:
Windows 10 doesn’t offer a built-in option to add another column to the Start Menu through standard settings. However, users can achieve this customization using third-party tools or by making modifications to the Windows Registry. The following are two commonly used methods:
Method 1: Using a Third-Party Start Menu Customization Tool
- Choose a Start Menu Customization Tool:
- Download and install a third-party Start Menu customization tool that allows users to modify the layout and appearance of the Start Menu. Examples include “Start10” or “Open-Shell (formerly Classic Shell).”
- Install and Configure the Tool:
- Follow the instructions provided by the chosen tool to install and configure it according to your preferences.
- Look for options related to the number of columns and adjust them to add another column to the Start Menu.
- Apply Changes:
- Save the changes made through the customization tool, and the Start Menu should now display an additional column.
Method 2: Using Windows Registry Editor (Advanced Users)
Warning: Editing the Windows Registry is a powerful and potentially risky operation. Proceed with caution and consider creating a backup before making any changes.
- Open Windows Registry Editor:
- Press “Windows key + R” to open the Run dialog.
- Type “regedit” and press Enter to open the Windows Registry Editor.
- Navigate to Start Menu Settings:
- In the Registry Editor, navigate to the following key:
HKEY_CURRENT_USER\Software\Microsoft\Windows\CurrentVersion\Explorer\Advanced
- In the Registry Editor, navigate to the following key:
- Create a New DWORD Value:
- Right-click on the right pane, select “New” -> “DWORD (32-bit) Value.”
- Name the new value “Start_LargeMFUIcons” and set its value to “1.”
- Restart Explorer:
- Press “Ctrl + Shift + Esc” to open Task Manager.
- Locate “Windows Explorer” in the process list, right-click it, and select “Restart” to apply the changes.
- Verify the Start Menu:
- Open the Start Menu to verify that an additional column has been added. If not, restart your computer for the changes to take effect.
Considerations and Additional Tips:
- Compatibility:
- Before using third-party tools, ensure compatibility with your version of Windows 10, and download them from reputable sources.
- Backup Your System:
- When making changes to the Windows Registry, it’s advisable to create a backup to revert to in case of unexpected issues.
- Check for Updates:
- Regularly check for updates to third-party tools to ensure compatibility with the latest versions of Windows 10.
- Explore Start Menu Settings:
- While Windows 10 doesn’t offer a built-in option for additional columns, periodically check system updates and settings for new customization options.
- Community Forums and Discussions:
- Engage with Windows 10 community forums and discussions to discover advanced customization tips, troubleshooting advice, and insights from experienced users.
Conclusion:
Adding another column to the Start Menu in Windows 10 is a powerful customization option that can significantly improve organization and accessibility. By following the comprehensive methods outlined in this guide, users can choose the approach that best suits their preferences and skill level. Embrace the flexibility of Windows 10, tailor your Start Menu to your workflow, and transform your desktop into a more efficient and personalized workspace. Windows 10 offers a world of customization possibilities—master them to make your digital experience truly yours.


