Elevating Your Production: An Extensive Guide to Adding Lower Thirds in DaVinci Resolve
Introduction:
Lower thirds are essential graphical elements in video production, providing context, identification, and additional information to the audience without interrupting the main content. In DaVinci Resolve, renowned for its comprehensive editing and compositing capabilities, adding lower thirds is a straightforward yet powerful process. In this extensive guide, we’ll delve deep into the art of adding lower thirds in DaVinci Resolve, equipping you with the knowledge and techniques to enhance your videos with professional-looking lower third graphics.
Understanding Lower Thirds in DaVinci Resolve:
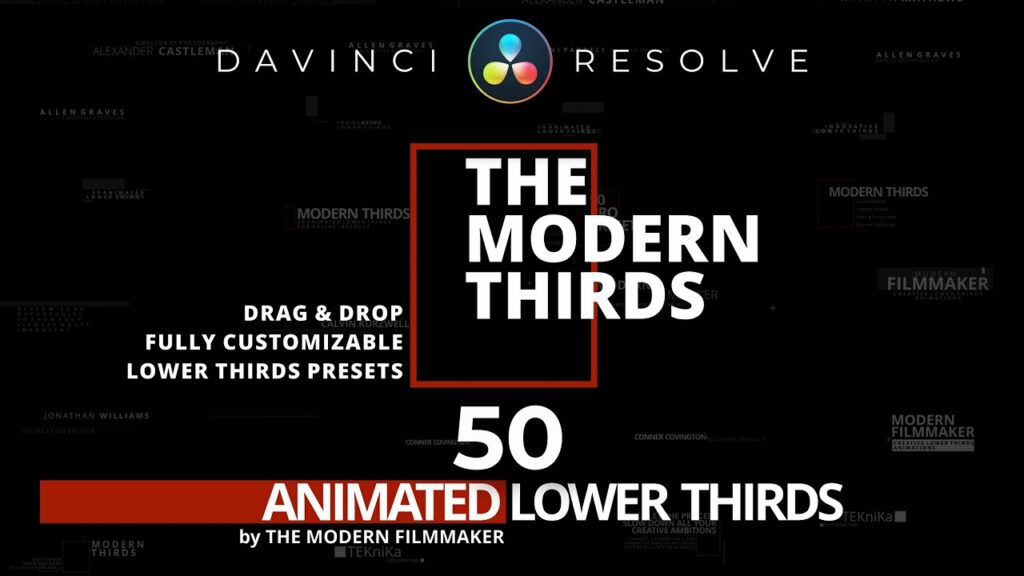
Lower thirds are graphical overlays placed in the lower portion of the screen, typically containing text or graphics that provide context, such as names, titles, or additional information about the content being presented. In DaVinci Resolve, lower thirds can be created and customized using various tools and effects to align with the style and branding of your project.
Using DaVinci Resolve for Adding Lower Thirds:
Let’s explore the step-by-step process of adding lower thirds in DaVinci Resolve:
- Open the Fusion Page:
- Launch DaVinci Resolve and open your project. Navigate to the Fusion page by clicking on the Fusion tab at the bottom of the interface. Fusion is DaVinci Resolve’s node-based compositing environment, where you’ll create and customize lower thirds.
- Add a Text Node:
- Start by adding a Text node to the Fusion composition. Right-click in the node graph and select “Add Tool” > “Text” to create a new Text node. This will serve as the foundation for your lower third graphic.
- Customize Text Properties:
- With the Text node selected, open the Inspector panel to access the text properties. Here, you can customize various aspects of the text, including font, size, alignment, color, and spacing. Type the text you want to display in the Text field and adjust the properties to achieve the desired look.
- Position and Transform:
- Use the Transform controls in the Inspector panel to position, scale, and rotate the text within the composition. You can also adjust the anchor point to control the pivot point for transformations.
- Add Background Graphics (Optional):
- To enhance the visual appeal of the lower third, you can add background graphics or shapes behind the text. Use shape nodes, such as Rectangle or Ellipse, to create background elements, and adjust their properties to achieve the desired appearance.
- Apply Effects and Styles:
- Enhance your lower third with effects and styles to make it stand out. DaVinci Resolve offers a variety of built-in effects, such as drop shadows, glows, outlines, and gradients, which you can apply to the text or background elements to create visual interest and depth.
- Animate the Lower Third:
- Bring your lower third to life with animation. Use keyframes to animate the position, scale, rotation, opacity, and other properties of the lower third over time. Create smooth transitions, dynamic movements, and eye-catching effects to draw attention to the lower third graphic.
- Preview and Fine-Tune:
- Preview the lower third in the viewer window to assess its appearance and behavior. Fine-tune the text properties, effects, and animations as needed to achieve the desired look and feel for your lower third.
- Composite Lower Third:
- Once you’re satisfied with the lower third design, integrate it into your timeline on the Edit page. Simply drag and drop the Fusion composition containing the lower third onto the timeline to overlay it onto your footage.
- Export Your Project:
- Finally, render your project to export the final video with the lower third included. Navigate to the Deliver page, configure the export settings, and click “Add to Render Queue” to queue the project for rendering. Then, click “Start Render” to export the video with your lower third graphic.
Best Practices for Adding Lower Thirds:
To create impactful and visually appealing lower thirds in DaVinci Resolve, consider the following best practices:
- Keep It Simple and Readable:
- Keep your lower thirds simple and easy to read. Avoid overcrowding the screen with excessive text or complex designs. Aim for clarity and readability, especially if the lower third contains important information.
- Maintain Consistency:
- Maintain consistency in typography, color scheme, and style across all your lower thirds. Use a cohesive design language that aligns with the overall aesthetic of your project to create a unified visual identity.
- Pay Attention to Timing:
- Pay attention to the timing and duration of your lower thirds within the video. Ensure that they appear and disappear at appropriate moments, allowing sufficient time for viewers to read and digest the information.
- Use Animation Wisely:
- Use animation to enhance the impact of your lower thirds, but avoid excessive or distracting animations that detract from the message. Aim for subtle and purposeful motion that complements the content and engages the viewer.
- Test on Different Devices:
- Test your lower thirds on different devices and screen sizes to ensure compatibility and readability across various platforms. Consider how they will appear on small screens, mobile devices, and large displays to optimize the viewing experience.
Conclusion:
Adding lower thirds in DaVinci Resolve is a creative and versatile process that allows you to enhance your videos with informative and visually appealing graphics. By leveraging the text tools, effects, and animation capabilities available in DaVinci Resolve’s Fusion page, you can design and animate lower thirds that captivate your audience and reinforce your message. Whether you’re producing a documentary, tutorial, vlog, or any other type of content, mastering the art of adding lower thirds in DaVinci Resolve empowers you to elevate the production value of your projects and deliver compelling visual storytelling. Experiment with different techniques, explore creative possibilities, and let your imagination soar as you craft captivating lower thirds that leave a lasting impression on your viewers.


