Mastering Clip Adjustments with the Inspector: A Comprehensive Guide to DaVinci Resolve’s Powerful Tool
Introduction: In the realm of video editing, precision and control are paramount. Whether you’re fine-tuning color, adjusting audio levels, or applying visual effects, the Inspector panel in DaVinci Resolve stands as a versatile and indispensable tool for clip adjustments. In this comprehensive guide, we delve into the intricacies of using the Inspector for clip adjustments, unlocking a world of creative possibilities and empowering editors to achieve professional-grade results with precision and finesse.
Section 1: Understanding the Inspector Panel Before diving into the specifics of clip adjustments, it’s essential to understand the role of the Inspector panel in DaVinci Resolve. This section provides an overview of the Inspector panel, its layout, functionalities, and integration within the editing and color grading workflow.
- Exploring the Inspector interface: Navigate the layout and organization of the Inspector panel within DaVinci Resolve’s Edit and Color pages, including parameter controls, adjustment tabs, and context-sensitive menus.
- Understanding Inspector functionalities: Familiarize yourself with the key functionalities and controls available in the Inspector panel, such as clip attributes, effects controls, and metadata editing. Learn how to access and manipulate clip properties, apply effects and transformations, and customize settings for individual clips.
Section 2: Basic Clip Adjustments with the Inspector The Inspector panel empowers editors to make a wide range of basic adjustments to individual clips, from color grading and audio processing to motion graphics and visual effects. This section provides step-by-step tutorials and demonstrations for performing basic clip adjustments using the Inspector in DaVinci Resolve.
- Adjusting color and exposure: Learn how to use the Inspector panel to perform basic color grading and exposure adjustments on individual clips. Explore techniques for adjusting brightness, contrast, saturation, and white balance, and apply basic color corrections to achieve optimal image quality.
- Fine-tuning audio levels: Discover how to use the Inspector panel to adjust audio levels and properties for individual clips. Learn how to adjust volume, balance, and panning, apply audio effects and filters, and synchronize audio tracks with visual elements to achieve seamless integration and coherence.
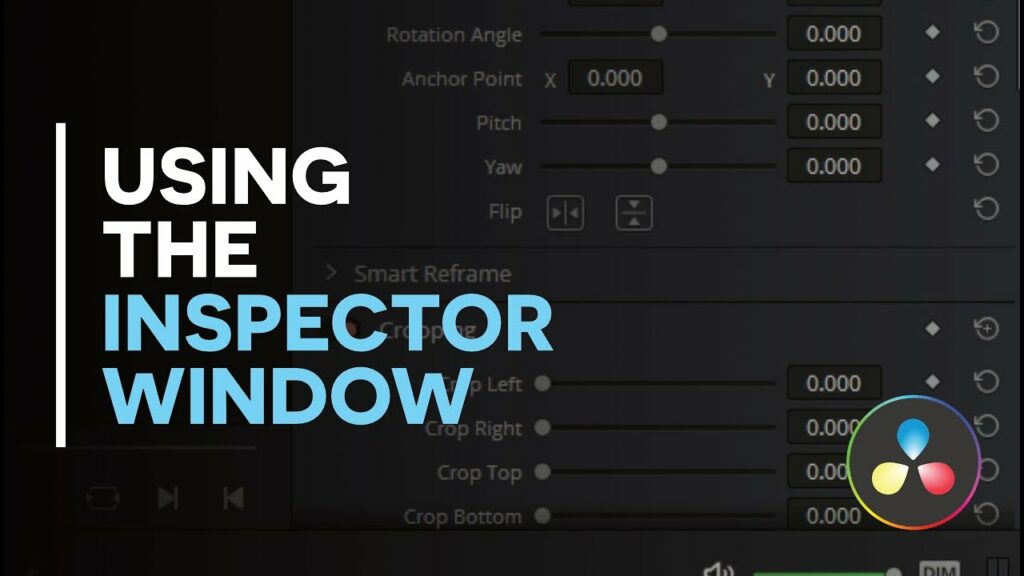
- Applying visual effects and transformations: Explore the creative possibilities of the Inspector panel by applying visual effects and transformations to individual clips. Learn how to add motion graphics, transitions, and overlays, manipulate scale, rotation, and position, and create dynamic visual compositions that enhance storytelling and engagement.
Section 3: Advanced Clip Adjustments and Techniques Beyond basic adjustments, the Inspector panel offers advanced tools and techniques for fine-tuning clip properties and achieving professional-grade results. This section delves into nuanced approaches to clip adjustments, offering insights into optimizing workflow efficiency, troubleshooting common challenges, and pushing creative boundaries.
- Utilizing keyframes and animation: Master the art of keyframing and animation in DaVinci Resolve’s Inspector panel to create dynamic and expressive clip adjustments. Learn how to animate properties such as position, scale, opacity, and color over time, and create complex motion graphics and visual effects that enhance storytelling and engagement.
- Customizing effects and presets: Explore techniques for customizing effects and presets in the Inspector panel to achieve unique and personalized clip adjustments. Learn how to create and save custom effect presets, apply them to individual clips or entire timelines, and streamline your editing workflow with efficiency and consistency.
Section 4: Real-World Applications and Case Studies Gain inspiration and insight from real-world examples and case studies that demonstrate the creative potential and practical applications of clip adjustments in DaVinci Resolve. This section showcases innovative editing techniques employed in diverse contexts, from narrative films and documentaries to commercials and music videos.
- Narrative filmmaking: Explore how filmmakers use the Inspector panel in DaVinci Resolve to fine-tune clip properties and achieve cinematic quality in narrative films. Discover techniques for color grading, audio mixing, and visual effects that enhance storytelling, evoke emotion, and captivate audiences with immersive cinematic experiences.
- Documentary filmmaking: Experience the versatility of the Inspector panel in documentary filmmaking, where authenticity and realism are paramount. Explore techniques for adjusting audio levels, applying subtle color corrections, and integrating motion graphics that enhance visual engagement and convey the authenticity and immediacy of real-world events.
- Commercial advertising: Discover how advertisers leverage the Inspector panel in DaVinci Resolve to create dynamic and impactful visuals for commercials and marketing campaigns. Learn how to apply creative effects, customize motion graphics, and synchronize audio tracks to convey brand identity, evoke emotion, and drive engagement and sales.
Section 5: Conclusion The Inspector panel in DaVinci Resolve represents a versatile and powerful tool for clip adjustments, offering editors precision, control, and creative freedom in shaping their visual narratives. By mastering the techniques and principles outlined in this guide, editors can unlock a world of creative possibilities and achieve professional-grade results with precision and finesse. Embrace the creative potential of the Inspector panel, and let DaVinci Resolve be your canvas for bringing your vision to life with clarity, impact, and artistic excellence.


