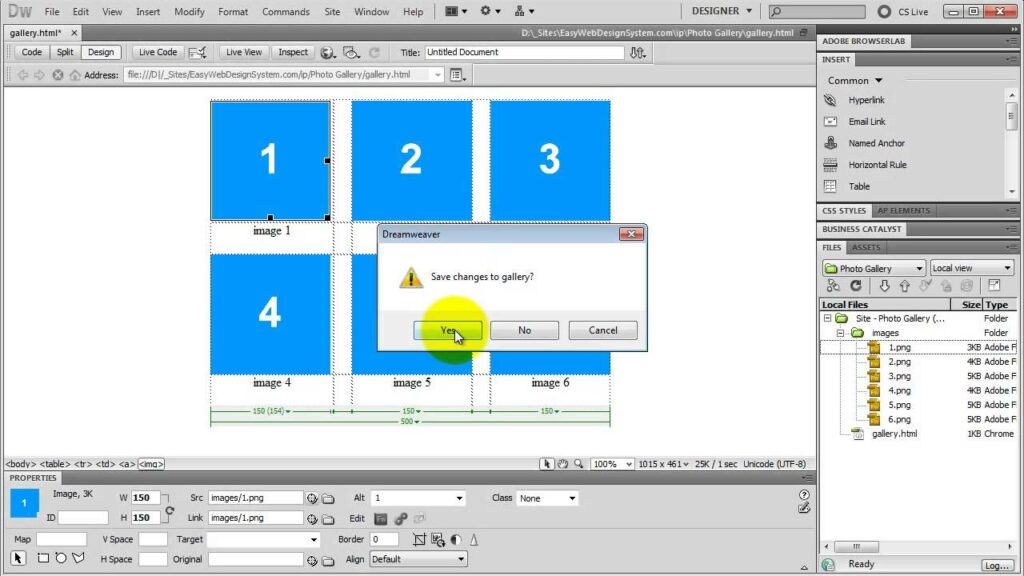
Crafting Visual Experiences: A Comprehensive Guide to Creating Image Galleries in Adobe Dreamweaver

Introduction: Image galleries are powerful tools for showcasing visual content and engaging website visitors. Whether you’re a photographer, artist, or business owner, Adobe Dreamweaver provides a range of features and tools to create stunning image galleries that captivate audiences and enhance user experience. In this extensive guide, we’ll explore the process of creating image galleries in Adobe Dreamweaver, covering various techniques, best practices, and customization options to help you showcase your images in style and elevate your web presence.
Understanding the Importance of Image Galleries: Image galleries serve as visual showcases that allow website visitors to browse and interact with a collection of images. Key benefits of image galleries include:
- Visual Appeal: Image galleries enhance the visual appeal of websites by presenting images in an organized and visually pleasing manner.
- Engagement: Image galleries encourage user engagement and interaction, allowing visitors to explore content at their own pace and discover new images.
- Showcasing Portfolio: Image galleries are ideal for photographers, artists, designers, and businesses to showcase their portfolio, products, services, or projects.
- Storytelling: Image galleries can be used to tell a story or convey a message through a series of images, creating a narrative that resonates with audiences.
Step 1: Planning Your Image Gallery Before creating an image gallery in Adobe Dreamweaver, it’s essential to plan its structure, layout, and content. Consider the following factors when planning your image gallery:
- Content Selection: Determine which images you want to include in your gallery, considering factors such as theme, subject matter, quality, and relevance to your website or brand.
- Organization: Organize your images into categories, albums, or collections to facilitate navigation and help visitors find relevant content easily.
- Layout and Design: Decide on the layout and design of your image gallery, including the number of columns, spacing between images, thumbnail size, and navigation controls.
- Interactivity: Consider adding interactive features such as lightboxes, image captions, slideshow mode, or navigation arrows to enhance the user experience and engagement.
Step 2: Creating the Image Gallery Markup Adobe Dreamweaver offers various methods for creating image galleries, including HTML, CSS, and JavaScript techniques. Here’s how to create the image gallery markup in Dreamweaver:
- HTML Structure: Define the HTML structure for your image gallery using <div> elements to contain the gallery content, <img> elements for individual images, and optional <a> elements for linking images to their full-size versions.
- CSS Styling: Apply CSS styles to customize the appearance of your image gallery, including layout, spacing, borders, backgrounds, and hover effects. Use CSS flexbox or grid layout to create responsive and visually appealing galleries that adapt to different screen sizes and devices.
- JavaScript Functionality: Enhance your image gallery with JavaScript to add interactive features such as image lightboxes, image sliders, image zoom, or lazy loading for improved performance. Use JavaScript libraries like jQuery, Lightbox, or Slick Slider to simplify gallery implementation and add advanced functionality.
Step 3: Customizing and Enhancing the Image Gallery Once you’ve created the image gallery markup, you can customize and enhance it further to match your design preferences and branding. Consider the following customization options:
- Thumbnail Navigation: Implement thumbnail navigation to allow visitors to browse through images quickly and easily. Use CSS or JavaScript to create thumbnail grids or carousels that display previews of images and enable users to navigate between them.
- Image Captions: Add captions or descriptions to your images to provide context and information about the content. Include metadata such as image titles, dates, locations, or credits to enhance understanding and engagement.
- Filter and Sorting: Implement filtering and sorting options to allow users to refine the gallery content based on specific criteria, such as categories, tags, or keywords. Use JavaScript or jQuery plugins like Isotope or MixItUp to enable dynamic filtering and sorting of images.
- Social Sharing: Integrate social sharing buttons or icons into your image gallery to allow users to share images on social media platforms such as Facebook, Twitter, Instagram, or Pinterest. Use JavaScript or third-party APIs to add sharing functionality and track social engagement metrics.
Step 4: Testing and Optimization After customizing and enhancing your image gallery in Adobe Dreamweaver, it’s essential to test its functionality and performance across different browsers, devices, and screen sizes. Conduct thorough testing to ensure that your image gallery behaves as expected and provides a seamless user experience. Monitor gallery performance metrics such as loading times, image quality, and user engagement to identify any usability issues or performance bottlenecks and make necessary optimizations to improve the overall effectiveness of your image gallery.
Step 5: Maintenance and Updates Regularly update and maintain your image gallery to keep it fresh, relevant, and engaging for visitors. Add new images, remove outdated content, and make design improvements based on user feedback and analytics data. Stay informed about emerging trends and technologies in web design and incorporate new features or enhancements to keep your image gallery competitive and compelling.
Conclusion: Creating an image gallery in Adobe Dreamweaver allows you to showcase your visual content in a professional and engaging manner, enhancing user experience and driving engagement on your website. By following the steps outlined in this guide and leveraging Dreamweaver’s features and tools, you can design and customize image galleries that reflect your style, brand identity, and creative vision. Whether you’re a photographer, artist, designer, or business owner, mastering the art of creating image galleries in Dreamweaver empowers you to create captivating visual experiences that resonate with your audience and leave a lasting impression.


