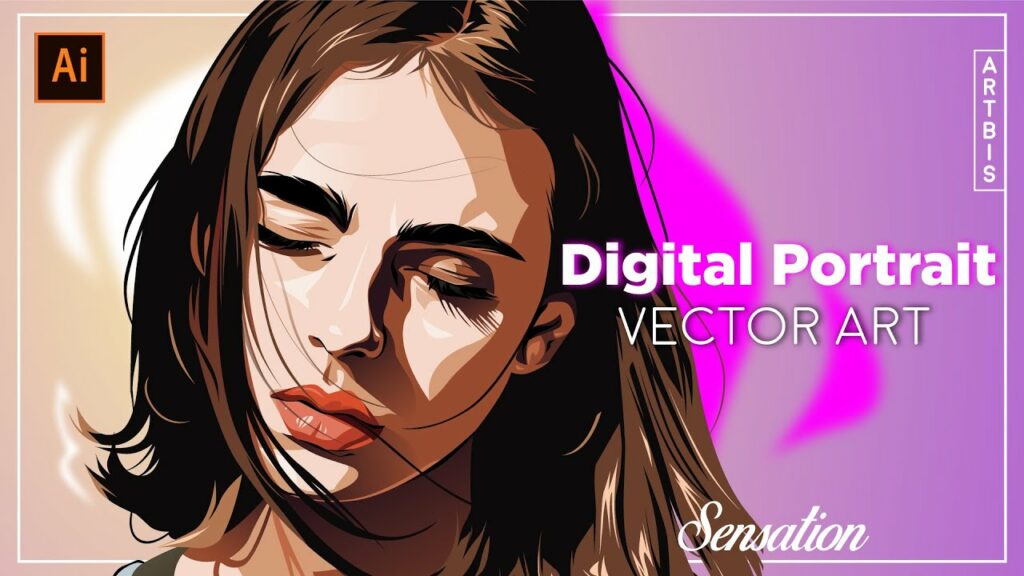
Unveiling the Artistry: A Comprehensive Guide to Crafting Digital Portraits in Adobe Illustrator
Introduction:
In the vast landscape of digital artistry, Adobe Illustrator stands as a cornerstone, offering a myriad of tools and features to empower artists and designers to bring their creative visions to life with precision and finesse. Among its arsenal of capabilities, the ability to create digital portraits holds a special allure, allowing artists to capture the essence and personality of their subjects with meticulous detail and expressive flair. Whether you’re a seasoned illustrator, a digital painter, or an aspiring artist, understanding how to effectively utilize the tools in Adobe Illustrator to create digital portraits is essential for unlocking new dimensions of creativity. In this comprehensive guide, we’ll embark on a journey to explore the techniques and tools needed to craft stunning digital portraits that captivate and inspire.
Chapter 1: Planning Your Portrait
Before diving into the creation process, it’s important to plan your digital portrait. Consider factors such as the subject’s pose, expression, and lighting, as well as the overall mood and atmosphere you want to convey. Gather reference images to study the subject’s features, anatomy, and proportions, and sketch out rough ideas to establish the composition and layout of your portrait. Pay attention to details such as facial structure, hair texture, and clothing to capture the unique characteristics of your subject.
Chapter 2: Setting Up Your Illustrator Document
Once you’ve finalized your portrait concept, it’s time to set up your Illustrator document. Create a new document with dimensions that suit your intended portrait size and resolution. Consider whether you’ll be creating a print or web-based portrait and adjust the document settings accordingly. Organize your workspace by creating layers for different elements of your portrait, such as the subject’s face, hair, and background, to facilitate easy editing and manipulation.
Chapter 3: Sketching and Blocking Out the Portrait
Start by sketching out the basic shapes and outlines of your portrait using the pen tool or shape tools in Adobe Illustrator. Use simple shapes and lines to block out the major features and proportions of the subject’s face, such as the eyes, nose, mouth, and ears. Pay attention to symmetry and proportion to ensure accuracy and realism in your sketch. Use the opacity slider to reduce the opacity of your sketch layer, allowing you to trace over it with cleaner lines and details.
Chapter 4: Adding Detail and Texture
Once you’ve blocked out the basic shapes of your portrait, it’s time to add detail and texture to bring your illustration to life. Use the pen tool to add curves, contours, and defining features to the subject’s face, such as wrinkles, freckles, and facial hair. Experiment with different stroke weights and styles to create depth and dimension in your illustration. Use the brush tool to add texture and shading to the subject’s skin, hair, and clothing, using reference images to guide your technique.
Chapter 5: Refining the Portrait
As you continue to work on your portrait, take time to refine and polish the details to achieve a lifelike appearance. Use the direct selection tool to adjust individual anchor points and curves, fine-tuning the contours and proportions of the subject’s features. Experiment with using gradients, patterns, and transparency to add depth and dimension to your illustration. Pay attention to details such as lighting and shadow to create volume and realism in your portrait.
Chapter 6: Adding Background and Atmosphere
Once you’ve completed the portrait, it’s time to add a background and atmosphere to enhance the overall composition. Use the shape tools and gradients to create a background that complements the subject and adds context to the illustration. Experiment with different colors, textures, and patterns to create depth and atmosphere. Use the layers panel to arrange the elements of your portrait and background, making adjustments as needed to achieve the desired composition.
Chapter 7: Saving and Exporting Your Portrait
Once you’re satisfied with your digital portrait, it’s important to save and export your artwork for sharing or distribution. Save your Illustrator document in a compatible file format, such as AI or PDF, to preserve the vector properties of your portrait. If you’re creating artwork for web or screen-based applications, consider exporting your portrait as an SVG file for scalability and compatibility with web browsers. For print-based projects, export your portrait as a high-resolution raster image in formats such as JPEG or PNG.
Conclusion:
Creating digital portraits in Adobe Illustrator is a deeply rewarding and fulfilling endeavor that allows artists to express themselves and capture the essence of their subjects with precision and finesse. By following the techniques and tips outlined in this comprehensive guide, you’ll be able to craft stunning portraits that captivate and inspire viewers. So grab your stylus, set your sights on the canvas, and let your creativity soar as you bring your digital portraits to life in Adobe Illustrator.


