Ticket to Ride: A Comprehensive Guide to Designing Event Tickets in Adobe Illustrator
Introduction: Event tickets serve as more than just entry passes; they are also powerful branding tools that set the tone for an event and leave a lasting impression on attendees. With Adobe Illustrator’s robust design tools and versatile features, creating stunning event tickets becomes an exciting endeavor. In this comprehensive guide, we’ll explore the step-by-step process of designing event tickets in Adobe Illustrator, covering everything from conceptualization to final production.
Section 1: Understanding Event Ticket Design 1.1 The Importance of Event Tickets: Examine the significance of event tickets beyond their practical function, as they serve as tangible representations of the event’s brand identity and aesthetic. 1.2 Types of Event Tickets: Explore different types of event tickets, including concert tickets, festival passes, VIP invitations, and their respective design considerations. 1.3 Design Principles: Understand the fundamental principles of event ticket design, including clarity, legibility, branding consistency, and visual hierarchy.
Section 2: Planning Your Ticket Design 2.1 Defining Objectives: Determine the purpose and goals of your event ticket design, whether to promote brand awareness, convey event details, or evoke a specific emotion. 2.2 Audience Analysis: Consider the demographics, interests, and preferences of the target audience to tailor your ticket design effectively. 2.3 Research and Inspiration: Gather inspiration from existing ticket designs, artistic styles, and thematic elements to inform your creative direction and conceptualization.
Section 3: Getting Started with Adobe Illustrator 3.1 Overview of Adobe Illustrator: Familiarize yourself with the Illustrator workspace, tools, and essential features for designing event tickets. 3.2 Setting Up Your Document: Create a new document in Illustrator, specifying the dimensions, resolution, and color mode suitable for your event ticket project. 3.3 Organizing Layers and Artboards: Utilize layers and artboards to organize your ticket elements systematically, facilitating efficient design and editing workflows.
Section 4: Designing Ticket Layout 4.1 Layout Composition: Establish a layout composition for your event ticket design, determining the placement of key elements such as event details, branding elements, and visuals. 4.2 Typography and Text Placement: Select appropriate typefaces, font sizes, and styles for your ticket text, ensuring readability and aesthetic coherence within the design. 4.3 Incorporating Visual Elements: Enhance your ticket design with graphics, illustrations, or photographs that reinforce the event theme, brand identity, or promotional message. 4.4 Color Scheme and Branding: Choose a cohesive color palette that aligns with the event’s branding guidelines, using color to evoke emotion, convey information, and create visual interest.
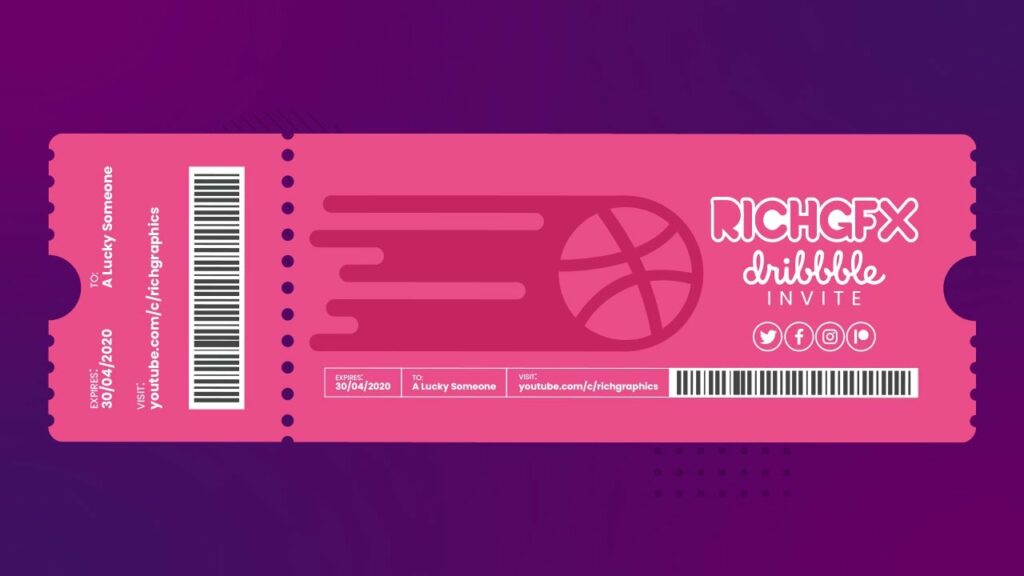
Section 5: Adding Functional Features 5.1 Barcode and QR Code Integration: Incorporate barcode or QR code elements into your event ticket design for efficient ticket scanning and attendee tracking. 5.2 Security Features: Implement security features such as holographic foils, watermarks, or microtext to prevent counterfeiting and ensure ticket authenticity. 5.3 Tear-off Stub or Perforation: Include a tear-off stub or perforation on your event ticket design for easy tear-off and redemption at the event entrance.
Section 6: Finalizing and Exporting Your Ticket Design 6.1 Reviewing and Proofing: Conduct thorough reviews of your event ticket design, checking for accuracy, consistency, and visual appeal across all elements. 6.2 Adjustments and Revisions: Make necessary adjustments or revisions based on feedback, ensuring your ticket design meets the desired standards and objectives. 6.3 Exporting Files for Printing: Prepare your event ticket design for printing by exporting it in the appropriate file format and resolution, considering factors such as bleed, trim marks, and color profiles.
Section 7: Printing and Production 7.1 Choosing Printing Methods and Materials: Evaluate various printing methods, paper stocks, and finishing options suitable for your event ticket project, balancing quality, cost, and durability. 7.2 Working with Print Vendors: Communicate effectively with print vendors, providing accurate specifications and files to ensure the successful production of your event tickets. 7.3 Quality Control and Distribution: Perform quality checks on printed samples, ensuring color accuracy, print clarity, and overall satisfaction before distributing or selling your event tickets.
Conclusion: Designing event tickets in Adobe Illustrator offers designers a creative outlet to showcase their talent while providing practical value to event organizers and attendees. By following the comprehensive steps outlined in this guide, you’ll be equipped to create event tickets that not only serve as entry passes but also as memorable keepsakes that reflect the essence and excitement of the event. So, unleash your creativity, embrace the possibilities, and embark on your journey to design event tickets that elevate the event experience and leave a lasting impression on attendees.


