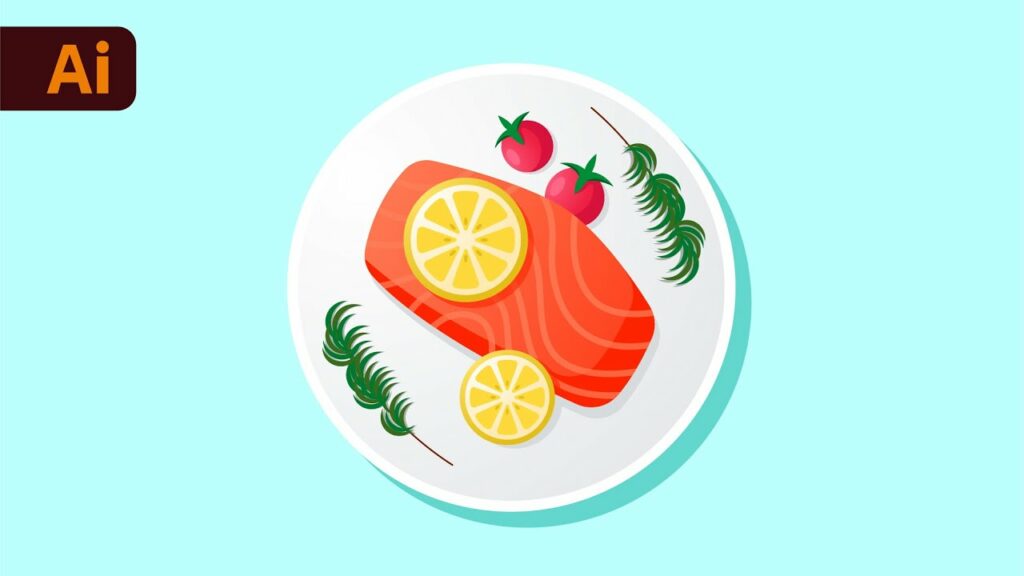
Savoring Creativity: A Comprehensive Guide to Crafting Vector Food Illustrations in Adobe Illustrator
Introduction:
In the vast realm of digital artistry, Adobe Illustrator serves as a beacon of creativity, offering a plethora of tools and features to bring imaginative visions to life with precision and finesse. Among its array of capabilities, the art of crafting vector food illustrations stands out, enabling artists to depict delectable dishes with lifelike detail and vibrant colors. Whether you’re a seasoned illustrator, a graphic designer, or an aspiring artist, mastering the techniques to create vector food illustrations in Adobe Illustrator opens up a world of culinary creativity. In this extensive guide, we’ll delve into the techniques, tips, and tools necessary to create mouthwatering food illustrations that evoke the senses and captivate the viewer’s imagination.
Chapter 1: Planning Your Food Illustration
Before diving into the creation process, it’s essential to plan your vector food illustration meticulously. Consider the type of food you want to depict, whether it’s a juicy fruit, a savory dish, or a decadent dessert. Research reference images to understand the texture, color, and shape of the food you’ll be illustrating. Sketch out rough ideas to determine the composition, layout, and perspective of your illustration, ensuring that it captures the essence of the food and evokes the desired mood.
Chapter 2: Setting Up Your Illustrator Document
Once you’ve finalized your food illustration concept, it’s time to set up your Illustrator document. Create a new document with dimensions that suit your intended illustration size and resolution. Consider whether you’ll be creating a print or web-based illustration and adjust the document settings accordingly. Organize your workspace by creating layers for different elements of your illustration, such as the food items, background, and details, to facilitate easy editing and manipulation.
Chapter 3: Sketching Out the Food Items
Start by sketching out the basic shapes and outlines of the food items using the pen tool or shape tools in Adobe Illustrator. Focus on capturing the overall form and structure of the food, paying attention to details such as curves, edges, and textures. Use reference images to guide your sketching process, ensuring accuracy and realism in your illustrations. Experiment with different strokes and line weights to add depth and dimension to your sketches.
Chapter 4: Adding Detail and Texture
Once you’ve sketched out the basic shapes of the food items, it’s time to add detail and texture to bring your illustration to life. Use the pen tool to add intricate details such as texture, pattern, and shading to the food items. Experiment with different stroke styles, such as dashed lines or tapered strokes, to create depth and dimension. Pay attention to details such as highlights, shadows, and reflections to add realism and visual interest to your illustrations.
Chapter 5: Applying Color and Gradient
After adding detail and texture to the food items, it’s time to apply color and gradient to enhance their visual appeal. Use the color picker tool to select vibrant and appetizing colors for the food items, paying attention to hues, saturation, and brightness. Experiment with applying gradients to create subtle variations in color and shading, adding depth and dimension to your illustrations. Use the gradient tool to adjust the direction and intensity of the gradients, ensuring smooth transitions and realistic effects.
Chapter 6: Creating Background and Composition
Once you’ve completed the food items, it’s time to create the background and composition of your illustration. Use the shape tools and gradients to create a background that complements the food items and sets the mood for the illustration. Experiment with adding elements such as tableware, utensils, or decorative elements to enhance the composition and add visual interest. Pay attention to balance, symmetry, and negative space to create a harmonious and visually appealing composition.
Chapter 7: Adding Finishing Touches
To add the finishing touches to your vector food illustration, take time to review and refine the details. Use the direct selection tool to adjust individual anchor points and curves, fine-tuning the contours and proportions of the food items. Experiment with adding highlights, shadows, and reflections to create a sense of depth and realism. Use the transparency panel to adjust the opacity and blending mode of the food items, allowing them to interact seamlessly with the background and other elements of your illustration.
Chapter 8: Saving and Exporting Your Illustration
Once you’re satisfied with your vector food illustration in Adobe Illustrator, it’s important to save and export your artwork for sharing or distribution. Save your Illustrator document in a compatible file format, such as AI or PDF, to preserve the vector properties of your illustration. If you’re creating artwork for web or screen-based applications, consider exporting your illustration as an SVG file for scalability and compatibility with web browsers. For print-based projects, export your illustration as a high-resolution raster image in formats such as JPEG or PNG.
Conclusion:
Creating vector food illustrations in Adobe Illustrator is a delightful journey of creativity and imagination, offering endless possibilities for depicting delectable dishes with lifelike detail and vibrant colors. By following the techniques and tips outlined in this comprehensive guide, you’ll be able to craft mouthwatering illustrations that evoke the senses and captivate the viewer’s imagination. So grab your stylus, set your sights on the canvas, and let your creativity flow as you bring your favorite dishes to life in Adobe Illustrator.


