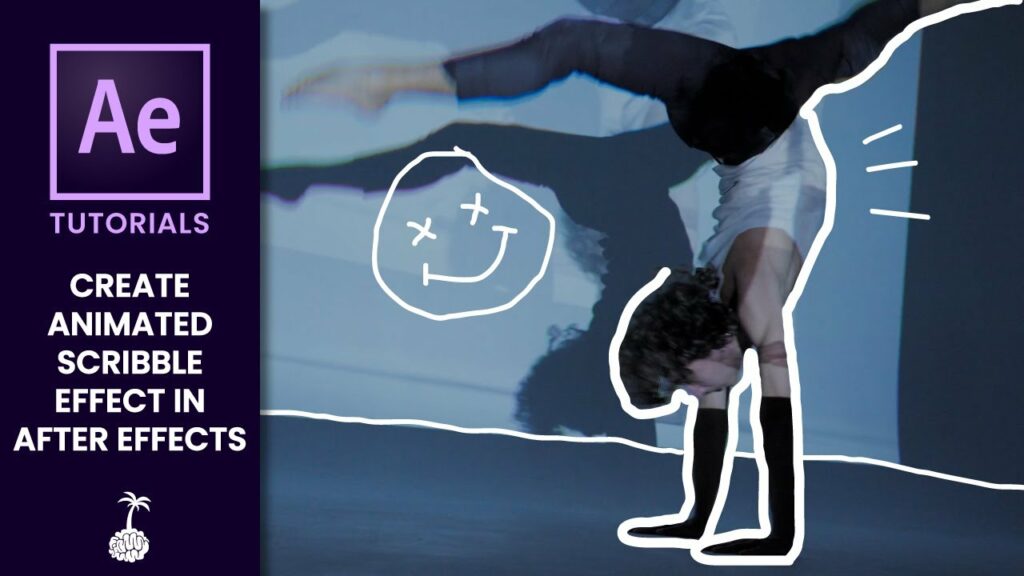
Mastering the Scribble Effect in Adobe After Effects: A Comprehensive Guide
Introduction: The scribble effect is a popular visual technique used in motion graphics and animation to create dynamic and hand-drawn animations. This effect simulates the appearance of a pen or marker scribbling on the screen, adding a playful and artistic touch to motion graphics projects, title sequences, and promotional videos. Adobe After Effects offers powerful tools and techniques for creating the scribble effect, allowing users to customize and animate their scribbles with precision and creativity. In this extensive guide, we’ll explore the step-by-step process of creating the scribble effect in After Effects, covering everything from basic setup to advanced techniques, ensuring that you can harness its full creative potential with confidence and flair.
Understanding the Scribble Effect: The scribble effect involves animating a line or shape to simulate the movement of a pen or marker as it draws on the screen. This effect can be used to create a variety of hand-drawn animations, such as doodles, sketches, or animated illustrations. By manipulating parameters such as stroke width, opacity, and speed, users can achieve a wide range of scribble effects, from smooth and precise lines to rough and expressive strokes.
Basic Setup: To create the scribble effect in Adobe After Effects, follow these steps:
- Create a New Composition: Launch After Effects and create a new composition by selecting “Composition” > “New Composition” from the menu. Set the desired dimensions, frame rate, and duration for your composition.
- Create a New Shape Layer: In the Composition panel, select the Pen tool or Shape tool to create a new shape layer. Draw a line or shape on the screen to serve as the basis for your scribble effect.
- Apply the Stroke Effect: With the shape layer selected, go to the Effects & Presets panel and search for “Stroke.” Drag the Stroke effect onto the shape layer in the timeline to apply it.
- Adjust Effect Settings: With the shape layer selected, navigate to the Effect Controls panel to adjust the settings of the Stroke effect. Experiment with parameters such as Brush Size, Brush Hardness, Opacity, and Color to customize the appearance of the stroke.
Exploring Effect Properties: The Stroke effect offers a variety of controls for customizing the appearance and behavior of the scribble effect. Here are some key properties to explore:
- Brush Size: Adjust the size of the brush stroke to control the thickness of the scribble lines. Increase the value to create thicker lines, or decrease it to create thinner lines.
- Brush Hardness: Define the hardness of the brush stroke to control the softness or sharpness of the edges. Increase the value to create sharper edges, or decrease it to create softer edges.
- Opacity: Control the transparency of the brush stroke by adjusting the opacity property. Increase the value to make the stroke more opaque, or decrease it to make it more transparent.
- Color: Choose the color of the brush stroke by selecting a color from the color picker. Experiment with different colors to achieve the desired visual effect.
- End Caps and Join Styles: Customize the appearance of the stroke ends and joins by selecting different end cap and join styles. Choose from options such as round caps, square caps, and miter joins to achieve the desired look.
Advanced Techniques: Once you’re familiar with the basic setup and effect properties of the scribble effect, you can explore advanced techniques to enhance your animations:
- Animation: Animate the parameters of the Stroke effect to create dynamic and expressive scribble animations. Use keyframe animation to animate properties such as Brush Size, Opacity, and Color over time, creating dynamic movement and transitions.
- Speed Variation: Add variation to the speed of the scribble animation to create a more organic and natural look. Use keyframe interpolation techniques to adjust the speed of the animation at different points along the timeline, adding realism and personality to the scribble effect.
- Texture Overlay: Apply texture overlays or displacement maps to add texture and depth to the scribble lines. Use effects such as Fractal Noise or Turbulent Displace to add noise, distortion, or texture to the stroke, creating a handcrafted and tactile feel.
- Masking and Track Mattes: Use masking and track mattes to create complex and layered scribble animations. Combine multiple shape layers with different stroke effects and use track mattes to reveal or conceal parts of the animation, adding complexity and depth to the composition.
- Particle Effects: Incorporate particle effects such as dust, sparks, or splatters to add visual interest and dynamics to the scribble animation. Experiment with particle emitter effects and adjust parameters such as emitter position, velocity, and lifespan to create custom particle animations that interact with the scribble lines.
Practical Applications: The scribble effect can be used in a variety of creative projects to add energy, personality, and visual interest. Here are some practical applications:
- Motion Graphics: Enhance motion graphics projects with dynamic and expressive scribble animations. Use the scribble effect to create animated text, graphic elements, or visual accents that add flair and personality to the composition.
- Title Sequences: Design captivating title sequences with hand-drawn scribble animations. Use the scribble effect to animate titles, credits, or graphic overlays in the title sequence, adding a playful and artistic touch to the design.
- Animated Illustrations: Bring illustrations and artwork to life with animated scribble effects. Use the scribble effect to animate characters, objects, or backgrounds in animated illustrations, adding movement and dynamism to the artwork.
- Promotional Videos: Produce promotional videos with dynamic and engaging scribble animations. Use the scribble effect to highlight key features, messages, or branding elements in the video, creating memorable and impactful visual storytelling.
- Educational Content: Create educational videos or tutorials with animated scribble effects. Use the scribble effect to illustrate concepts, diagrams, or diagrams in a visually engaging and interactive way, making learning fun and accessible for your audience.
Conclusion: The scribble effect in Adobe After Effects offers a versatile and expressive tool for creating dynamic and hand-drawn animations. By mastering its basic setup, exploring effect properties, and experimenting with advanced techniques, you can unleash your creativity and produce stunning scribble animations that captivate your audience. Whether you’re a motion graphics designer, animator, or multimedia producer, the scribble effect provides endless possibilities for creative expression and storytelling. So, dive in, experiment, and unleash the full creative potential of the scribble effect in Adobe After Effects.


