Mastering the Mosaic Effect in Adobe After Effects: A Comprehensive Guide
Introduction: The mosaic effect is a visually striking technique used in motion graphics and visual effects to pixelate or fragment images or footage, creating a stylized and abstract look. This effect is commonly employed in music videos, commercials, and experimental films to add a sense of mystery, intrigue, or nostalgia. Adobe After Effects offers powerful tools and techniques for creating the mosaic effect, allowing users to customize and animate their mosaic compositions with precision and creativity. In this extensive guide, we’ll explore the step-by-step process of creating the mosaic effect in After Effects, covering everything from basic setup to advanced techniques, ensuring that you can harness its full creative potential with confidence and flair.
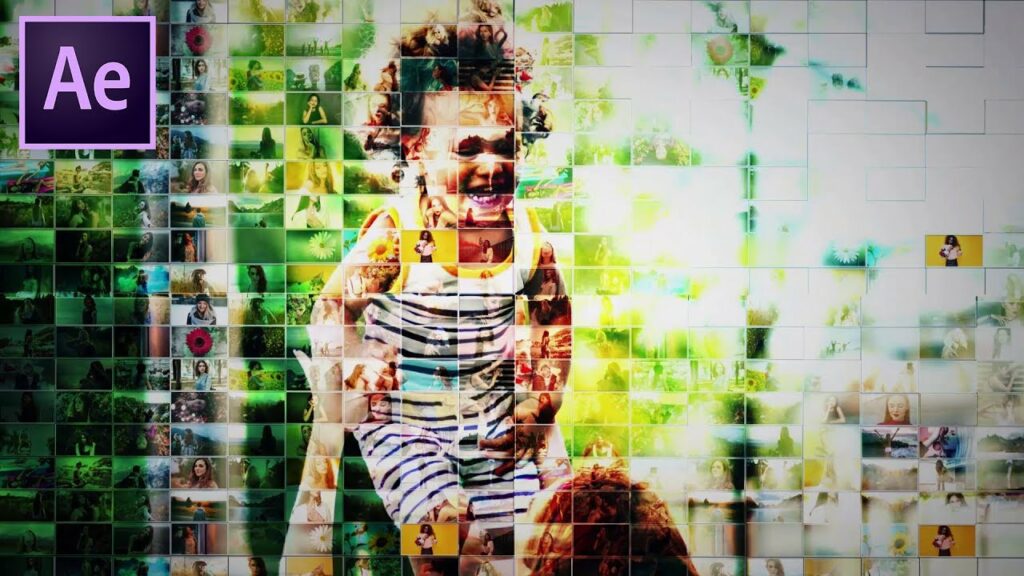
Understanding the Mosaic Effect: The mosaic effect involves dividing an image or footage into a grid of uniformly sized squares or polygons, resulting in a pixelated or fragmented appearance. This effect can be used to obscure or abstract visual elements, create stylized transitions, or evoke a sense of nostalgia or retro aesthetics. By manipulating parameters such as tile size, shape, and animation, users can achieve a wide range of mosaic effects with varying degrees of detail and complexity.
Basic Setup: To create the mosaic effect in Adobe After Effects, follow these steps:
- Create a New Composition: Launch After Effects and create a new composition by selecting “Composition” > “New Composition” from the menu. Set the desired dimensions, frame rate, and duration for your composition.
- Import Footage or Images: Import the footage or images you want to apply the mosaic effect to into your After Effects project. Drag the footage or images into the composition timeline to create new layers.
- Apply the Mosaic Effect: With the layer selected, go to the Effects & Presets panel and search for “Mosaic.” Drag the Mosaic effect onto the layer in the timeline to apply it.
- Adjust Effect Settings: With the layer selected, navigate to the Effect Controls panel to adjust the settings of the Mosaic effect. Experiment with parameters such as Tile Size, Horizontal and Vertical Blocks, and Animation to achieve your desired mosaic effect.
Exploring Effect Properties: The Mosaic effect offers a variety of controls for customizing the appearance and behavior of the mosaic effect. Here are some key properties to explore:
- Tile Size: Adjust the size of the mosaic tiles to control the level of pixelation or fragmentation. Increase the value to create larger tiles, resulting in a more abstract and stylized effect, or decrease it to create smaller tiles, preserving more detail in the image.
- Horizontal and Vertical Blocks: Define the number of horizontal and vertical blocks to divide the image into a grid of tiles. Use higher values to create a denser grid with more tiles, or lower values to create a sparser grid with fewer tiles.
- Animation: Animate the mosaic effect to create dynamic and interactive visual effects. Use keyframe animation to animate properties such as Tile Size, Horizontal and Vertical Blocks, and Position over time, creating dynamic movement and transitions.
- Color: Customize the color of the mosaic tiles by selecting a color from the color picker. Experiment with different colors to achieve the desired visual effect, matching the color palette of the composition or adding contrast and visual interest.
- Shape: Choose the shape of the mosaic tiles by selecting from options such as Square, Hexagon, or Triangle. Each shape produces a different pattern of pixelation or fragmentation, allowing users to achieve a variety of mosaic effects.
Advanced Techniques: Once you’re familiar with the basic setup and effect properties of the Mosaic effect, you can explore advanced techniques to enhance your mosaic compositions:
- Layer Interactions: Combine the Mosaic effect with other layers and effects in After Effects to create complex and layered compositions. Experiment with blending modes, masks, and track mattes to integrate the mosaic effect seamlessly with other visual elements.
- Texture Mapping: Apply texture overlays or displacement maps to add texture and depth to the mosaic effect. Use effects such as Fractal Noise or Turbulent Displace to add noise, distortion, or texture to the mosaic tiles, creating a more organic and tactile feel.
- Animation Presets: Use animation presets to create dynamic and expressive mosaic animations. Browse the Animation Presets in After Effects to find pre-built presets for the Mosaic effect, or create your own custom presets by saving and organizing keyframe animations.
- Depth and Perspective: Create depth and perspective effects by animating the mosaic tiles in 3D space. Use the Transform properties such as Position, Rotation, and Scale to animate the mosaic tiles, adding depth and dimensionality to the composition.
- Masking and Track Mattes: Use masking and track mattes to reveal or conceal parts of the mosaic effect. Combine multiple layers with different mosaic effects and use masks or track mattes to create complex and dynamic compositions, adding depth and visual interest.
Practical Applications: The mosaic effect can be used in a variety of creative projects to add style, texture, and visual interest. Here are some practical applications:
- Music Videos: Create visually striking music videos with dynamic and abstract mosaic effects. Use the mosaic effect to pixelate or fragment footage, adding a sense of mystery, nostalgia, or surrealism to the visuals.
- Commercials and Promos: Produce attention-grabbing commercials and promotional videos with stylized mosaic effects. Use the mosaic effect to create dynamic transitions, title sequences, or graphic overlays, adding a sense of style and flair to the content.
- Title Sequences: Design captivating title sequences with dynamic and abstract mosaic animations. Use the mosaic effect to animate titles, credits, or graphic elements in the title sequence, adding visual interest and atmosphere to the design.
- Experimental Films: Explore experimental filmmaking techniques with abstract and surreal mosaic effects. Use the mosaic effect to distort, fragment, or obscure images or footage, creating visually arresting and thought-provoking visuals.
- Visual Effects: Enhance visual effects shots with dynamic and stylized mosaic effects. Use the mosaic effect to create digital glitches, distortions, or pixelations, adding a sense of chaos or digital decay to the visuals.
Conclusion: The mosaic effect in Adobe After Effects offers a versatile and expressive tool for creating dynamic and abstract visual effects. By mastering its basic setup, exploring effect properties, and experimenting with advanced techniques, you can unleash your creativity and produce stunning mosaic compositions that captivate your audience. Whether you’re a filmmaker, motion graphics designer, or multimedia artist, the mosaic effect provides endless possibilities for creative expression and storytelling. So, dive in, experiment, and unleash the full creative potential of the mosaic effect in Adobe After Effects.


