Crafting Cinematic Magic: A Comprehensive Guide to Creating Cinemagraphs in Adobe After Effects
Introduction:
Cinemagraphs are a captivating blend of photography and motion graphics, where a subtle and repetitive motion is seamlessly looped within a still image, creating a mesmerizing and immersive visual experience. Adobe After Effects, with its robust animation and compositing capabilities, provides an ideal platform for crafting cinemagraphs that evoke emotion, atmosphere, and narrative depth. In this comprehensive guide, we’ll explore the intricacies of creating cinemagraphs in After Effects, covering techniques for capturing, editing, and animating still images to achieve stunning and immersive results.
Understanding Cinemagraphs: Cinemagraphs combine the visual impact of a photograph with the dynamic element of motion, resulting in a unique and engaging form of visual storytelling. Unlike traditional videos or GIFs, cinemagraphs feature subtle and seamless animations that loop seamlessly, drawing viewers into a moment frozen in time. From gently swaying leaves to flickering candle flames, cinemagraphs capture the essence of a scene while adding a touch of magic and intrigue. Whether used for advertising, social media, or artistic expression, cinemagraphs offer a captivating medium for conveying mood, atmosphere, and emotion.
Getting Started with Cinemagraphs in After Effects: To begin creating cinemagraphs in Adobe After Effects, follow these steps:
Step 1: Select Your Still Image: Choose a high-quality still image that serves as the foundation for your cinemagraph. Look for images with strong composition, interesting subject matter, and potential areas for animation. Consider elements within the image that can be animated to create motion while maintaining the overall aesthetic and mood.
Step 2: Plan Your Animation: Identify the specific areas or elements within the still image that you want to animate. This could include flowing water, moving clouds, flickering lights, or swaying objects. Plan the motion and timing of your animation to create a seamless loop that blends seamlessly with the rest of the image.
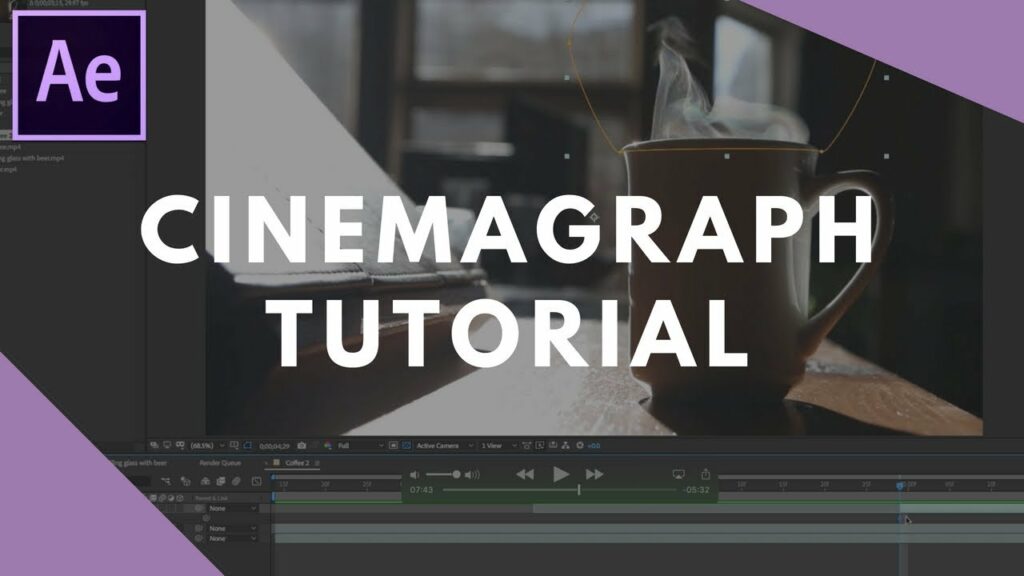
Step 3: Import Your Image into After Effects: Launch After Effects and import your still image into a new composition. Drag the image file into the Project panel or use the File > Import menu to import the image into your project. Place the image in the composition timeline and adjust the duration to match the desired length of your cinemagraph.
Step 4: Create the Animation: Using masking, keyframing, and effects in After Effects, animate the selected areas or elements within the still image to create the desired motion. Experiment with techniques such as scale, position, opacity, and rotation to bring the image to life. Use masks to isolate specific areas for animation and apply effects such as motion blur or time remapping to enhance the realism of the motion.
Step 5: Loop the Animation: Once the animation is complete, ensure that it loops seamlessly to create the illusion of continuous motion. Trim the composition timeline to the desired duration of the cinemagraph and enable time remapping if necessary to adjust the timing of the animation. Preview the animation to ensure that it loops smoothly without any noticeable breaks or jumps.
Advanced Techniques and Tips: To elevate your cinemagraphs to the next level, consider exploring the following advanced techniques and tips:
- Blend Modes and Opacity: Experiment with blend modes and opacity settings to seamlessly blend the animated elements with the still image. Use blending modes such as Screen or Overlay to create subtle and natural transitions between the animated and static elements.
- Color Grading and Effects: Apply color grading and effects to enhance the mood and atmosphere of your cinemagraph. Use adjustment layers, color correction tools, and effects such as vignettes or gradients to create a cohesive and visually striking look.
- Camera Movement and Parallax: Add simulated camera movement or parallax effects to create depth and dimensionality within your cinemagraph. Use the 3D camera tools in After Effects to create subtle camera movements or apply parallax effects to simulate the illusion of depth within the scene.
- Sound Design: Incorporate sound effects or ambient audio to complement your cinemagraph and enhance the immersive experience. Use sound effects such as rustling leaves, chirping birds, or flowing water to evoke a sense of atmosphere and realism.
- Experiment with Different Styles: Explore different styles and aesthetics for your cinemagraphs, from moody and atmospheric to vibrant and surreal. Experiment with different animation techniques, motion patterns, and visual effects to create unique and compelling cinemagraphs that resonate with your audience.
Conclusion: Creating cinemagraphs in Adobe After Effects offers a thrilling opportunity to blend photography and motion graphics, resulting in stunning and immersive visual experiences. By leveraging masking, animation, and effects techniques, artists can craft cinemagraphs that captivate and inspire viewers, evoking emotion, atmosphere, and narrative depth.
As you embark on your journey to create cinemagraphs in After Effects, remember to experiment, iterate, and push the boundaries of your creativity. Explore new techniques, study cinematic techniques, and let your imagination soar as you craft cinemagraphs that tell stories, evoke emotions, and leave a lasting impression on your audience. With dedication, practice, and a willingness to explore new possibilities, you’ll unlock the full potential of cinemagraphs in After Effects and create visuals that resonate with viewers for years to come.


