Mastering the Art of Screencasting: A Comprehensive Guide to Creating Your Own Screencasts
Introduction:
In the dynamic landscape of digital communication, screencasts have emerged as powerful tools for conveying information, teaching, and demonstrating concepts. Whether you’re an educator, a content creator, or someone eager to share your expertise, creating your own screencasts can be a transformative skill. This comprehensive guide explores the step-by-step process of crafting high-quality screencasts, covering everything from choosing the right tools to refining your delivery and enhancing viewer engagement.
I. Understanding Screencasts:
A. Definition:
- A screencast is a digital recording of computer screen output, often accompanied by audio narration, to demonstrate a process, explain a concept, or showcase software features.
- Use Cases: Screencasts find applications in various fields, including education, software tutorials, product demonstrations, troubleshooting guides, and more.
B. Benefits of Screencasting:
- Clear Communication: Screencasts offer a visual and auditory explanation, enhancing understanding and engagement.
- Accessibility: Users can watch screencasts at their own pace, pausing and replaying sections as needed.
- Visual Demonstration: Showcasing software interfaces, workflows, or concepts in real-time provides a more immersive learning experience.
II. Planning Your Screencast:
A. Define Objectives:
- Identify Purpose: Clearly outline the goal of your screencast, whether it’s teaching a specific skill, explaining a concept, or demonstrating software features.
- Target Audience: Consider the knowledge level and preferences of your intended audience to tailor the content accordingly.
B. Scripting and Outline:
- Create a Script: Develop a concise script to guide your narration, ensuring clarity and coherence.
- Outline Key Points: Break down the content into key points to maintain a structured and organized presentation.
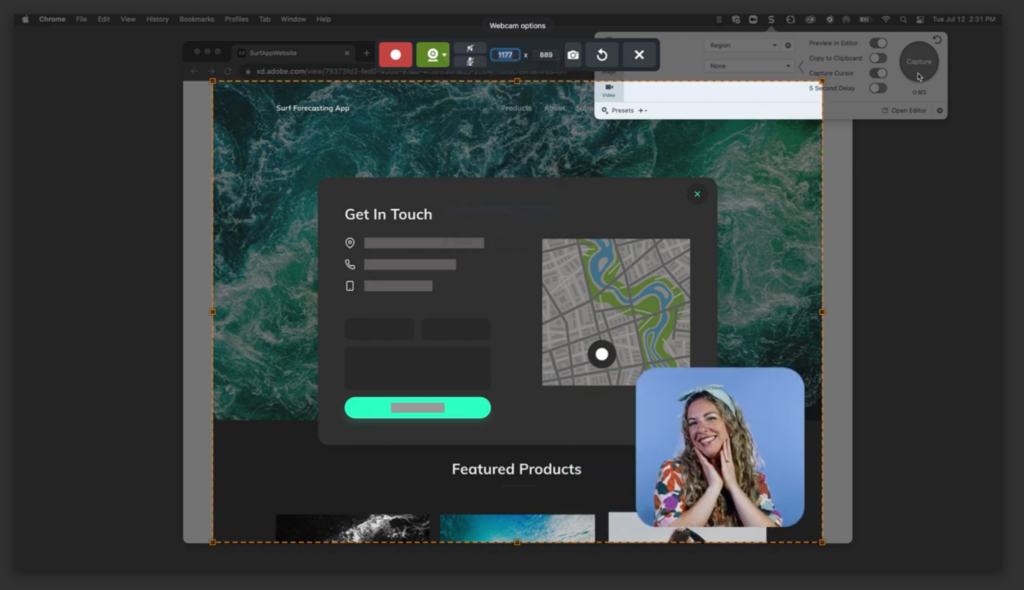
C. Choose a Screencasting Tool:
- Built-in Tools: Both Windows (Game Bar) and macOS (QuickTime Player) have built-in screencasting features suitable for basic recordings.
- Third-Party Tools:
a. OBS Studio: Ideal for advanced users, OBS Studio offers extensive customization options and supports various platforms.
b. Camtasia: A user-friendly tool with powerful editing features, suitable for creating professional screencasts.
c. Snagit: Known for its simplicity and versatility, Snagit is an excellent choice for quick and effective screencasting.
III. Setting Up Your Environment:
A. Choose a Quiet Space:
- Minimize Distractions: Select a quiet environment to minimize background noise and potential interruptions.
- Optimal Lighting: Ensure adequate lighting to enhance the clarity of your screen recording.
B. Configure Screen Resolution:
- Optimal Settings: Adjust your screen resolution to a level that provides clear visibility without sacrificing performance.
- Aspect Ratio: Choose an aspect ratio that suits your content and the platform where the screencast will be shared.
C. Adjust System Audio:
- Test Audio Levels: Ensure your system’s audio levels are balanced and clear for both system sounds and your narration.
- External Microphone: Consider using an external microphone for improved audio quality.
IV. Recording Your Screencast:
A. Start Recording:
- Open Screencasting Software: Launch your chosen screencasting tool and configure settings as needed.
- Set Capture Area: Define the capture area, whether it’s the entire screen, a specific window, or a custom region.
B. Perform a Test Run:
- Verify Settings: Double-check audio, video, and capture settings before starting your actual recording.
- Test Recording: Perform a brief test recording to ensure everything is functioning as expected.
C. Record in Segments:
- Break Content into Segments: Record your screencast in manageable segments to facilitate smoother editing and maintain viewer engagement.
- Pauses and Edits: Insert brief pauses between segments to allow for easy editing during post-production.
V. Enhancing Your Screencast:
A. Add Annotations and Highlights:
- On-Screen Annotations: Use on-screen annotations to highlight key points, draw attention, or provide additional information.
- Cursor Highlight: Some screencasting tools allow you to emphasize the cursor’s movement for better viewer comprehension.
B. Zoom In and Out:
- Focus on Details: Utilize the zoom feature to focus on specific areas of your screen, emphasizing details or demonstrating intricate processes.
- Avoid Excessive Zooming: Balance zooming to maintain a clear and coherent viewing experience without causing discomfort.
C. Incorporate Transitions:
- Transition Effects: Add smooth transitions between segments to enhance the flow of your screencast.
- Keep Transitions Subtle: Avoid overly flashy transitions that may distract viewers from the content.
VI. Narration and Voiceovers:
A. Speak Clearly and Enthusiastically:
- Articulation: Ensure your words are clear and articulate to enhance viewer comprehension.
- Modulate Your Voice: Add emphasis and enthusiasm to your narration to keep viewers engaged.
B. Use a Script as a Guide:
- Maintain Consistency: Stick to your script to maintain a consistent flow and convey information accurately.
- Adapt to Visuals: Allow flexibility to adapt your narration based on on-screen visuals and viewer understanding.
C. Edit Audio:
- Remove Background Noise: Use audio editing tools to eliminate background noise and enhance overall audio quality.
- Adjust Levels: Balance audio levels to ensure that your voice is clearly audible without overpowering other sounds.
VII. Exporting and Sharing Your Screencast:
A. Choose Export Settings:
- Video Format: Select an appropriate video format based on the platform where you plan to share your screencast.
- Resolution and Quality: Adjust resolution and quality settings to meet your desired balance of file size and video clarity.
B. Save and Export:
- Save Project: Save your screencast project file to retain the ability to make future edits.
- Export Video: Use your screencasting tool to export the final video file to a location of your choice.
C. Choose a Sharing Platform:
- YouTube: Ideal for educational content, tutorials, or reaching a wide audience.
- Vimeo: Suitable for high-quality, professional content, and offers privacy settings.
- Screencast Hosting Platforms: Platforms like Screencast-O-Matic or Wistia provide specific services for hosting and sharing screencasts.
VIII. Receiving and Incorporating Feedback:
A. Seek Feedback:
- Share Your Screencast: Distribute your screencast to your intended audience or a group of reviewers.
- Encourage Feedback: Encourage viewers to provide constructive feedback on content, delivery, and overall effectiveness.
B. Evaluate Feedback:
- Analyze Comments: Evaluate comments and feedback received to identify areas for improvement.
- Iterative Process: Consider making necessary revisions based on feedback, creating an iterative improvement process.
IX. Best Practices for Screencasting:
A. Practice:
- Rehearse Content: Familiarize yourself with your content to deliver a more confident and polished presentation.
- Dry Runs: Conduct dry runs of your screencast to identify potential issues and refine your delivery.
B. Keep it Concise:
- Attention Span: Recognize the average viewer’s attention span and aim for concise, focused content.
- Break into Segments: Divide longer content into manageable segments to maintain viewer engagement.
C. Visual Clarity:
- Optimal Screen Resolution: Ensure your screencast’s visuals are clear and legible by using an optimal screen resolution.
- Font Size and Color: Choose appropriate font sizes and colors to enhance readability.
D. Engage with Viewers:
- Call-to-Action: Encourage viewers to interact with your content through comments, likes, or subscribing to your channel.
- Address Questions: Promptly address viewer questions or comments to foster a sense of engagement.
E. Stay Updated on Tools:
- Software Updates: Regularly update your screencasting software to benefit from new features, improvements, and security patches.
- Explore New Tools: Stay informed about emerging screencasting tools that may offer innovative features or improved usability.
X. Future Trends in Screencasting:
A. Interactive Elements:
- Embedded Quizzes: Future screencasting tools may incorporate interactive elements like embedded quizzes for enhanced engagement.
- Annotation Collaboration: Collaborative annotation tools may allow viewers to annotate directly on the screencast for shared understanding.
B. Virtual and Augmented Reality:
- VR/AR Integration: Advancements in technology may lead to screencasting tools that support virtual or augmented reality, providing immersive experiences.
- Hands-Free Interaction: Future screencasting interfaces may enable hands-free interaction, allowing creators to navigate content seamlessly.
C. AI-Powered Assistance:
- Automated Transcription: AI may assist in automatic transcription of narrations, making content more accessible and searchable.
- Smart Editing: AI-powered tools may offer smart editing suggestions based on user preferences and content requirements.
Conclusion:
Embarking on the journey of creating your own screencasts opens up a world of possibilities for sharing knowledge, skills, and insights. Whether you are a teacher, a content creator, or someone passionate about a specific subject, mastering the art of screencasting allows you to communicate effectively with a global audience. This comprehensive guide has equipped you with the knowledge needed to plan, record, enhance, and share compelling screencasts. As technology continues to evolve, embracing new trends and tools ensures that your screencasting endeavors remain innovative, engaging, and impactful in the digital realm.


