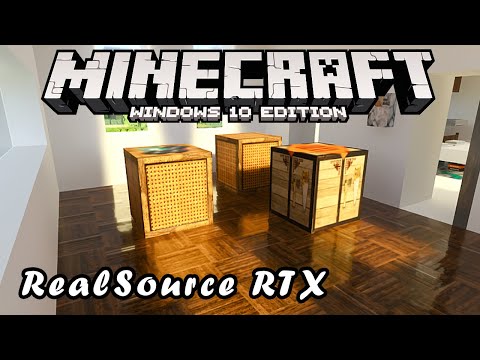
Mastering Realism: A Comprehensive Guide to Adding Realistic Textures in Windows 10

Creating digital art or design projects that evoke a sense of realism and depth often hinges on the effective use of textures. Whether you’re enhancing photographs, crafting digital paintings, or designing multimedia presentations, adding realistic textures can elevate your creations to a whole new level. With the abundance of tools and resources available in Windows 10, achieving lifelike textures is more accessible than ever before. In this extensive guide, we will explore various techniques, tools, and tips to help you add realistic textures to your projects in Windows 10, empowering you to unleash your creativity and bring your digital creations to life.
Understanding Realistic Textures:
Before delving into the techniques for adding realistic textures in Windows 10, let’s first define what we mean by “realistic textures.” Realistic textures refer to the surface characteristics and tactile qualities of objects in the physical world, such as the roughness of a brick wall, the smoothness of polished wood, or the intricate patterns of fabric. By accurately replicating these textures in digital art or design projects, you can create a sense of authenticity and immersion that resonates with viewers.
Tools and Techniques for Adding Realistic Textures in Windows 10:
Now, let’s explore some of the tools and techniques available in Windows 10 for adding realistic textures to your projects:
- Image Editing Software: Windows 10 offers a variety of image editing software options, such as Adobe Photoshop Express, GIMP, and Paint 3D, which provide robust tools for manipulating and applying textures to your images.
- Texture Libraries: Take advantage of the vast array of texture libraries available online, offering high-quality textures for a wide range of materials, surfaces, and environments. Websites like Texture Haven, Texture Ninja, and Textures.com provide free and premium textures for download.
- Layering and Blending Modes: Use layering and blending modes in your image editing software to overlay textures onto your images or artwork. Experiment with different blending modes, such as Overlay, Multiply, or Soft Light, to achieve the desired effect and blend textures seamlessly with your base image.
- Brushes and Stamps: Many image editing software programs come with built-in brushes and stamps that simulate realistic textures, such as brushes for painting hair, fur, or foliage. You can also download custom brushes from online communities or create your own brushes to add unique textures to your projects.
- Filters and Effects: Explore the various filters and effects available in your image editing software to add texture and depth to your images. Experiment with filters such as Noise, Grain, or Texture to simulate the appearance of natural textures or artistic effects.
- 3D Modeling and Rendering: For more advanced users, consider using 3D modeling and rendering software such as Blender or Autodesk Maya to create and manipulate 3D objects with realistic textures. These tools allow you to apply detailed textures to 3D models and render lifelike scenes with lighting and shading effects.
Best Practices for Adding Realistic Textures:
To achieve the best results when adding realistic textures in Windows 10, consider the following best practices:
- Reference Images: Study reference images of real-world textures to understand their characteristics, colors, and patterns. Use these reference images as a guide when applying textures to your digital projects.
- Layering and Opacity: Experiment with layering multiple textures and adjusting the opacity of each layer to create subtle variations and depth in your compositions.
- Lighting and Shadows: Pay attention to lighting and shadows when applying textures to your images. Consider how light interacts with different surfaces and adjust the lighting in your composition accordingly to enhance the realism of your textures.
- Scale and Proportion: Ensure that the scale and proportion of your textures are appropriate for the objects or surfaces they are applied to. Use scaling and transformation tools in your image editing software to adjust the size and placement of textures as needed.
- Consistency and Cohesion: Maintain consistency and cohesion in your compositions by using textures that complement each other and fit within the overall aesthetic of your project. Avoid using textures that clash or distract from the main focus of your artwork.
Conclusion:
In conclusion, adding realistic textures to your projects in Windows 10 opens up a world of creative possibilities, allowing you to enhance the visual impact and authenticity of your digital art and design work. By leveraging the tools, techniques, and best practices outlined in this guide, you can effectively simulate the tactile qualities and surface characteristics of real-world objects, elevating your creations to a new level of realism and immersion. Whether you’re a beginner or seasoned digital artist, incorporating realistic textures into your Windows 10 projects is sure to captivate your audience and leave a lasting impression. So, unleash your creativity, experiment with different textures, and let your imagination run wild as you embark on your journey to master the art of adding realistic textures in Windows 10.


