Mastering Lens Flare Effects: A Comprehensive Guide on How to Add Lens Flare Effects in Final Cut Pro
Introduction: Lens flare effects are a popular visual element used in filmmaking and video production to add depth, drama, and cinematic flair to footage. Final Cut Pro, a leading video editing software, offers users intuitive tools and features for adding lens flare effects seamlessly. In this comprehensive guide, we will explore the step-by-step process of adding a lens flare effect in Final Cut Pro, from understanding the concept to applying and customizing lens flare effects for professional-quality results.
Understanding Lens Flare Effects: Lens flare occurs when stray light enters the camera lens, resulting in artifacts such as halos, streaks, and patterns that overlay the image. While lens flare was traditionally considered an undesirable effect caused by optical imperfections, it has since become a stylistic element used intentionally by filmmakers and videographers to enhance the visual appeal and mood of their footage. Lens flare effects can evoke a sense of warmth, nostalgia, or drama, depending on the intensity, color, and placement of the flares within the frame.
Step 1: Importing Footage into Final Cut Pro Begin by launching Final Cut Pro and opening the project containing the video footage you want to add lens flare effects to. Import the video clips into the project by clicking on the File menu and selecting Import Media, then navigate to the location of the video files on your computer and select the desired files. Alternatively, you can drag and drop the video files directly into the event browser in Final Cut Pro.
Step 2: Adding the Lens Flare Effect With the video footage imported into Final Cut Pro, navigate to the Effects panel by clicking on the Effects button in the top-right corner of the interface. In the Effects panel, search for the “Lens Flare” category and locate the desired lens flare effect. Final Cut Pro offers a variety of built-in lens flare effects to choose from, each with its own unique characteristics and style. Drag and drop the desired lens flare effect onto the video clip in the timeline where you want the flare to appear.
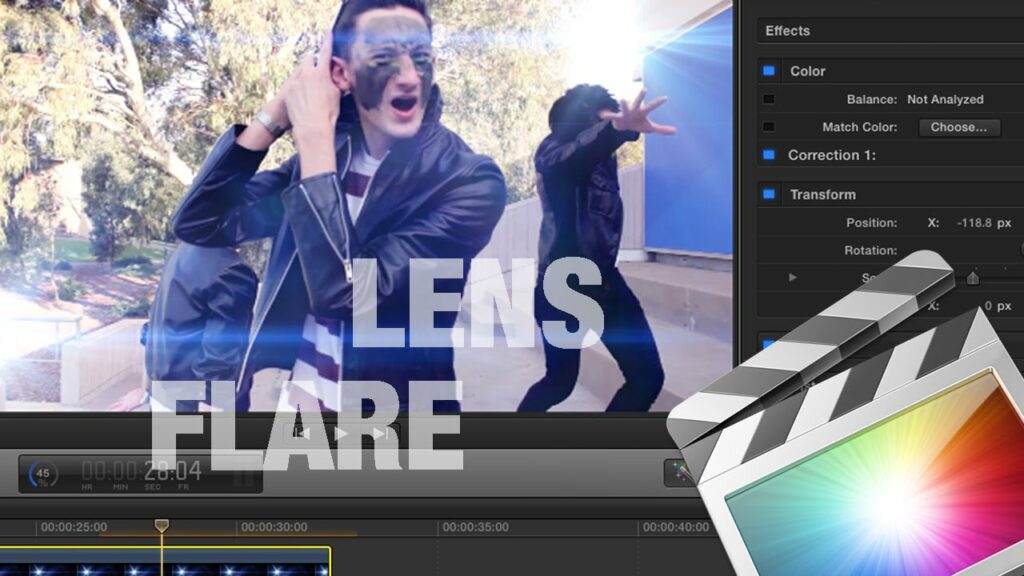
Step 3: Customizing the Lens Flare Effect After applying the lens flare effect to the video clip, you can customize its appearance and behavior to achieve the desired look and feel for your footage. Select the video clip in the timeline, then navigate to the Video Inspector panel by clicking on the Inspector button in the top-right corner of the interface. In the Video Inspector panel, you will find controls for adjusting various parameters of the lens flare effect, such as brightness, color, size, position, and opacity. Experiment with different settings to create the desired intensity, color, and placement of the lens flare within the frame.
Step 4: Blending the Lens Flare Effect To seamlessly integrate the lens flare effect into the video footage, you may need to adjust the blending mode and opacity of the lens flare layer. Select the video clip with the lens flare effect applied in the timeline, then navigate to the Blend Mode dropdown menu in the Video Inspector panel. Experiment with different blending modes, such as Screen or Add, to achieve the desired blending effect between the lens flare and the underlying footage. Additionally, adjust the opacity slider to control the overall transparency of the lens flare effect and fine-tune its integration with the video footage.
Step 5: Previewing and Adjusting the Result After customizing and blending the lens flare effect with the video footage, preview the result in the viewer window to assess the overall look and feel of the footage. Pay attention to the positioning, intensity, and movement of the lens flare within the frame, as well as its impact on the visual narrative and mood of the scene. Make any necessary adjustments or refinements to the lens flare effect based on your preferences and the specific requirements of your project.
Step 6: Adding Multiple Lens Flare Effects (Optional) For more complex or dynamic scenes, you may want to add multiple lens flare effects to different parts of the footage. Repeat the previous steps to add additional lens flare effects to the video clips as needed, adjusting the settings and parameters for each flare to achieve the desired visual impact. Experiment with different combinations of lens flare effects, positions, and intensities to create unique and visually compelling results that enhance the overall quality and appeal of your footage.
Step 7: Previewing and Exporting the Final Result Once you’re satisfied with the lens flare effects applied to the video footage, preview the final result in Final Cut Pro to ensure that it meets your expectations and requirements. Make any final adjustments or refinements as needed. After completing the editing process, export the project from Final Cut Pro to share or use in your video projects. Navigate to the File menu, select Share, and choose the desired export settings, including format, resolution, and output destination. Click Next to render the final video with lens flare effects applied and save it to your desired destination.
Tips and Best Practices:
- Use lens flare effects sparingly and strategically to avoid overwhelming or distracting the viewer from the main content of the footage.
- Experiment with different lens flare presets and customizations to achieve a variety of looks and styles that complement the mood and aesthetic of your video project.
- Pay attention to the color and intensity of the lens flare effect, ensuring that it harmonizes with the overall color palette and visual tone of the footage.
- Consider the position and movement of light sources within the frame when adding lens flare effects, as they can influence the appearance and behavior of the flares.
- Regularly preview the footage with lens flare effects applied to assess the overall impact and make any necessary adjustments or refinements throughout the editing process.
Conclusion: Adding lens flare effects in Final Cut Pro is a creative and versatile technique that allows you to enhance the visual appeal and mood of your video footage. By following the step-by-step process outlined in this guide and experimenting with different settings and techniques, you can achieve professional-quality results that elevate the overall quality and impact of your video projects. Whether you’re editing narrative films, music videos, or promotional content, Final Cut Pro offers powerful tools and features for adding lens flare effects that enhance the visual storytelling and immerse viewers in the world of your imagination.


