Mastering Green Screen Keying: A Comprehensive Guide to Keying Out a Green Screen in DaVinci Resolve
Introduction:
Green screen keying is a fundamental technique in video production, allowing filmmakers and content creators to replace the background of a shot with a different image or footage. DaVinci Resolve, known for its powerful color grading and compositing capabilities, offers robust tools for keying out green screens with precision and efficiency. In this extensive guide, we’ll delve deep into the art of green screen keying in DaVinci Resolve, providing you with the knowledge and techniques to master this essential aspect of post-production.
Understanding Green Screen Keying:
Green screen keying, also known as chroma keying, involves isolating a specific color (typically green or blue) in the footage and removing it to reveal the background behind it. In the case of green screen keying, green is often used as the key color due to its minimal presence in most skin tones and objects. The process of keying out a green screen involves several steps, including keying, refining the matte, and compositing the foreground and background elements.
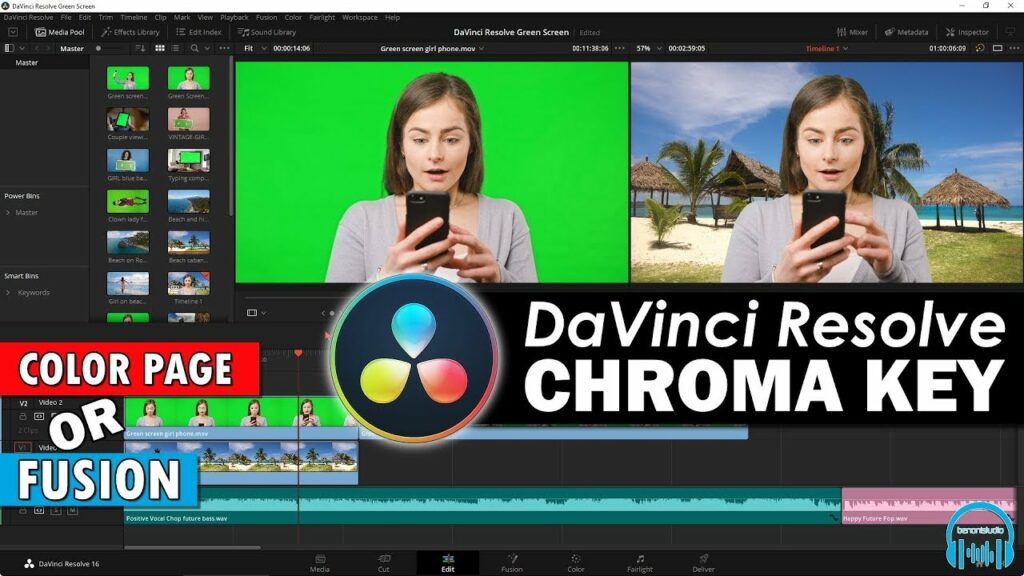
Using DaVinci Resolve for Green Screen Keying:
Let’s explore the step-by-step process of keying out a green screen in DaVinci Resolve:
- Import Footage:
- Launch DaVinci Resolve and create a new project. Import the footage containing the green screen footage and the background image or footage you want to replace it with into the Media Pool.
- Navigate to the Fusion Page:
- Switch to the Fusion page by clicking on the Fusion tab at the bottom of the interface. Fusion is DaVinci Resolve’s node-based compositing environment, where you’ll perform the keying and compositing tasks.
- Add a Merge Node:
- In the Fusion page, start by adding a Merge node from the toolbar. The Merge node is used to combine multiple images or elements together, such as the foreground (green screen footage) and background.
- Connect Nodes:
- Connect the green screen footage to the foreground input of the Merge node and the background image or footage to the background input. This establishes the basic setup for compositing the two elements together.
- Add a Delta Keyer Node:
- To key out the green screen, add a Delta Keyer node to the green screen footage. The Delta Keyer node is specifically designed for keying out green or blue screens and provides advanced controls for refining the key.
- Configure the Delta Keyer:
- With the Delta Keyer node selected, adjust the parameters to key out the green screen. Start by selecting the color range using the Color Picker tool and adjusting the tolerance and softness settings to refine the key.
- Use the View options in the Delta Keyer node to preview the matte and adjust the settings until you achieve a clean and accurate key.
- Refine the Matte:
- After keying out the green screen, refine the matte using additional tools such as the Matte Control and Matte Finesse controls in the Delta Keyer node. These controls allow you to adjust the edges of the matte, remove spill, and clean up any artifacts.
- Combine Foreground and Background:
- Once you’re satisfied with the keying results, connect the output of the Delta Keyer node to the foreground input of the Merge node. This will combine the keyed foreground (green screen footage) with the background image or footage.
- Fine-Tune the Composite:
- Use the controls in the Merge node to adjust the position, scale, and rotation of the foreground and background elements to align them properly. You can also add additional nodes for color correction, masking, or effects to further enhance the composite.
- Preview and Render:
- Preview the composite in the viewer window to ensure that the keying and compositing are seamless. Once satisfied, render the final composite by navigating back to the Edit page, selecting the timeline containing the composite, and clicking on the Deliver tab to export the footage.
Best Practices for Green Screen Keying:
To achieve professional-grade results when keying out a green screen in DaVinci Resolve, consider the following best practices:
- Use High-Quality Footage:
- Start with high-quality footage of the green screen and the background to ensure clean and accurate keying results. Avoid footage with compression artifacts or noise, as they can interfere with the keying process.
- Control Lighting and Exposure:
- Proper lighting and exposure are essential for achieving a clean green screen key. Ensure that the green screen is evenly lit without hotspots or shadows, and that the subject is well-lit and properly exposed to prevent color spill and artifacts.
- Fine-Tune Keying Parameters:
- Take the time to fine-tune the keying parameters, such as color range, tolerance, softness, and spill suppression, to achieve the best possible key. Experiment with different settings and preview the results to find the optimal balance between keying accuracy and edge refinement.
- Refine the Matte:
- Pay attention to refining the matte to ensure smooth and accurate edges around the keyed-out areas. Use tools such as Matte Control and Matte Finesse to adjust the matte’s softness, choke, and density for a seamless blend between the foreground and background elements.
- Composite with Care:
- When compositing the foreground and background elements, pay attention to details such as perspective, lighting, and shadows to create a convincing composite. Use additional nodes for color correction, masking, or effects to enhance the overall look and feel of the composite.
Conclusion:
Keying out a green screen in DaVinci Resolve is a complex yet rewarding process that requires precision, patience, and attention to detail. By following the step-by-step guide and best practices outlined in this article, you can achieve professional-grade results and create seamless composites that elevate the visual quality of your projects. Whether you’re working on a narrative film, commercial, music video, or any other type of production, mastering the art of green screen keying in DaVinci Resolve opens up endless creative possibilities and allows you to bring your vision to life with confidence and precision. Experiment with different techniques, refine your skills, and unlock the full potential of green screen keying to take your post-production workflow to new heights.


