Mastering Fluidity: A Comprehensive Guide to Sketching with the LiveSketch Tool in CorelDRAW

Introduction:
CorelDRAW, a preeminent vector graphics editor, stands as a canvas for artists, designers, and illustrators to manifest their creativity. Among its dynamic set of tools, the LiveSketch tool emerges as a revolutionary feature, offering an intuitive and natural sketching experience. In this extensive guide, we will delve into the intricacies of sketching with the LiveSketch tool in CorelDRAW, exploring techniques, customization options, and advanced tips to empower you in creating expressive and dynamic digital sketches. Whether you are a seasoned artist or a novice exploring the world of digital illustration, mastering the LiveSketch tool unlocks a new realm of creativity within the dynamic world of CorelDRAW.
Understanding the LiveSketch Tool:
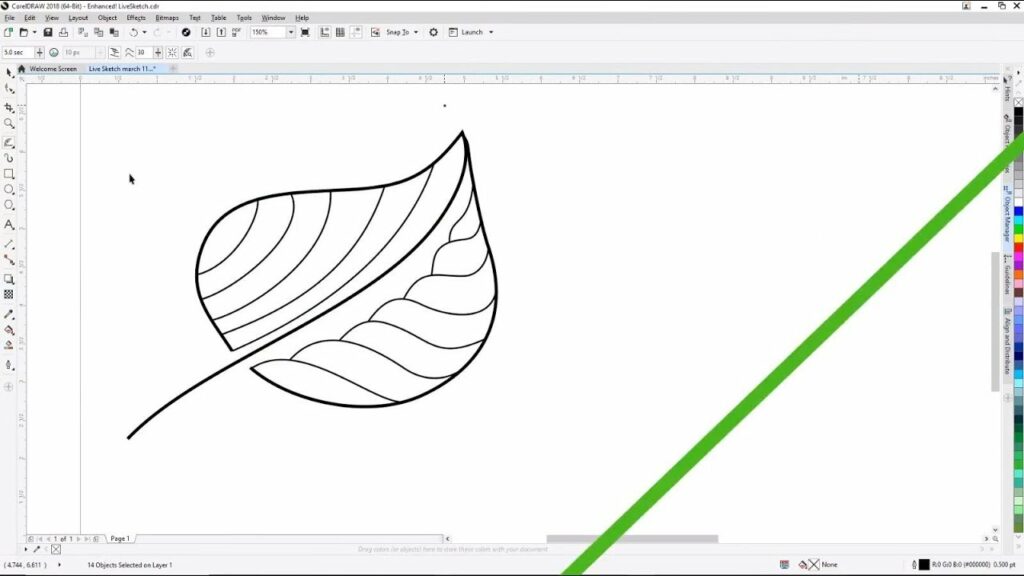
The LiveSketch tool in CorelDRAW is a groundbreaking addition that transforms the traditional approach to digital sketching. Unlike conventional vector drawing methods, LiveSketch utilizes artificial intelligence to interpret your hand-drawn strokes and convert them into precise vector curves. This real-time sketching experience allows for an organic and fluid creative process, bridging the gap between traditional sketching and digital illustration.
Basic Techniques for Sketching with the LiveSketch Tool:
- Activating the LiveSketch Tool: To access the LiveSketch tool, select it from the toolbar or press the ‘A’ key as a shortcut. Alternatively, you can find it in the ‘Pen’ flyout menu.
- Drawing Freely: With the LiveSketch tool activated, begin drawing on the canvas freely. Unlike traditional vector drawing, you don’t need to worry about precise strokes or predefined shapes. The tool interprets your hand-drawn lines in real-time.
- Adjusting Line Thickness and Opacity: While sketching, experiment with line thickness and opacity. The LiveSketch tool offers dynamic control over these attributes, allowing you to add depth and emphasis to different parts of your sketch.
- Undo and Redo: Embrace the fluidity of the LiveSketch process by using the ‘Undo’ (Ctrl + Z) and ‘Redo’ (Ctrl + Y) commands. These functions provide flexibility and encourage experimentation in your sketching journey.
Advanced Techniques for Sketching with the LiveSketch Tool:
- Leveraging Intelligent Corrections: If the LiveSketch tool misinterprets a stroke, utilize the intelligent correction options. Click and hold on a line segment, and the tool will present suggested corrections. Choose the correction that aligns with your intended sketch.
- Customizing Stroke Recognition: Fine-tune the LiveSketch tool’s stroke recognition settings to match your drawing style. Access the ‘LiveSketch Settings’ in the ‘Property Bar’ to adjust parameters such as sensitivity and smoothness, enhancing the tool’s responsiveness.
- Incorporating Traditional Tools: Combine the LiveSketch tool with traditional vector drawing tools for added versatility. Use the ‘Pen’ or ‘Pencil’ tools to refine specific details or add intricate elements to your sketch after the initial LiveSketch process.
Customization Options for Precision:
- Adjusting Line Properties: Tailor the appearance of your LiveSketch lines by adjusting line properties. Access the ‘Outline’ or ‘Pen’ settings in the ‘Object Properties’ docker to modify line thickness, color, and style for both the entire sketch and individual strokes.
- Fine-Tuning with the Shape Tool: After LiveSketching, use the Shape tool to fine-tune your sketch. Click and drag individual nodes or segments to achieve pixel-perfect adjustments. This level of granular control ensures precision in your design.
- Snapping Options for Alignment: Utilize snapping options to ensure accurate alignment of LiveSketch elements. Enable ‘Snap to Grid,’ ‘Snap to Guidelines,’ or ‘Snap to Objects’ to facilitate precise placement and maintain consistency.
Troubleshooting and Optimization Strategies:
- Experimenting with Stroke Variations: If the LiveSketch tool doesn’t interpret your strokes as intended, experiment with stroke variations. Adjust the pressure and speed of your strokes to find the sweet spot that aligns with your sketching style.
- Utilizing Multiple Layers: Organize your LiveSketch project by utilizing multiple layers. This allows you to separate different elements, making it easier to edit and adjust specific parts of your sketch without affecting the entire composition.
- Saving Iterations and Versions: Save iterations and versions of your LiveSketch project to preserve your creative process. This ensures that you can revisit and build upon different stages of your sketch, fostering a non-linear and exploratory approach to digital illustration.
Conclusion:
Sketching with the LiveSketch tool in CorelDRAW is a liberating experience that bridges the gap between traditional and digital artistry. By exploring the various techniques, customization options, and advanced tips presented in this comprehensive guide, you’ll gain the confidence to embark on a fluid and expressive sketching journey. Whether you’re a seasoned artist exploring new digital horizons or a novice venturing into the world of illustration, CorelDRAW empowers you to unleash your creativity with the revolutionary LiveSketch tool. Embrace the spontaneity, fluidity, and precision it offers, and let your digital sketches come to life within the dynamic realm of CorelDRAW.


