Mastering AutoCAD: A Comprehensive Guide to Plotting and Printing Drawings
In the realm of computer-aided design (CAD), the ability to effectively plot and print drawings is essential for bringing designs to life, sharing information with stakeholders, and producing documentation for construction or manufacturing processes. Mastering the techniques for plotting and printing drawings in AutoCAD is crucial for ensuring accuracy, consistency, and professionalism in various design projects. Whether you’re an architect, engineer, designer, or drafting professional, understanding how to plot and print your drawings empowers you to communicate your designs effectively and efficiently. In this comprehensive guide, we’ll explore the tools, techniques, and best practices for plotting and printing drawings in AutoCAD, providing step-by-step instructions to help you refine your drafting skills and produce high-quality output in your design projects.
Understanding Plotting and Printing in AutoCAD:
Before delving into the specifics of plotting and printing drawings in AutoCAD, it’s essential to grasp the concepts and functionalities of plotting and printing:
- Plotting: Plotting refers to the process of generating physical copies of digital drawings on paper or other media using a plotter or printer. Plotting involves configuring print settings, selecting paper size, scale, and plot styles, and generating output files for printing.
- Printing: Printing in AutoCAD encompasses both plotting and generating digital output files, such as PDFs or DWFs, for electronic distribution or archival purposes. Printing allows users to create digital copies of drawings for sharing, review, or reference.
- Layouts and Viewports: AutoCAD drawings typically contain multiple layouts, each representing a different sheet or view of the design. Within layouts, users can create viewports to display specific areas of the drawing at different scales or orientations.
Plotting and Printing in AutoCAD:
AutoCAD provides a variety of tools and commands for plotting and printing drawings, allowing users to customize output settings, manage plot styles, and generate high-quality output. Here’s how to plot and print your drawings in AutoCAD:
- Setting Up Layouts:
- Create layouts for your drawing by selecting the Layout tab at the bottom of the drawing window or using the Layout command.
- Define layout properties such as paper size, orientation, and scale using the Page Setup Manager or layout tabs.
- Creating Viewports:
- Within layouts, create viewports to display specific areas of the drawing at different scales or orientations.
- Use the Viewport command to create rectangular or polygonal viewports, or select predefined viewport configurations from the Viewport Configuration menu.
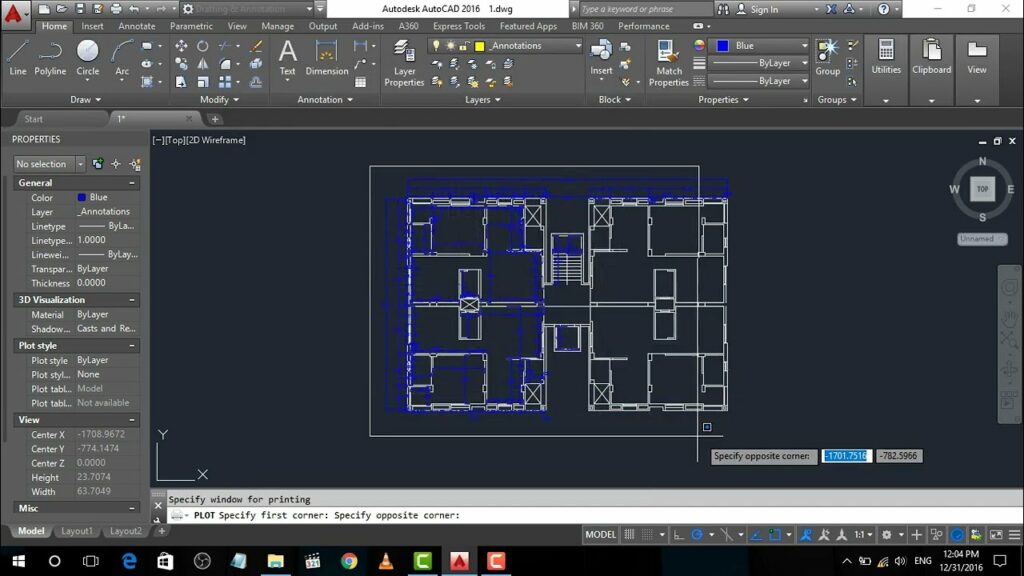
- Configuring Plot Settings:
- Access plot settings by selecting the Plot icon from the Quick Access Toolbar or typing “PLOT” in the command line.
- In the Plot dialog box, specify plotter or printer settings, paper size, plot scale, plot area, and other parameters based on your requirements.
- Selecting Plot Styles:
- Choose plot styles (CTBs or STBs) to control the appearance of plotted objects, lineweights, and colors.
- Customize plot styles using the Plot Style Table Editor to match your organization’s standards or project requirements.
- Previewing and Plotting:
- Preview the plot using the Preview button in the Plot dialog box to verify settings and layout appearance.
- Click the Plot button to generate physical copies of the drawing on paper or digital output files for electronic distribution.
Best Practices for Plotting and Printing:
To optimize efficiency and maintain consistency when plotting and printing drawings in AutoCAD, consider implementing the following best practices:
- Standardize Plot Settings: Establish and adhere to standardized plot settings, including paper sizes, plot scales, and plot styles, to ensure consistency across drawings and projects.
- Test Plotting Settings: Before finalizing plots or prints, test plot settings and configurations to verify output quality, scale accuracy, and alignment.
- Document Print Instructions: Document print instructions or plot guides for team members or collaborators to ensure consistent plot settings and procedures across multiple users.
- Maintain Plotter Calibration: Regularly calibrate plotters or printers to ensure accurate output, especially for large-scale drawings or projects with precise dimensional requirements.
Conclusion:
Mastering the techniques for plotting and printing drawings in AutoCAD is essential for producing high-quality output, communicating designs effectively, and facilitating collaboration in various design projects. By understanding the concepts, functionalities, and best practices for plotting and printing, designers, architects, engineers, and drafting professionals can streamline workflows, ensure accuracy, and achieve professional results in their design endeavors. Whether producing construction documents, manufacturing drawings, or presentation materials, knowing how to plot and print your drawings empowers you to convey your designs with clarity and precision. With dedication, practice, and a commitment to continuous learning, mastering plotting and printing in AutoCAD is within reach, enabling users to excel in their CAD design endeavors and achieve success in their design projects.


