How to format a hard drive
Formatting a hard drive is a critical process that involves erasing all data and setting up a file system for storage. Whether you’re preparing a new drive, wiping an old one for reuse, or troubleshooting issues, understanding how to format a hard drive correctly is essential. This comprehensive guide will walk you through the steps and considerations for formatting hard drives on Windows, macOS, and Linux systems, covering different scenarios and providing tips to ensure data safety and optimal performance.
Understanding Hard Drive Formatting
What is Hard Drive Formatting?
Formatting a hard drive involves:
- Erasing all data: Deleting existing files and partitions.
- Setting up a file system: Creating a structure that the operating system can use to organize and store data.
Reasons for Formatting a Hard Drive
- Preparing a New Drive: Before using a new hard drive, it must be formatted to set up a file system.
- Data Erasure: Wiping out all data on a drive to start fresh or before selling/donating.
- Resolving Issues: Fixing disk errors, removing malware, or resolving file system corruption.
- Changing File Systems: Switching between file systems for compatibility or performance reasons.
Types of Formatting
- Quick Format: Only removes file system structures, making data recovery possible.
- Full Format: Writes zeros across the entire disk, securely erasing data.
How to Format a Hard Drive on Windows
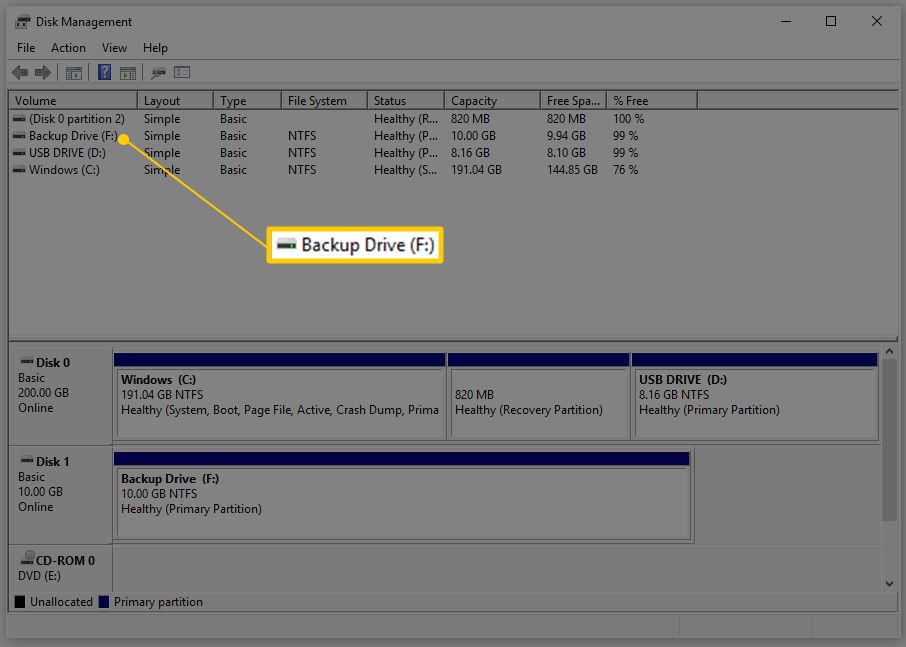
Using Disk Management
- Open Disk Management:
- Search for Disk Management: Type “disk management” in the Windows search bar and open “Create and format hard disk partitions.”
- Select the Drive:
- Right-click Drive: Right-click on the drive you want to format (make sure it’s the correct one to avoid data loss).
- Initiate Format:
- Choose Format: Select “Format…” and choose file system (NTFS is recommended for Windows).
- Complete Formatting:
- Confirm: Follow the prompts to confirm and complete the formatting process.
Using Command Prompt (CMD)
- Open Command Prompt:
- Run as Administrator: Type “cmd” in the search bar, right-click on Command Prompt, and select “Run as administrator.”
- Format Command:
- Syntax: Use the command
format X: /FS:NTFS(replace X with your drive letter and adjust file system as needed).
- Syntax: Use the command
- Confirmation:
- Proceed: Type “Y” to confirm formatting and press Enter.
Using File Explorer
- Open File Explorer:
- Navigate to This PC: Go to “This PC” or “Computer” and locate the drive to be formatted.
- Format Drive:
- Right-click Drive: Right-click on the drive and select “Format…”
- Set Options: Choose file system, allocation unit size, and perform a quick format if desired.
How to Format a Hard Drive on macOS
Using Disk Utility
- Open Disk Utility:
- Launch Utility: Go to “Applications” > “Utilities” > “Disk Utility.”
- Select the Drive:
- Choose Drive: Select the drive you want to format from the left sidebar.
- Erase Drive:
- Click Erase: Click on “Erase” at the top of the Disk Utility window.
- Set Format and Scheme:
- Choose Format: Select file system format (APFS or Mac OS Extended).
- Partition Scheme: Choose GUID Partition Map for macOS boot drives.
- Confirm and Erase:
- Erase: Click “Erase” to confirm and start the formatting process.
How to Format a Hard Drive on Linux
Using GParted (Graphical Partition Editor)
- Install GParted:
- Package Manager: Use your Linux distribution’s package manager to install GParted (e.g.,
sudo apt install gpartedfor Debian/Ubuntu).
- Package Manager: Use your Linux distribution’s package manager to install GParted (e.g.,
- Open GParted:
- Launch Application: Open GParted from the application menu (you may need administrative privileges).
- Select the Drive:
- Choose Drive: Select the hard drive you want to format from the drop-down menu in the top-right corner.
- Format Drive:
- Right-click Drive: Right-click on the drive and choose “Format to” followed by the desired file system (e.g., ext4).
- Apply Changes:
- Apply: Click on the green checkmark to apply the formatting changes.
Considerations and Best Practices
- Backup Important Data: Before formatting, ensure you have backed up any important data stored on the drive.
- Verify Drive Selection: Double-check the drive selection to avoid formatting the wrong disk.
- Data Security: For sensitive data, consider performing a full format or using specialized data wiping software.
- File System Compatibility: Choose a file system (e.g., NTFS, exFAT, APFS, ext4) suitable for your operating system and storage needs.
- Partitioning: If needed, create partitions during formatting to organize data or install multiple operating systems.
Conclusion
Formatting a hard drive is a necessary process for various reasons, from preparing new drives to troubleshooting and data erasure. By following the steps outlined in this guide for Windows, macOS, and Linux systems, you can safely and effectively format your hard drive while ensuring data security and optimal performance. Always remember to back up important data before proceeding with formatting to prevent accidental data loss. With the right precautions and understanding of the process, formatting a hard drive can be straightforward and beneficial for maintaining your computer’s health and functionality.


