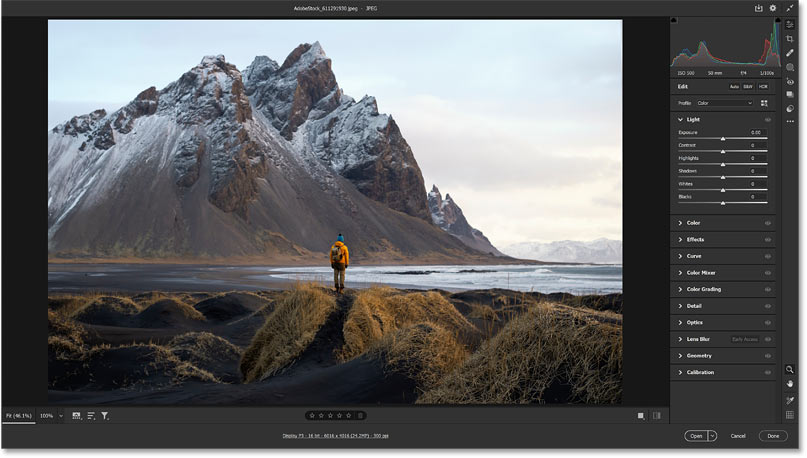
Exploring Photographic Precision: A Comprehensive Guide to Two Methods of Opening JPEG Files in Adobe Camera Raw

Introduction:
In the realm of digital photography, Adobe Camera Raw (ACR) stands as an indispensable tool for photographers seeking to enhance and refine their images. While traditionally associated with processing raw image files, ACR has evolved to accommodate JPEG files, opening up a plethora of possibilities for photographers who want to harness its powerful editing capabilities. This article delves into the nuances of opening JPEG files in Adobe Camera Raw, presenting two distinct methods that cater to varying preferences and workflow needs.
Method 1: Directly Opening JPEG Files in Adobe Camera Raw:
The first method involves the straightforward approach of directly opening JPEG files in Adobe Camera Raw. This method is particularly useful for photographers who prioritize efficiency and want a seamless transition from capturing images to the post-processing stage.
- Launching Adobe Camera Raw:
- To begin, open Adobe Camera Raw by either double-clicking on a JPEG file or accessing it through Adobe Photoshop by navigating to “File” > “Open As” > “Camera Raw.”
- Default Adjustments and Settings:
- Upon opening a JPEG file in ACR, users will be presented with a range of default adjustments and settings. These include options like exposure, contrast, saturation, and sharpness, providing a starting point for refining the image.
- Basic Panel Adjustments:
- The Basic panel in ACR allows users to make fundamental adjustments to exposure, contrast, highlights, shadows, and more. This intuitive interface empowers photographers to enhance the overall tonality of their JPEG images effortlessly.
- Creative Enhancement Tools:
- Adobe Camera Raw offers a plethora of creative tools, such as the HSL/Grayscale panel, Split Toning, and Lens Corrections, enabling users to fine-tune colors, add artistic effects, and correct lens distortions.
- Applying Changes:
- Once satisfied with the adjustments, users can apply changes and open the image in Adobe Photoshop for further refinement or export the edited JPEG directly.
Method 2: Utilizing Adobe Bridge for JPEG Files in Adobe Camera Raw:
The second method involves using Adobe Bridge, a companion application to Adobe Camera Raw, to manage and open JPEG files. This method offers a more organized and batch-processing-friendly workflow for photographers dealing with multiple images.
- Organizing Files in Adobe Bridge:
- Begin by importing and organizing JPEG files in Adobe Bridge. This application serves as a file browser and management tool, allowing users to categorize, rate, and label images before opening them in ACR.
- Selecting Multiple Files:
- Adobe Bridge enables users to select multiple JPEG files simultaneously. This feature is particularly beneficial for batch processing, saving time when applying similar adjustments to a group of images.
- Opening in Adobe Camera Raw:
- Right-click on the selected JPEG files in Adobe Bridge and choose “Open in Camera Raw” from the context menu. This seamlessly launches ACR, loading all selected images for simultaneous editing.
- Synchronized Editing:
- One of the strengths of using Adobe Bridge in conjunction with ACR is the ability to synchronize edits across multiple images. This feature streamlines the editing process, ensuring consistency in adjustments for a series of photographs.
- Exporting and Saving:
- Once the desired edits are made, users can apply changes and choose to either save the images directly or open them in Adobe Photoshop for additional enhancements.
Conclusion:
In conclusion, Adobe Camera Raw has expanded its horizons beyond raw image processing, accommodating JPEG files and providing photographers with a versatile and powerful tool for refining their images. Whether opting for the direct approach or leveraging the organizational capabilities of Adobe Bridge, the two methods outlined in this article empower photographers to elevate their craft by unlocking the full potential of Adobe Camera Raw in the realm of JPEG editing. Experimenting with both methods allows photographers to tailor their workflow to suit their preferences, ultimately contributing to a more efficient and creative post-processing experience.


