Crafting Characters: A Comprehensive Guide to Creating Custom Fonts in Adobe Illustrator
Introduction: Fonts are the building blocks of typography, shaping the visual identity of brands, publications, and designs. While there is a vast array of fonts available, creating a custom font can elevate your design work and add a unique touch to your projects. Adobe Illustrator provides powerful tools and features that enable designers to design and create custom fonts with precision and creativity. In this extensive guide, we’ll delve into the step-by-step process of creating custom fonts in Adobe Illustrator, from conceptualization to final implementation, covering design principles, practical techniques, and creative strategies along the way.
Part 1: Planning and Preparation
- Understanding Font Anatomy: Before diving into font creation, it’s essential to understand the anatomy of fonts, including terms such as baseline, x-height, ascender, descender, and serif. Familiarize yourself with these concepts to inform your font design.
- Defining Design Objectives: Clarify the goals and objectives of your custom font project, such as the intended use, target audience, and stylistic preferences. Determine whether you’re creating a display font, a script font, or a typeface for body text.
- Gathering Inspiration: Seek inspiration from existing fonts, typography trends, and design resources to inform your font design process. Create mood boards, collect reference images, and study type specimens to inspire your creative direction.
Part 2: Designing Glyphs and Characters
- Sketching and Ideation: Start by sketching rough concepts and ideas for individual glyphs and characters. Experiment with different styles, shapes, and letterforms to explore various design possibilities.
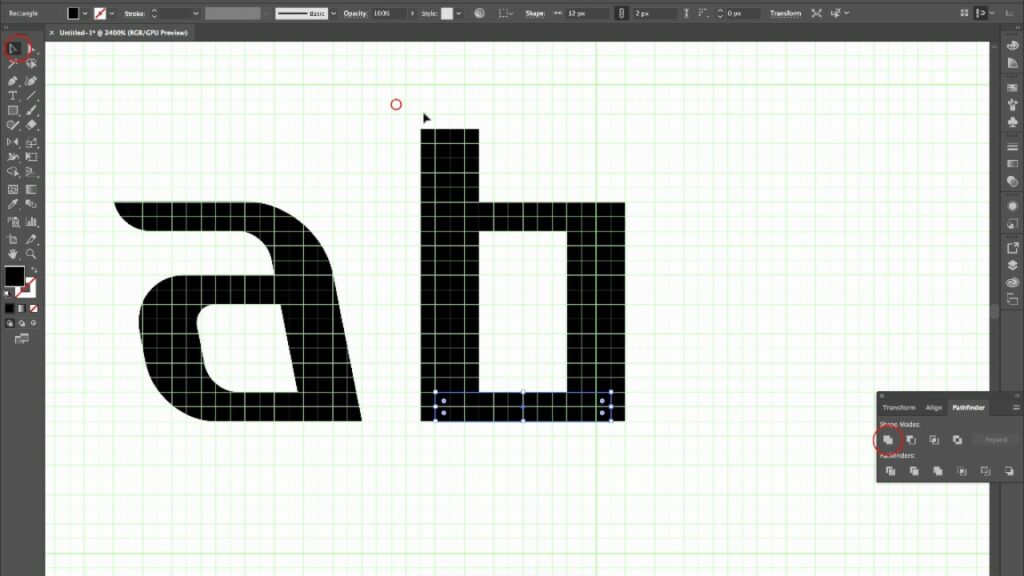
- Creating Glyphs in Illustrator: Open Adobe Illustrator and create a new document for your font project. Use the Type Tool to draw individual glyphs, characters, and letterforms directly on the artboard, ensuring consistency in size and spacing.
- Fine-Tuning Shapes and Details: Refine the shapes, curves, and details of each glyph using Illustrator’s drawing tools, such as the Pen Tool, Anchor Point Tool, and Shape Tools. Pay attention to stroke thickness, curvature, and symmetry to achieve uniformity and balance.
- Maintaining Consistency: Maintain consistency in design across all glyphs and characters within your font. Ensure that letterforms share consistent proportions, stroke widths, and visual characteristics to create a cohesive and harmonious typeface.
Part 3: Adding Typography Features
- Creating Kerning Pairs: Adjust the spacing between individual characters and glyphs to improve readability and visual balance. Use Illustrator’s Kerning options to manually adjust the spacing between specific pairs of letters to achieve optimal typographic harmony.
- Designing Ligatures and Alternates: Create ligatures and alternate glyphs to enhance the aesthetic appeal and versatility of your font. Design custom ligatures for common letter combinations and provide alternate glyphs for stylistic variation and decorative purposes.
- Adding Diacritics and Special Characters: Include diacritics, accents, and special characters to support different languages and character sets. Design these characters with the same care and attention to detail as the rest of your font to ensure consistency and coherence.
Part 4: Testing and Refinement
- Proofreading and Testing: Proofread your font thoroughly to identify any errors, inconsistencies, or readability issues. Test your font across different applications and platforms to ensure compatibility and legibility in various contexts.
- Iterating and Refining: Based on feedback and testing results, iterate on your font design, making necessary adjustments and refinements. Address any issues related to spacing, kerning, or glyph design to improve the overall quality of your font.
Part 5: Exporting and Implementation
- Exporting Font Files: Once you’re satisfied with your font design, export it as a font file format compatible with different operating systems and applications. Adobe Illustrator allows you to export fonts in formats such as .otf (OpenType) or .ttf (TrueType).
- Installing and Using Your Custom Font: Install your custom font on your computer’s operating system to use it in design projects and applications. You can also share your font with others by distributing the font file or submitting it to online font repositories and marketplaces.
Conclusion
Creating a custom font in Adobe Illustrator is a challenging yet rewarding endeavor that allows you to express your creativity and personality through typography. By following the comprehensive guide outlined above, you’ll be equipped with the knowledge and skills to design and create custom fonts that elevate your design work and leave a lasting impression. Remember to experiment, iterate, and refine your font designs to achieve the perfect balance of style, functionality, and usability. With dedication and creativity, you can craft unique and memorable fonts that stand out in the world of typography.


