Unveiling Dimensionality: A Comprehensive Guide to Crafting 3D Scenes in Adobe After Effects
Introduction: Adobe After Effects has long been renowned for its powerful 2D animation and compositing capabilities, but with the introduction of 3D features, it has become a formidable tool for creating immersive and dynamic 3D scenes. From simple text animations to complex visual effects, After Effects offers a range of tools and techniques for building 3D environments that push the boundaries of creativity. In this comprehensive guide, we’ll delve into the intricacies of creating 3D scenes in After Effects, covering everything from basic setups to advanced techniques for crafting stunning and immersive visual experiences.
Understanding 3D Scenes in After Effects: 3D scenes in Adobe After Effects involve the creation and manipulation of three-dimensional objects and environments within a virtual space. By leveraging features such as 3D layers, cameras, lights, and effects, artists can create depth, perspective, and realism in their compositions, resulting in dynamic and engaging visuals. Whether used for motion graphics, visual effects, or animation, 3D scenes offer endless possibilities for storytelling, experimentation, and creative expression.
Getting Started with 3D Scenes in After Effects: To begin creating 3D scenes in Adobe After Effects, follow these steps:
Step 1: Enable 3D Space: Open After Effects and create a new composition by selecting “Composition” > “New Composition” from the menu. In the composition settings, enable the 3D renderer by clicking on the “3D Renderer” dropdown menu and selecting “Cinema 4D (Standard)” or “Cinema 4D (Lite)” depending on your version of After Effects. This activates the 3D features and allows you to work in a three-dimensional space.
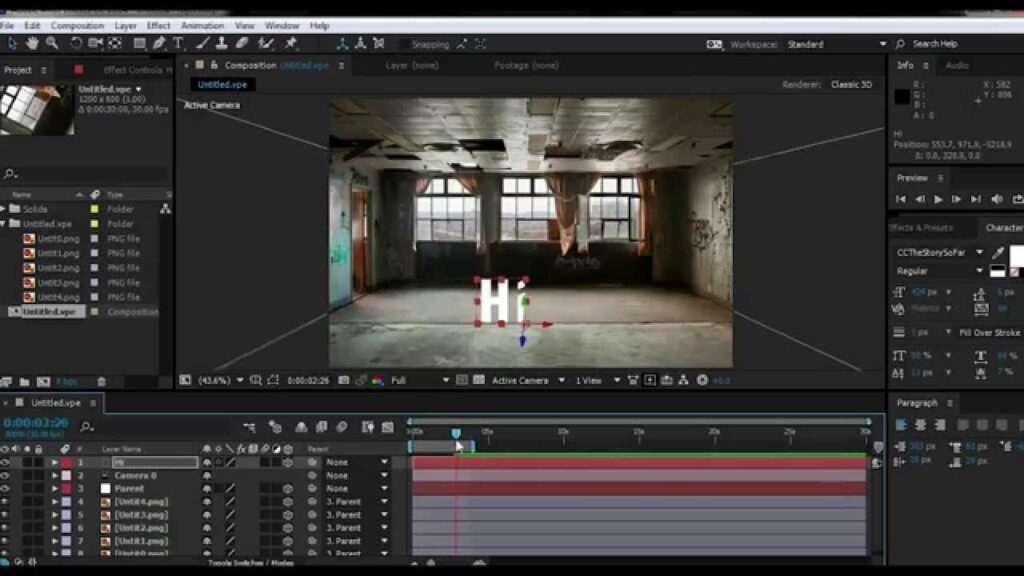
Step 2: Create 3D Layers: Import or create the elements you want to include in your 3D scene, such as text, shapes, or images. Convert these layers into 3D layers by selecting the layer and clicking on the “3D Layer” switch in the Timeline panel. This converts the layer into a three-dimensional object that can be manipulated in 3D space.
Step 3: Arrange and Transform Layers: Arrange the 3D layers in your composition to create the desired layout and composition. Use the Transform properties such as Position, Rotation, and Scale to position and orient the layers in 3D space. Experiment with different camera angles, perspectives, and depths to achieve the desired look and feel for your scene.
Step 4: Add Cameras and Lights: Introduce cameras and lights to enhance the depth and realism of your 3D scene. Create a new camera by selecting “Layer” > “New” > “Camera” from the menu, and adjust the camera settings such as focal length, aperture, and depth of field to control the perspective and framing of the scene. Similarly, add lights to illuminate the scene and create shadows, highlights, and atmosphere.
Step 5: Apply Effects and Enhancements: Apply effects and enhancements to your 3D layers to add texture, depth, and visual interest to the scene. Experiment with effects such as Depth of Field, Motion Blur, and Ambient Occlusion to simulate real-world lighting and shading effects. Use texture mapping, displacement maps, and fractal noise to add detail and complexity to the surfaces of your 3D objects.
Advanced Techniques and Tips: To take your 3D scenes to the next level, consider exploring the following advanced techniques and tips:
- 3D Modeling and Animation: Create custom 3D models and animations using external software such as Cinema 4D, Blender, or Maya, and import them into After Effects for integration into your scenes. Use techniques such as rigging, keyframing, and dynamics to animate complex 3D objects and characters.
- Camera Animation and Tracking: Animate the camera movement within your 3D scene to create dynamic and cinematic shots. Use keyframes or expressions to animate the camera along paths, simulate handheld movements, or create smooth transitions between different viewpoints. Alternatively, use camera tracking techniques to match the movement of the camera to real-world footage, integrating 3D elements seamlessly into live-action footage.
- Depth Effects and Parallax: Add depth effects and parallax to your 3D scenes to create a sense of depth and dimensionality. Use techniques such as depth maps, depth of field, and parallax scrolling to simulate the perception of distance and space within the scene, enhancing the realism and immersion of the composition.
- Particle Systems and Dynamics: Incorporate particle systems and dynamic simulations into your 3D scenes to add movement and realism to your animations. Use effects such as Particular or Form to generate dynamic particle effects such as smoke, fire, or explosions, and integrate dynamic simulations to simulate physical interactions between objects within the scene.
- Integration with External Plugins: Explore external plugins and scripts to enhance the capabilities of After Effects for 3D scene creation. Plugins such as Element 3D, Plexus, or Stardust offer additional tools and features for creating complex 3D effects, motion graphics, and visualizations.
Conclusion: Creating 3D scenes in Adobe After Effects opens up a world of creative possibilities, allowing artists to craft immersive and dynamic visual experiences that captivate and engage audiences. By mastering the techniques and principles outlined in this guide, you’ll be equipped to create 3D scenes that push the boundaries of creativity and storytelling, leaving a lasting impression on your audience.
As you embark on your journey to create 3D scenes in After Effects, remember to embrace experimentation, iteration, and innovation. Explore new techniques, push the boundaries of your creativity, and let your imagination soar as you craft scenes that transport viewers to new worlds and tell compelling stories. With dedication, practice, and a willingness to explore new possibilities, you’ll unlock the full potential of 3D scene creation in After Effects and create visuals that resonate with viewers for years to come.


