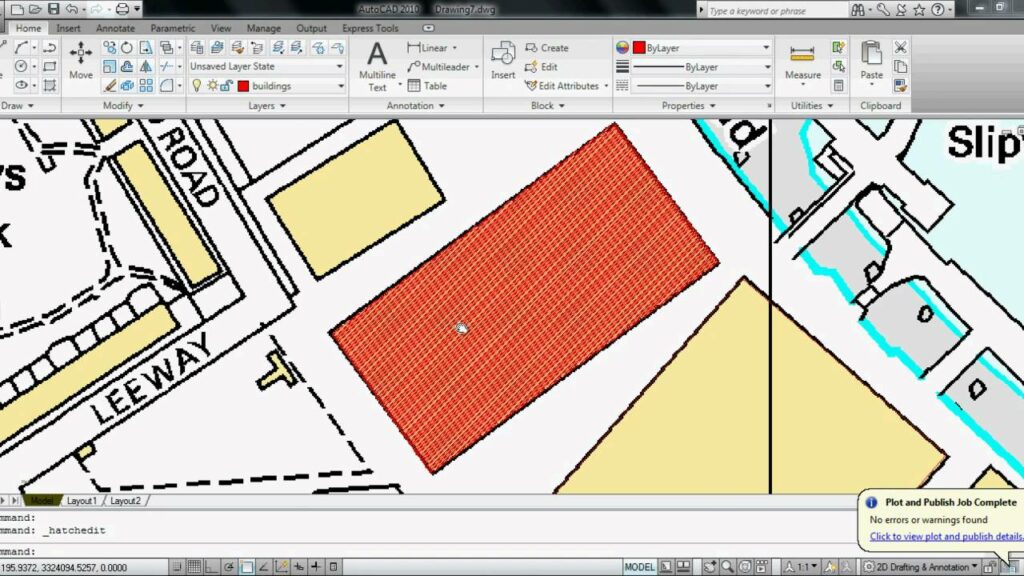
Navigating the Terrain: A Comprehensive Guide on How to Insert a Map in AutoCAD

Introduction:
AutoCAD, the versatile computer-aided design (CAD) software, empowers users to create detailed and precise drawings for various applications. When working on projects that require geographical context or spatial information, inserting a map into AutoCAD becomes a valuable and integral aspect of the design process. This comprehensive guide will take you through the step-by-step process of inserting a map in AutoCAD, covering different methods, data sources, and best practices for integrating geographic information seamlessly into your drawings.
Section 1: Understanding Geographic Information Systems (GIS)
- GIS Basics:
- Geographic Information Systems (GIS) involve the collection, analysis, and presentation of spatial data. Familiarize yourself with the concept of GIS and its significance in design projects that require geographic context.
- AutoCAD Map 3D:
- AutoCAD Map 3D is a specialized version of AutoCAD designed for handling spatial data. Explore the features and capabilities of AutoCAD Map 3D for efficient map integration.
Section 2: Choosing and Preparing Map Data
- Data Sources:
- Identify reliable sources for map data. Options include public GIS databases, government agencies, online mapping services, and proprietary datasets.
- File Formats:
- Map data is often available in various file formats such as Shapefiles (SHP), Keyhole Markup Language (KML), or GeoTIFF. Choose a format compatible with AutoCAD for seamless integration.
- Coordinate Systems:
- Ensure that the map data you intend to use has a defined coordinate system. Consistency in coordinate systems between your map data and AutoCAD is essential for accurate alignment.
Section 3: Inserting a Map Using AutoCAD Map 3D
- Accessing Map Task Pane:
- Open AutoCAD Map 3D and access the Map Task Pane. This specialized pane provides tools for working with spatial data.
- Connecting to Data Source:
- Use the “Connect to Data” option to link AutoCAD Map 3D to your chosen map data source. Specify the data connection parameters and establish a link.
- Importing Map Features:
- Import map features such as points, lines, and polygons from your data source into AutoCAD. Follow the prompts to define how the spatial data will be represented in your drawing.
- Adjusting Map Properties:
- Customize the appearance and properties of the imported map features. Modify colors, line styles, and other attributes to suit your design requirements.
- Working with Attribute Data:
- Explore the attribute data associated with your map features. Use this data to enhance the informational content of your drawing.
Section 4: Inserting a Map Image
- Online Map Services:
- AutoCAD provides an option to insert maps directly from online map services. Use the “Aerial Map” or “Bing Map” options to fetch map imagery for your drawing.
- Geolocation Tool:
- Utilize the “Geolocation” tool in AutoCAD to insert map images. Specify a location or provide geographical coordinates to download and overlay a map onto your drawing.
- Adjusting Map Extents:
- After inserting a map image, adjust its extents to align with your project area. Use the geolocation tools to scale and position the map appropriately.
Section 5: Georeferencing
- Georeferencing Basics:
- Georeferencing involves aligning your AutoCAD drawing with real-world coordinates. This process ensures accurate spatial representation and facilitates collaboration with GIS data.
- Georeferencing Tools:
- AutoCAD Map 3D provides georeferencing tools to align your drawing with known geographical coordinates. Use these tools to establish spatial accuracy.
- Coordinate Transformation:
- If your map data and AutoCAD drawing use different coordinate systems, employ coordinate transformation tools to ensure proper alignment.
Section 6: Tips for Effective Map Integration
- Maintaining Layer Organization:
- Organize map data and drawing elements into layers. This practice enhances visibility, manageability, and ease of editing.
- Combining Data Sources:
- Integrate data from multiple sources to enrich your drawing. Combine GIS data with existing project information for a comprehensive representation.
- Using Map Symbols and Styles:
- Employ appropriate map symbols and styles to represent features consistently. Consistent symbology enhances the visual clarity of your drawing.
- Updating Map Data:
- Periodically update your map data to ensure it reflects the latest information. AutoCAD Map 3D facilitates easy data updates through dynamic linking.
Section 7: Troubleshooting Map Insertion Issues
- Coordinate System Mismatch:
- If your map data and AutoCAD drawing are not aligning correctly, revisit the coordinate systems. Ensure consistency and make necessary adjustments.
- Data Connection Problems:
- If you encounter issues connecting to your data source, check network connectivity, and verify that the data source is accessible.
- Map Image Quality:
- Adjust the resolution and quality settings when inserting map images to enhance clarity. Experiment with different sources or adjust geolocation settings for better results.
- Layer Visibility:
- If map features are not visible, confirm that the relevant layers are turned on. Adjust layer visibility settings to display the desired map elements.
Section 8: Exporting Maps from AutoCAD
- Exporting to GIS Formats:
- AutoCAD Map 3D enables the export of drawings to common GIS formats such as Shapefiles or KML. This feature facilitates seamless collaboration with GIS professionals.
- Creating Geospatial PDFs:
- Generate geospatial PDFs from your AutoCAD drawing for easy sharing and distribution. Geospatial PDFs retain coordinate information for enhanced interoperability.
- Exporting Map Images:
- Export high-quality map images from AutoCAD for presentations or documentation purposes. Adjust settings to meet specific resolution and format requirements.
Conclusion:
Inserting a map into AutoCAD is a valuable skill that adds a spatial dimension to your design projects. Whether you are leveraging GIS data, online map services, or aerial imagery, this comprehensive guide has equipped you with the knowledge needed to seamlessly integrate maps into your AutoCAD drawings. By understanding the tools, techniques, and best practices outlined in this guide, you can navigate the terrain of geographic information with confidence, enhancing the precision and informational depth of your AutoCAD designs.


