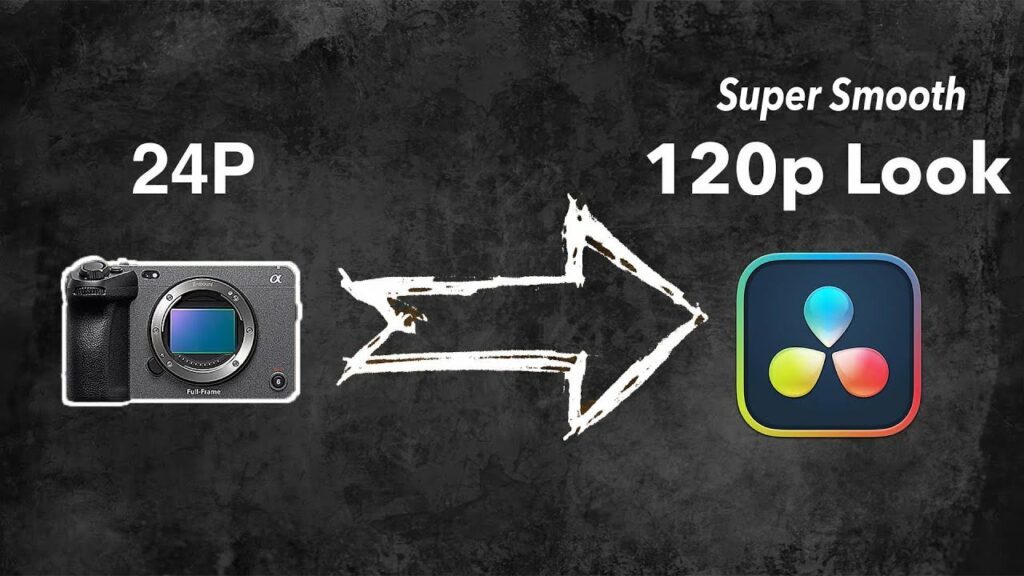
Mastering Smooth Slow Motion: A Comprehensive Guide to Using Optical Flow in DaVinci Resolve
Introduction: Slow motion footage adds a captivating dimension to videos, enhancing visual storytelling and emphasizing the subtleties of motion. However, achieving smooth slow motion can be challenging without the right tools and techniques. DaVinci Resolve’s Optical Flow feature offers a powerful solution for creating seamless slow-motion effects, enabling editors to achieve fluid, cinematic results. In this extensive guide, we explore the intricacies of using Optical Flow in DaVinci Resolve, empowering editors to unlock the full potential of smooth slow motion in their projects.
Section 1: Understanding Optical Flow Before diving into the specifics of using Optical Flow, it’s essential to grasp the concept and functionality of this feature. This section provides an overview of Optical Flow, including its purpose, principles, and applications in video editing.
- Defining Optical Flow: Explore the concept of Optical Flow, which involves analyzing frame-by-frame motion within a video clip and generating intermediate frames to interpolate smooth motion between existing frames. Understand how Optical Flow algorithms calculate motion vectors and interpolate pixel values to create fluid slow-motion effects.
- Analyzing the benefits of Optical Flow: Delve into the advantages of using Optical Flow for slow motion in DaVinci Resolve. Discover how Optical Flow preserves image detail and texture while minimizing motion artifacts, allowing editors to achieve seamless slow-motion effects with superior visual quality and fidelity.
Section 2: Applying Optical Flow in DaVinci Resolve DaVinci Resolve offers a user-friendly interface and powerful tools for applying Optical Flow to video clips, enabling editors to create smooth slow-motion effects with ease and precision. This section provides step-by-step tutorials and demonstrations for using Optical Flow in DaVinci Resolve.
- Accessing Optical Flow controls: Learn how to access Optical Flow controls within DaVinci Resolve’s Edit page, including the Optical Flow menu and parameter adjustments. Familiarize yourself with options for adjusting Optical Flow settings such as quality, motion estimation method, and retiming speed.
- Applying Optical Flow to video clips: Explore techniques for applying Optical Flow to video clips in DaVinci Resolve’s timeline. Learn how to select the desired clip, navigate to the Optical Flow menu, and enable Optical Flow processing to create smooth slow-motion effects.
- Fine-tuning Optical Flow parameters: Discover how to fine-tune Optical Flow parameters to achieve optimal results for your slow-motion footage. Experiment with adjusting settings such as motion estimation quality, frame blending, and retiming speed to balance smoothness, accuracy, and processing efficiency.
Section 3: Best Practices and Tips for Using Optical Flow Achieving smooth slow motion with Optical Flow requires attention to detail and careful execution. This section offers best practices and expert tips for using Optical Flow effectively in DaVinci Resolve.
- Use high-quality source footage: Start with high-quality source footage to achieve the best results with Optical Flow. Choose clips with sufficient resolution, frame rate, and detail to ensure accurate motion estimation and interpolation.
- Plan for processing time: Optical Flow processing can be computationally intensive, especially for complex or high-resolution footage. Plan for sufficient processing time when applying Optical Flow effects to ensure smooth playback and efficient rendering.
- Experiment with parameter adjustments: Don’t be afraid to experiment with different Optical Flow settings to achieve the desired look and feel for your slow-motion footage. Adjust parameters such as motion estimation quality, frame blending, and retiming speed to optimize visual quality and processing efficiency.
Section 4: Real-World Applications and Case Studies Gain inspiration and insight from real-world examples and case studies that demonstrate the creative potential and practical applications of Optical Flow in DaVinci Resolve. This section showcases innovative slow-motion techniques employed in diverse contexts, from narrative films and music videos to sports highlights and commercials.
- Narrative filmmaking: Explore how filmmakers use Optical Flow in DaVinci Resolve to create dramatic slow-motion sequences that enhance storytelling and emotional impact in narrative films. Discover techniques for slowing down key moments, capturing subtle details, and emphasizing character expressions and actions.
- Music videos: Experience the creative possibilities of Optical Flow in music videos, where slow motion adds visual interest and rhythm to musical performances. Learn how to synchronize slow-motion effects with music beats, create dynamic visual compositions, and evoke mood and atmosphere through slow-motion imagery.
- Sports highlights: Discover how sports videographers use Optical Flow to capture and showcase dynamic action sequences in slow motion. Explore techniques for emphasizing athleticism, capturing precise movements, and heightening drama and excitement in sports highlights and replays.
Section 5: Conclusion Optical Flow in DaVinci Resolve represents a powerful tool for achieving smooth, cinematic slow-motion effects in video editing. By mastering the techniques and principles outlined in this guide, editors can unlock a world of creative possibilities and elevate their storytelling prowess to new heights of excellence. Embrace the creative potential of Optical Flow, and let DaVinci Resolve be your gateway to captivating slow-motion imagery that captivates and inspires audiences.


