Mastering Precision: An Exhaustive Guide to Drawing and Modifying Squares Using Object Coordinates in CorelDRAW
Introduction:
CorelDRAW stands as a powerful tool for graphic design, offering a plethora of features to bring creative visions to life. Among its arsenal, the ability to draw or modify squares using object coordinates is a fundamental skill that ensures accuracy and consistency in design. This comprehensive guide aims to delve deeply into the process of drawing and modifying squares with object coordinates in CorelDRAW, catering to beginners seeking foundational insights and seasoned designers aiming to refine their skills.
I. Understanding the Essence of Object Coordinates:
- Defining Object Coordinates: Object coordinates refer to the precise numerical values that define the position and dimensions of an object within the design workspace. These coordinates are crucial for maintaining accuracy and consistency in design elements.
- The Importance of Precision: In graphic design, precision is paramount. Object coordinates provide a systematic approach to drawing and modifying shapes, ensuring that design elements align perfectly and convey the intended message.
II. Basic Techniques for Drawing Squares Using Object Coordinates:
- Accessing the Square Tool: Begin by selecting the Square tool from the toolbox. This tool is typically represented by a square icon and can be found in the left sidebar of the CorelDRAW workspace.
- Entering Object Coordinates: After selecting the Square tool, input the desired object coordinates in the property bar or options bar at the top of the workspace. Object coordinates typically include values for X (horizontal position), Y (vertical position), width, and height.
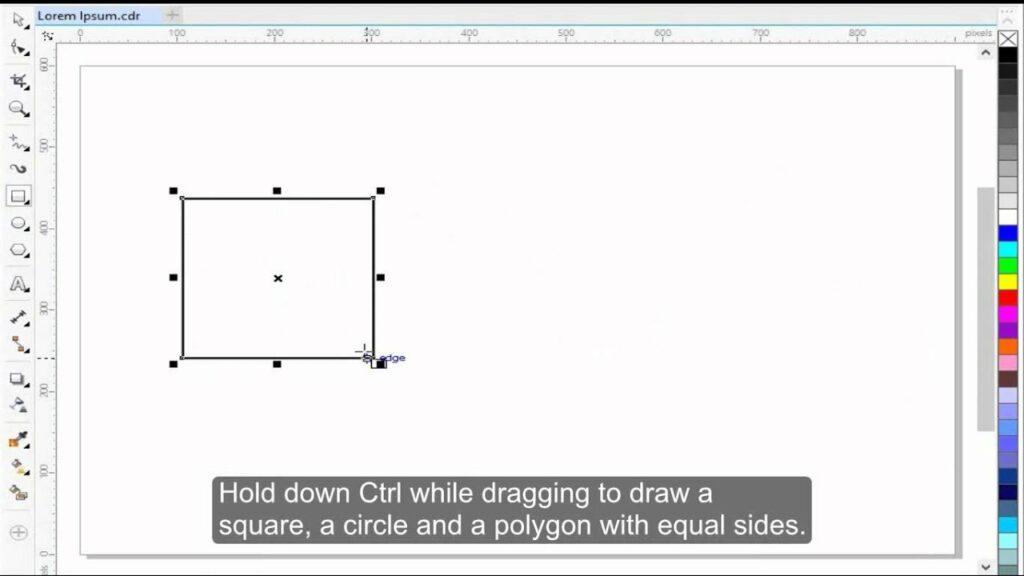
- Drawing the Square: With the object coordinates entered, click and drag in the design workspace to draw the square. CorelDRAW will create the square with precise dimensions and position according to the specified coordinates.
III. Modifying Squares Using Object Coordinates:
- Selecting the Square: To modify an existing square, use the Pick tool to click on the square, ensuring it becomes the active selection in the design workspace.
- Accessing the Object Coordinates: With the square selected, navigate to the property bar or options bar to view and edit the object coordinates. Adjust the values for X, Y, width, or height as needed to make the desired changes.
- Applying Changes: After adjusting the object coordinates, press Enter or click outside the property bar to apply the changes. The square will be instantly updated based on the modified coordinates.
IV. Utilizing Object Manager for Square Coordinates:
- Understanding the Object Manager: The Object Manager serves as a powerful organizational tool, displaying the hierarchy of objects within the document. Utilize it to locate and select squares for precise modifications using object coordinates.
- Batch Editing with Object Manager: In scenarios where multiple squares require similar adjustments, use the Object Manager to select and modify multiple objects simultaneously. This ensures efficiency and consistency in design.
V. Advanced Techniques for Object Coordinates:
- Using Relative Coordinates: CorelDRAW allows designers to use relative coordinates, which are based on the current position of an object. This technique is valuable for creating patterns, grids, or symmetrical designs with interconnected squares.
- Coordinate Transformations: Explore coordinate transformations to scale, rotate, or skew squares using specific coordinate values. This advanced technique offers creative flexibility in shaping and arranging squares within the design.
VI. Troubleshooting and Best Practices:
- Verifying Unit of Measurement: Before entering object coordinates, verify the unit of measurement (e.g., inches, millimeters, pixels) to ensure consistency in dimensioning. Use the options bar to switch between units if necessary.
- Undo/Redo Functionality: The Undo (Ctrl + Z) and Redo (Ctrl + Y) commands serve as a safety net for reverting actions. If unintended modifications occur, use these commands to navigate through the editing history.
VII. Collaboration and Object Coordinates:
- Sharing Design Specifications: When collaborating on design projects, share specific object coordinates with team members. This ensures alignment on the precise dimensions and positions of design elements.
- Version Compatibility: Be mindful of version compatibility when sharing designs. Object coordinate features may vary between different versions of CorelDRAW, potentially affecting the accuracy of transferred coordinates.
VIII. Documenting Design Processes:
- Creating Tutorials and Guides: Document the process of drawing or modifying squares using object coordinates for educational or collaborative purposes. Tutorials, design process documents, or annotations within the design file can guide team members or serve as future references.
- Maintaining Design Consistency: Adhere to a standardized approach when working with object coordinates. This includes using a consistent unit of measurement, alignment strategy, and precision standards across the entire project.
Conclusion:
In conclusion, the ability to draw or modify squares using object coordinates in CorelDRAW is a fundamental skill that enhances precision and consistency in graphic design. By mastering the techniques outlined in this guide, designers can achieve accurate and visually appealing compositions. Embrace the precision that object coordinates offer, and let your designs flourish with accuracy and clarity in CorelDRAW.


