How to use Windows 7 Aero Snap feature
Introduction to Aero Snap Feature
Aero Snap is a user interface enhancement introduced in Windows 7, part of the Aero desktop experience. It enables users to manage and arrange open windows more efficiently by snapping them to specific areas of the screen. This feature is particularly useful for multitasking, as it allows users to view and work with multiple windows simultaneously without overlapping or manually resizing each window. Aero Snap simplifies window management through intuitive mouse gestures or keyboard shortcuts, enhancing productivity and user experience.
How to Use Aero Snap in Windows 7
Aero Snap primarily involves using mouse gestures or keyboard shortcuts to snap windows to different positions on the screen. Below are the step-by-step instructions to utilize Aero Snap effectively:
Method 1: Using Mouse Gestures
- Snap Window to Left or Right Half of the Screen:
- Click on the title bar of the window you want to snap.
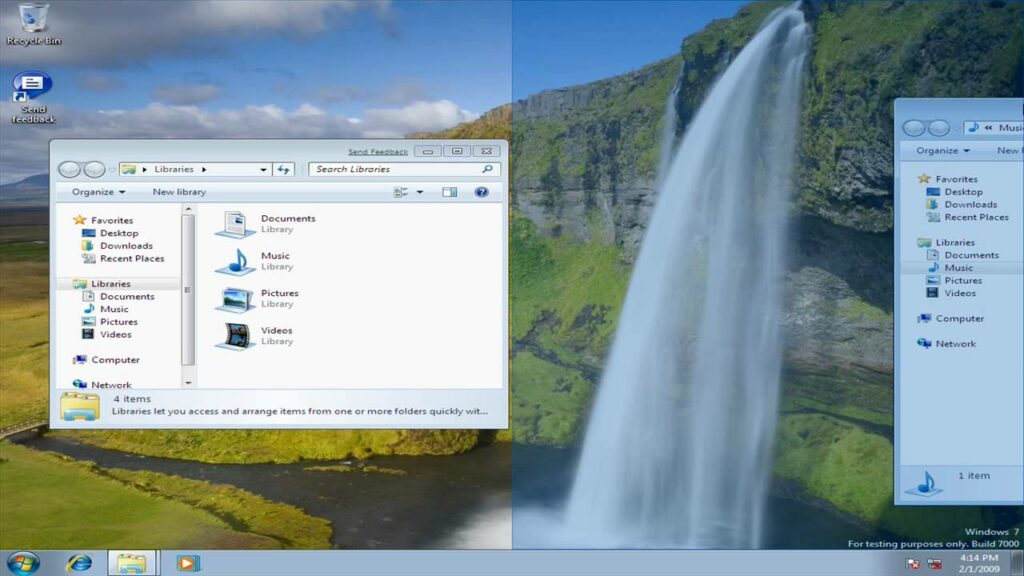
- Drag the window to the left or right edge of the screen until you see a transparent outline covering half of the screen.
- Release the mouse button to snap the window to that side of the screen. The window will automatically resize to occupy half of the desktop space.
- Restore Window Size:
- To return a snapped window to its original size, click and drag the window away from the edge of the screen. Alternatively, double-click the title bar of the window.
- Snap Window to Top or Bottom of the Screen:
- Click on the title bar of the window.
- Drag the window to the top edge of the screen until the transparent outline covers the entire screen.
- Release the mouse button to snap the window to full-screen mode. This maximizes the window vertically while maintaining its width.
Method 2: Using Keyboard Shortcuts
- Snap Window to Left or Right Half of the Screen:
- Select the window you want to snap.
- Press and hold the
Windowskey on your keyboard. - While holding the
Windowskey, press the left arrow key to snap the window to the left half of the screen or the right arrow key to snap it to the right half. Release theWindowskey to finalize the snap.
- Snap Window to Top or Bottom of the Screen:
- Select the window you want to snap.
- Press and hold the
Windowskey. - While holding the
Windowskey, press the up arrow key to maximize the window vertically (snap to the top of the screen) or the down arrow key to restore it to its previous size.
Additional Tips and Tricks
- Multiple Monitor Support:
- Aero Snap also works across multiple monitors in Windows 7. You can snap windows to the edges of different monitors to organize your workspace efficiently.
- Customizing Snap Behavior:
- Windows 7 does not provide extensive customization options for Aero Snap. However, third-party utilities or registry tweaks can sometimes enhance or modify Aero Snap behavior to suit specific preferences.
- Disabling Aero Snap:
- If Aero Snap is not preferred, it can be disabled. Right-click on the desktop, select “Personalize,” click on “Window Color” at the bottom, and uncheck “Enable Aero Peek” and “Enable desktop composition.”
Conclusion
The Aero Snap feature in Windows 7 simplifies window management by allowing users to snap windows to predefined positions on the screen through intuitive mouse gestures or keyboard shortcuts. By utilizing Aero Snap, users can maximize productivity, multitask efficiently, and organize their desktop workspace effectively. Whether snapping windows to the sides or corners of the screen, Aero Snap enhances user experience by streamlining window resizing and arrangement tasks.
Experiment with Aero Snap to discover how it can improve your workflow and optimize your desktop organization in Windows 7, making multitasking a seamless experience.


