How to use the audio denoise feature in PowerDirector
Using the audio denoise feature in CyberLink PowerDirector enhances your video editing capabilities by allowing you to effectively reduce or remove unwanted background noise and improve the overall audio quality of your videos. This feature is particularly valuable for eliminating hums, hisses, and other audio artifacts that can detract from the clarity and professionalism of your audio tracks. Understanding how to use the audio denoise feature in PowerDirector empowers you to achieve cleaner, more polished audio in your video projects. This comprehensive guide will walk you through everything you need to know about using the audio denoise feature in PowerDirector, from accessing and applying it to your audio clips to advanced techniques and troubleshooting tips.
1. Introduction to the Audio Denoise Feature in PowerDirector
The audio denoise feature in PowerDirector is designed to reduce background noise and improve the overall clarity of audio recordings within your video projects. It uses advanced algorithms to analyze and suppress unwanted noise without significantly affecting the quality of the recorded audio.
a. Benefits of Using Audio Denoise
- Enhanced Clarity: Remove background noise to achieve cleaner, more professional audio.
- Improved Quality: Maintain the integrity of the original audio while reducing unwanted noise artifacts.
- Efficient Editing: Streamline the editing process by enhancing audio directly within PowerDirector.
b. Applications of Audio Denoise
- Interviews and Dialogues: Enhance spoken word clarity by reducing background noise during interviews or dialogues.
- Location Recording: Improve audio quality recorded in noisy environments or with less-than-ideal conditions.
- Voiceovers and Narrations: Ensure clear and crisp voiceovers or narrations by eliminating background hums or hisses.
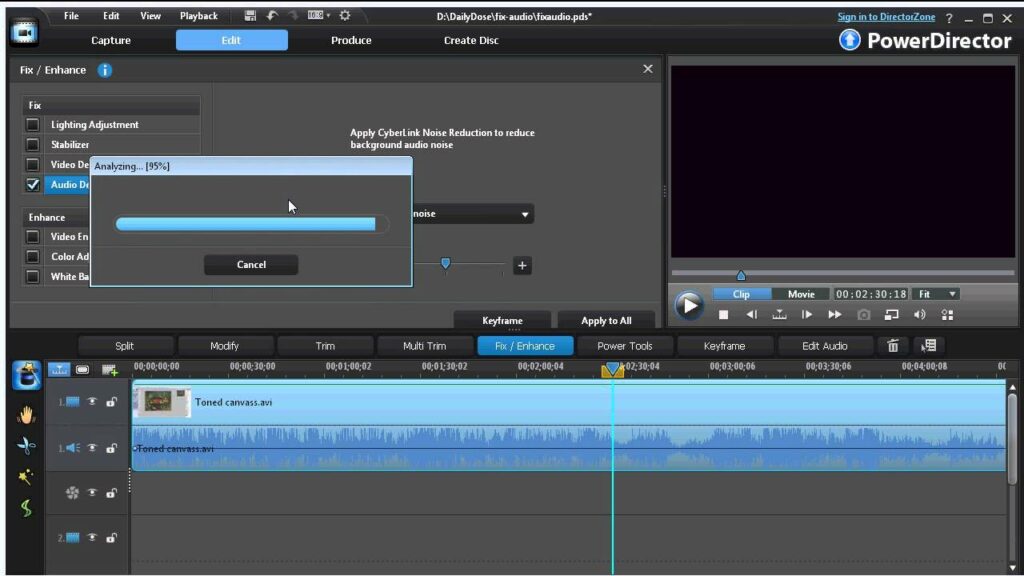
2. Accessing the Audio Denoise Feature in PowerDirector
PowerDirector integrates the audio denoise feature into its interface, providing intuitive access and controls for enhancing audio quality in your video projects.
a. Interface Navigation
- Audio Room: Access the audio denoise feature within PowerDirector’s Audio Room or Audio Mixing interface, where audio tracks are managed and edited.
- Tool Activation: Activate the audio denoise tool to apply noise reduction adjustments to selected audio clips or tracks.
b. Tool Settings and Controls
- Noise Reduction Levels: Adjust noise reduction levels to control the amount of background noise suppression applied to audio clips.
- Preview Options: Use real-time preview options to monitor and adjust noise reduction settings while listening to the audio playback.
3. Using the Audio Denoise Feature in PowerDirector
Mastering the audio denoise feature in PowerDirector involves understanding its functionalities and applying them effectively to enhance audio quality in your video projects.
a. Applying Denoise Effects
- Clip Selection: Select the audio clip or track containing unwanted background noise for noise reduction processing.
- Noise Reduction Adjustment: Adjust denoise settings to reduce background noise levels while preserving the clarity and fidelity of the original audio.
b. Preview and Fine-Tuning
- Real-Time Monitoring: Monitor the effects of noise reduction adjustments in real-time through PowerDirector’s playback and preview controls.
- Fine-Tuning Controls: Use fine-tuning controls to optimize noise reduction settings based on the specific characteristics of the audio recording.
4. Customizing Audio Denoise Effects in PowerDirector
PowerDirector offers customization options to further refine and tailor audio denoise effects to achieve optimal results for your video editing projects.
a. Frequency Analysis
- Frequency Adjustments: Adjust denoise parameters across different frequency ranges to target specific types of background noise more effectively.
- Threshold Settings: Set threshold levels to control the sensitivity of noise reduction adjustments, ensuring minimal impact on desired audio signals.
b. Advanced Controls
- Adaptive Filters: Apply adaptive filters or algorithms to dynamically adjust noise reduction settings based on changing audio conditions or environmental factors.
- Presets and Profiles: Save customized denoise settings as presets or profiles within PowerDirector for quick access and consistent application across multiple audio clips.
5. Advanced Techniques with Audio Denoise in PowerDirector
Explore advanced techniques and features within the audio denoise tool in PowerDirector to maximize the effectiveness of noise reduction for professional-grade audio editing.
a. Multi-Track Processing
- Batch Processing: Apply denoise effects to multiple audio tracks simultaneously to streamline editing workflows and ensure consistent audio quality across projects.
- Layered Editing: Integrate denoise effects into layered audio tracks or compositions for comprehensive noise reduction and audio enhancement.
b. Audio Restoration
- Restoration Filters: Utilize restoration filters or plugins within PowerDirector to further enhance audio clarity and eliminate persistent background noise or imperfections.
- Automated Cleanup: Implement automated cleanup tools or features to expedite the noise reduction process while maintaining high-quality audio output.
6. Tips and Best Practices for Using Audio Denoise
Optimize your workflow and achieve professional results when using the audio denoise feature in PowerDirector with these practical tips and best practices.
a. Pre-Editing Preparation
- Noise Identification: Identify and analyze background noise characteristics before applying denoise effects to determine optimal reduction settings.
- Audio Segmentation: Segment audio clips or tracks based on noise profiles or recording conditions to apply targeted denoise adjustments efficiently.
b. Workflow Efficiency
- Real-Time Monitoring: Monitor denoise effects in real-time during playback to assess their impact on audio quality and adjust settings accordingly.
- Collaborative Feedback: Seek feedback from collaborators or clients to validate denoise adjustments and ensure audio quality meets project requirements.
7. Troubleshooting Common Issues
Address common challenges encountered when using the audio denoise feature in PowerDirector to optimize workflow efficiency and achieve desired audio enhancement outcomes.
a. Performance Optimization
- Hardware Acceleration: Enable hardware acceleration settings within PowerDirector to improve processing speeds and responsiveness when applying intensive denoise effects to audio tracks.
- Resource Allocation: Allocate sufficient system resources and optimize storage management to prevent performance lag or delays during denoise processing and playback.
b. Quality Control and Assurance
- Preview and Review: Utilize preview options to review denoise effects in real-time and ensure audio clarity, consistency, and fidelity before finalizing edits or exports.
- Export Settings: Configure export settings to preserve denoise adjustments and maintain high-quality audio output across different playback platforms and devices.
8. Exporting Projects with Enhanced Audio Quality
Once you’ve applied and customized denoise effects to audio clips in PowerDirector, it’s essential to export your edited projects while preserving the integrity and enhanced audio quality achieved through noise reduction.
a. Final Integration
- Timeline Integration: Ensure seamless integration of denoised audio clips with video elements within PowerDirector’s timeline for synchronized playback and narrative cohesion.
- Audio-Visual Sync: Verify audio-visual synchronization and overall playback quality of edited video projects with enhanced audio quality before exporting.
b. Export Settings
- Format Selection: Choose export formats that support high-definition audio output and maintain noise-reduced fidelity across various playback platforms and devices.
- Compression Optimization: Optimize compression settings to balance file size and audio quality, ensuring efficient distribution and playback of edited video content without compromising audio integrity.
Conclusion
Mastering the audio denoise feature in CyberLink PowerDirector elevates your video editing capabilities by enabling you to enhance audio clarity and quality through effective noise reduction techniques. By following this comprehensive guide, you’ll gain the skills and knowledge to leverage PowerDirector’s audio denoise feature effectively, whether you’re editing for personal projects, professional productions, or collaborative endeavors. Experiment with noise reduction settings, explore customization options, and apply best practices to achieve pristine audio quality and elevate the overall impact of your video projects. Happy editing!


