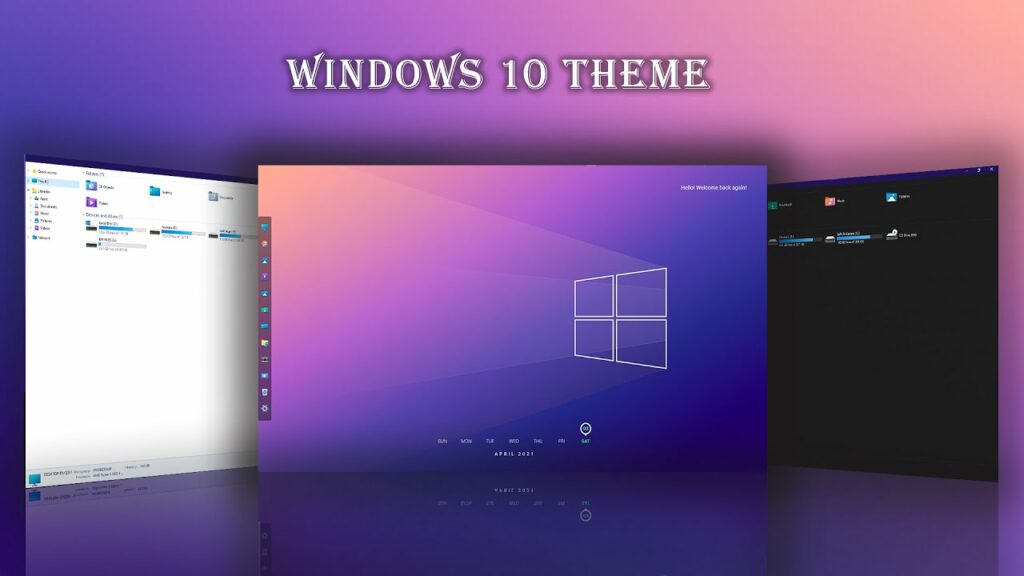
How to personalize Windows themes

Introduction to Personalizing Windows Themes
Personalizing Windows themes goes beyond mere aesthetics; it allows you to tailor your computing experience to reflect your personality and workflow preferences. Whether you prefer minimalist designs, vibrant colors, or themed backgrounds, Windows offers a variety of customization options to transform your desktop environment. This guide covers how to personalize Windows themes in both Windows 10 and Windows 11, providing step-by-step instructions for each version.
Windows 10
Step-by-Step Guide to Personalize Windows Themes in Windows 10
Step 1: Access Personalization Settings
- Open Settings:
- Click on the Start button (Windows icon) in the bottom-left corner of the screen or press the
Win + Ikeys on your keyboard to open Settings.
- Click on the Start button (Windows icon) in the bottom-left corner of the screen or press the
- Go to Personalization:
- In the Settings window, click on “Personalization.” This opens the Personalization settings where you can customize various aspects of your Windows theme.
Step 2: Customize Background
- Choose Background Type:
- In the Personalization settings, click on “Background” in the left-hand menu.
- Select Background Image:
- Under “Background,” choose whether you want a picture, solid color, or slideshow. Click on the dropdown menu under “Background” to select your preferred option.
- Set Background Image:
- If you select “Picture” or “Slideshow,” click on “Browse” to choose an image from your computer. Adjust any additional settings such as picture position or slideshow duration.
Step 3: Customize Colors
- Go to Colors Settings:
- In the Personalization settings, click on “Colors” in the left-hand menu.
- Choose Accent Color:
- Under “Colors,” select your desired accent color. You can also enable “Automatically pick an accent color from my background” to match the color scheme to your background image.
- Apply Color to Start, Taskbar, and Action Center:
- Toggle on “Show accent color on the following surfaces” to apply the chosen accent color to the Start menu, taskbar, and Action Center.
Step 4: Customize Themes
- Navigate to Themes Settings:
- In the Personalization settings, click on “Themes” in the left-hand menu.
- Choose Theme:
- Under “Themes,” select a pre-installed theme from the list. Click on “Get more themes online” to download additional themes from the Microsoft Store.
- Customize Theme Settings:
- Click on “Theme settings” to further customize your theme, including desktop icon settings, mouse cursor, and sound scheme.
Windows 11
Step-by-Step Guide to Personalize Windows Themes in Windows 11
Step 1: Access Personalization Settings
- Open Settings:
- Click on the Start button (Windows icon) in the bottom-left corner of the screen or press the
Win + Ikeys on your keyboard to open Settings.
- Click on the Start button (Windows icon) in the bottom-left corner of the screen or press the
- Go to Personalization:
- In the Settings window, click on “Personalization.” This opens the Personalization settings where you can customize various aspects of your Windows theme.
Step 2: Customize Background and Colors
- Choose Background:
- Click on “Background” in the left-hand menu to customize your desktop background. Select a picture or a solid color. Adjust additional settings as needed.
- Select Accent Colors:
- Click on “Colors” in the left-hand menu to choose accent colors for the Start menu, taskbar, and other elements. Enable “Automatically pick an accent color from my background” for dynamic color changes.
Step 3: Customize Themes
- Navigate to Themes Settings:
- In the Personalization settings, click on “Themes” in the left-hand menu.
- Choose Theme:
- Under “Themes,” select a pre-installed theme from the list. You can also click on “Get more themes from Microsoft Store” to download additional themes.
- Customize Theme Settings:
- Click on “Advanced sound settings” to customize sound effects. Click on “Desktop icon settings” to manage desktop icons. Adjust other settings such as cursor and mouse pointer options.
Additional Tips and Tricks
- Download and Install Custom Themes:
- For more advanced users, you can download and install custom themes from trusted sources or third-party websites. Be cautious when downloading themes from unknown sources to avoid security risks.
- Create Slideshow Backgrounds:
- In Windows 10, you can create a slideshow of your favorite images as desktop backgrounds. Customize slideshow settings such as picture duration and shuffle order.
- Sync Settings Across Devices:
- If you use multiple Windows devices with the same Microsoft account, you can sync personalization settings such as themes, backgrounds, and colors for a consistent experience.
Conclusion
Personalizing Windows themes allows you to express your creativity and optimize your desktop environment according to your preferences. Whether you’re using Windows 10 or Windows 11, the built-in personalization settings offer a range of customization options for backgrounds, colors, themes, and more. By following the step-by-step guides provided in this article, you can easily create a personalized Windows theme that reflects your style and enhances your productivity.
Experiment with different themes, colors, and background images to find the perfect combination that suits your taste and complements your workflow. Regularly update and customize your Windows theme to keep your desktop environment fresh and inspiring.


