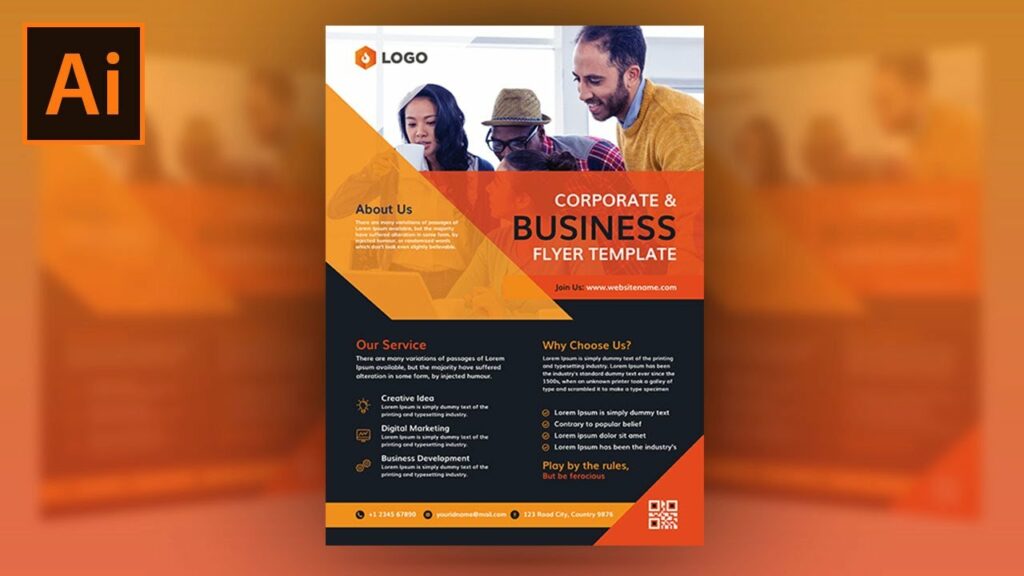
Designing Flyers: A Comprehensive Guide to Creating Eye-Catching Flyers in Adobe Illustrator
Introduction:
Flyers are versatile marketing materials that serve as effective tools for promoting events, businesses, products, and services. Adobe Illustrator offers a robust set of tools and features that empower designers to create visually compelling and impactful flyers with ease. In this extensive guide, we’ll explore the step-by-step process of creating professional flyers in Adobe Illustrator, from conceptualization to final print-ready artwork, covering design principles, practical techniques, and creative strategies along the way.
Part 1: Preparing for Flyer Design
- Understanding the Objective: Before diving into flyer design, clarify the objective and purpose of the flyer. Determine the target audience, key messaging, and desired outcomes to inform your design decisions effectively.
- Gathering Content and Assets: Collect all necessary content and assets for the flyer, including text, images, logos, and branding elements. Ensure that the content aligns with the messaging and goals of the flyer and is ready for incorporation into the design.
- Defining Design Specifications: Determine the size, orientation, and layout of the flyer based on the intended distribution method and printing requirements. Consider factors such as bleed, margins, and resolution to ensure optimal print quality.
Part 2: Designing the Flyer Layout
- Setting Up the Document: Open Adobe Illustrator and create a new document with the appropriate dimensions and settings for the flyer. Choose the CMYK color mode for print projects and set the resolution to 300 DPI for high-quality output.
- Creating the Layout Grid: Establish a layout grid to guide the placement of content and elements within the flyer. Use guides, grids, or custom templates to create a structured and organized layout that enhances readability and visual hierarchy.
- Designing the Header and Footer: Begin by designing the header and footer sections of the flyer, which typically contain essential information such as the event title, date, location, and contact details. Experiment with typography, color, and imagery to create visually engaging headers and footers.
- Incorporating Visual Elements: Integrate images, illustrations, or graphic elements that complement the flyer’s theme and reinforce the messaging. Use Adobe Illustrator’s drawing tools, image tracing, and effects to create or enhance visual elements for the flyer.
- Crafting Compelling Text: Write concise and compelling copy for the main body of the flyer, highlighting key benefits, features, or calls to action. Choose legible fonts and typography styles that enhance readability and maintain consistency with the brand’s visual identity.
- Balancing Content Placement: Distribute content and elements evenly throughout the flyer, maintaining a balance between text, images, and white space. Pay attention to alignment, spacing, and proximity to create a harmonious and visually appealing layout.
Part 3: Adding Visual Interest and Branding
- Applying Color Schemes: Select a color scheme that resonates with the brand’s identity and complements the flyer’s theme. Use Adobe Illustrator’s color tools, swatches, and gradients to apply cohesive and harmonious color schemes to the design.
- Incorporating Branding Elements: Integrate branding elements such as logos, icons, and brand colors into the flyer design. Ensure that branding elements are prominently displayed and consistent with the brand’s visual identity guidelines.
- Enhancing with Effects and Filters: Experiment with Adobe Illustrator’s effects and filters to add visual interest and depth to the flyer design. Apply effects such as drop shadows, glows, and textures to elements to create dimension and visual impact.
- Creating Attention-Grabbing Headlines: Use bold typography, vibrant colors, and creative layouts to craft attention-grabbing headlines and titles for the flyer. Experiment with different font styles, sizes, and treatments to make headlines stand out and capture the audience’s attention.
- Adding Decorative Elements: Incorporate decorative elements such as borders, patterns, or decorative typography to embellish the flyer design. Use vector graphics, brushes, and custom shapes to create decorative accents that enhance the overall visual appeal.
Part 4: Finalizing and Preparing for Print
- Proofreading and Revising: Review the flyer design carefully for spelling errors, typos, and inconsistencies. Proofread all text content and revise as needed to ensure accuracy and clarity.
- Optimizing for Print: Prepare the flyer design for print by ensuring that all elements are within the designated bleed and margin areas. Convert text to outlines to prevent font issues and embed linked images to ensure they are included in the final print file.
- Exporting Print-Ready Files: Export the flyer design as a print-ready PDF file using Adobe Illustrator’s Export options. Choose the appropriate settings, including compression, marks and bleeds, and color profiles, to optimize the file for printing.
- Printing and Distribution: Print the flyer design using a professional printing service or a high-quality printer capable of producing color-accurate prints. Consider the paper stock, finish, and quantity when selecting printing options, and distribute the flyers through targeted channels such as events, venues, or mailings.
Conclusion
Creating flyers in Adobe Illustrator is a creative and rewarding process that requires a combination of design skills, strategic thinking, and attention to detail. By following the comprehensive guide outlined above, you’ll be equipped with the knowledge and techniques to design eye-catching and effective flyers that captivate audiences and achieve your marketing goals. Remember to experiment with different layouts, styles, and visual elements to create unique and memorable designs that leave a lasting impression.


