Crafting Your Editing Sanctuary: A Comprehensive Guide to Customizing the User Interface in DaVinci Resolve

Introduction:
The user interface (UI) is the gateway to your creative sanctuary, shaping the way you interact with your editing software and influencing your workflow in profound ways. DaVinci Resolve, renowned for its robust editing capabilities and versatile toolset, offers extensive customization options that empower users to tailor the UI to their unique preferences and workflow requirements. In this extensive guide, we’ll embark on a journey through the intricacies of customizing the user interface in DaVinci Resolve, exploring its functionalities, features, and best practices to help you create an editing environment that fosters creativity, efficiency, and productivity.
Understanding UI Customization in DaVinci Resolve:
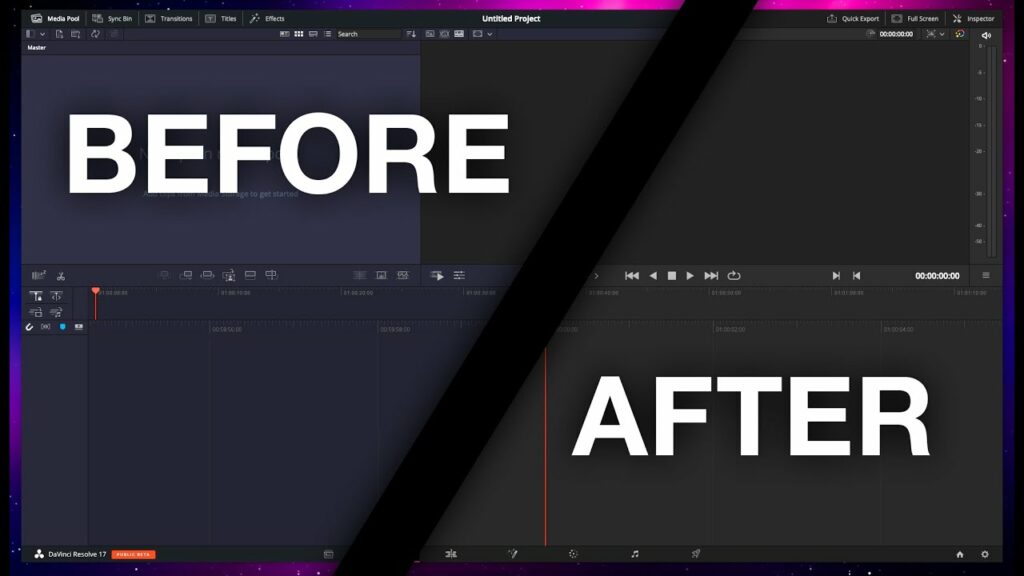
UI customization in DaVinci Resolve refers to the process of modifying the layout, appearance, and behavior of the user interface to suit your individual needs and preferences. Whether you’re a seasoned professional or a novice editor, customizing the UI allows you to create an editing environment that reflects your workflow, enhances your productivity, and maximizes your creative potential. From rearranging panels and windows to adjusting color schemes and font sizes, the possibilities for customization are virtually limitless, enabling you to create a workspace that feels like home.
Navigating the Interface Customization Options:
To access the interface customization options in DaVinci Resolve, navigate to the “Workspace” menu located in the top-left corner of the screen. Here, you’ll find a range of options for customizing various aspects of the UI, including layout, appearance, and behavior. Let’s explore some of the key customization options available in DaVinci Resolve:
- Workspace Layout: DaVinci Resolve offers multiple predefined workspace layouts tailored to different editing tasks and workflows, such as Editing, Color, Fusion, Fairlight, and Deliver. You can switch between these layouts seamlessly to adapt to different stages of the editing process or create custom layouts by rearranging and resizing panels to suit your preferences.
- Panel Organization: The UI in DaVinci Resolve is divided into panels, each serving a specific function or displaying specific information, such as the Media Pool, Timeline, Inspector, and Effects Library. You can customize the arrangement and visibility of panels by dragging them to different locations within the interface or collapsing them to conserve screen space.
- Window Configuration: DaVinci Resolve allows you to create and save custom window configurations, enabling you to switch between different setups depending on your editing needs. You can save window configurations for specific tasks, projects, or editing styles, ensuring that you always have access to the tools and panels you need without unnecessary clutter.
- Theme Customization: DaVinci Resolve offers a range of built-in themes that change the color scheme and appearance of the UI. You can customize the theme by adjusting parameters such as background color, text color, button style, and highlight color, allowing you to create a personalized aesthetic that aligns with your visual preferences.
- Keyboard Mapping: In addition to visual customization, DaVinci Resolve allows you to customize keyboard shortcuts to streamline your editing workflow and boost your productivity. You can assign custom shortcuts to frequently used commands and functions, making them easily accessible and reducing the need for mouse clicks or menu navigation.
Best Practices for UI Customization:
When customizing the user interface in DaVinci Resolve, consider the following best practices to create an editing environment that maximizes efficiency and productivity:
- Streamline Your Workflow: Focus on organizing panels and tools in a way that minimizes clutter and maximizes accessibility. Arrange panels and windows according to your workflow, placing frequently used tools and controls within easy reach for quick access.
- Optimize Screen Real Estate: Take advantage of DaVinci Resolve’s flexible layout options to make the most of your screen real estate. Collapse panels when not in use, create custom window configurations for different editing tasks, and utilize full-screen mode when working on specific tasks that require maximum focus.
- Customize for Comfort: Customize the UI to suit your personal preferences and ergonomic needs. Adjust font sizes, panel sizes, and color schemes to create a comfortable editing environment that reduces eye strain and fatigue during long editing sessions.
- Experiment and Iterate: Don’t be afraid to experiment with different UI configurations and customization options. Take the time to explore different layouts, themes, and keyboard shortcuts, and iterate on your choices based on feedback and experience.
- Stay Organized: Maintain a clean and organized editing environment by regularly reviewing and optimizing your UI layout. Remove clutter, rearrange panels, and declutter your workspace to ensure a distraction-free editing experience.
Examples of UI Customization:
Here are some examples of UI customization options you might consider in DaVinci Resolve:
- Create a custom workspace layout optimized for your specific editing tasks, such as color grading, audio mixing, or visual effects compositing.
- Customize the color scheme and appearance of the UI to match your personal preferences or branding guidelines.
- Arrange panels and windows to create a seamless editing workflow, with frequently used tools and controls readily accessible.
- Create custom window configurations for different editing projects or workflows, ensuring that you have the right tools at your fingertips when you need them.
- Assign custom keyboard shortcuts to common commands and functions, reducing the need for mouse clicks and streamlining your editing process.
Conclusion:
In conclusion, customizing the user interface in DaVinci Resolve is a powerful way to enhance your editing experience and maximize your productivity. By tailoring the layout, appearance, and behavior of the UI to suit your individual preferences and workflow requirements, you can create an editing environment that feels like home—a sanctuary where creativity thrives, efficiency reigns, and productivity soars. So, dive into the interface customization options in DaVinci Resolve, experiment with different layouts and themes, and unlock the full potential of your editing experience. With a personalized UI that aligns with your workflow and preferences, you’ll be well-equipped to tackle any editing challenge and bring your creative vision to life with ease and precision.


